I love food and I love to eat. So you would think the whole breastfeeding-eat-all-the-food situation I’m in right now would be heaven. But let me tell you this, getting in enough calories every single day, to maintain my milk supply is really tough! Eating has become a full-time job!
Full-fat coconut milk has been a life saver – mainly in the form of smoothies but recently with quick blender puddings, like this Banana Coconut Pudding! I love it because it takes me about the same length of time to make as a smoothie, but I make a huge batch that stays in the fridge and I can eat it for days! (as long as the hubby doesn’t get to it first…which happened…words were exchanged…)
Additionally, my stomach has been a little off in the mornings – it always is when I don’t sleep well and the kiddo is teething, so clearly not sleeping well. Starting with a small bowl of pudding has been a great way to start the day with food, but not overdo it on my digestive system!
Gelatin vs. Chia – chia seeds are fun. I’ve made chia pudding before, and it’s yummy (as long as you use the full fat coconut milk and not the white-water-no-nutrition almond milk). But chia seeds are the plant-based alternative to gelatin. Which for someone like me, is counter intuitive. I’m always looking for extra ways to get gelatin (especially the grassfed kind) in for gut-healing, so I would much rather make a real pudding, instead of a chia-one. But that’s just me!
Banana Coconut Pudding
2017-04-23 12:16:54
Quick blender pudding, with nourishing and satiating ingredients! Dairy-free, sugar-free, paleo and AIP!
2 cups full fat canned coconut milk (Aroy D is my favourite brand)
3 tsp gelatin (grassfed is preferred)
ripe bananas (totalling 2 cups mashed)
juice of ½ lemon
1 tsp vanilla extract
pinch of sea salt
Instructions
Pour coconut milk into a small sauce pan. Heat over medium just to warm through - don't boil! Turn off heat, sprinkle gelatin on top and let sit for a few minutes.
Meanwhile, add enough ripe bananas to your blender to make 2 cups.
Add lemon juice, vanilla and sea salt and blend.
Pour coconut milk/gelatin mixture into blender. Blend again.
Pour into a bowl or container and refrigerate for 4 hours or overnight.
Top with shredded coconut, cinnamon, banana slices, blueberries, cocoa...get creative, or simply enjoy it as is!
Notes
You can absolutely add some maple syrup or honey, but I honestly think that's overkill. Ripe bananas are sweet enough!
Super into chocolate or nut butters? Add some PB, almond butter or cocoa powder!
Fermented foods are a staple in every single traditional culture, and their absence in the typical North American Diet, is likely a major contributor to poor health. I’ve written about gut heath and fermented foods many times on this blog already, so feel free to check out those posts:
Sauerkraut was my introduction to fermented foods, and for a lot of people this is an easy add-in to their diet – especially if you like sauerkraut, pickles and olives. However, the combination of fermentation and cabbage can be a little too much for the fermented food rookie. And if you are interested in making your own fermented foods (which I highly recommend for 2 reasons, [1] it becomes inoculated with microbes from your environment and [2] it is a fraction of the price), sauerkraut has a fairly long fermentation period – 3-4 weeks. So instead, I recommend Fermented Carrots.
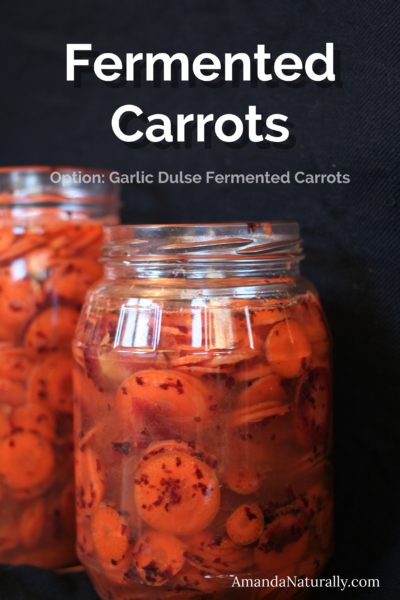
These are my favourite way to introduce fermented foods to kids and adults alike. A little sweeter for the rookie-palate, and with a 4-7 day fermentation period, they are a great intro to home-fermenting.
Fermented Carrots
(Option: Garlic Dulse Fermented Carrots)
Ingredients & Equipment
2 lbs carrots
4 tsp fine-ground sea salt, or garlic sea salt (my preference!)
OPTIONAL: 1 heaping tbsp dulse
2 cups filtered water
2 more heaping tsp sea salt, or garlic sea salt
jars
silicone muffin liners (my preference, but you can get creative)
Directions
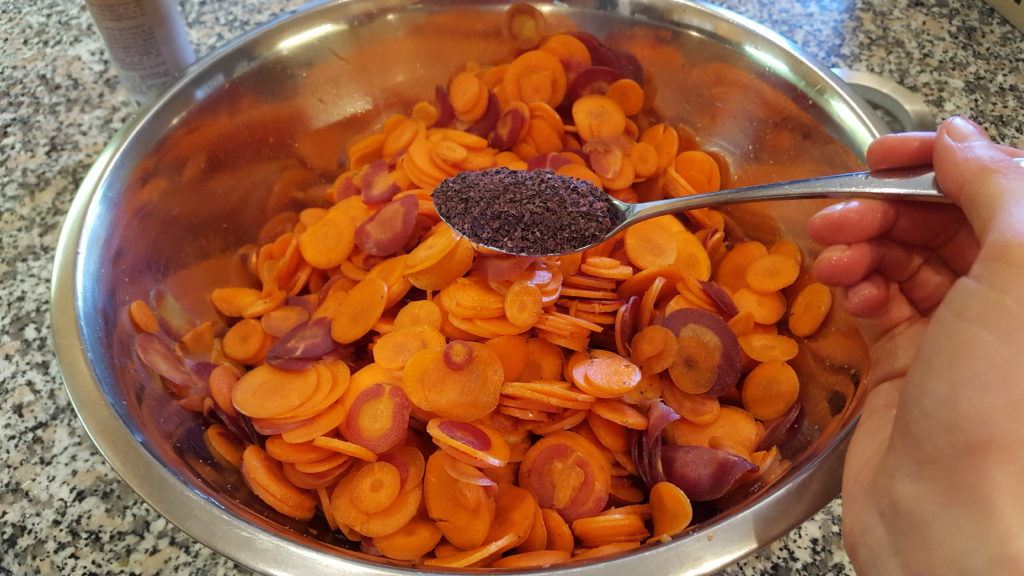
1. Slice carrots as thinly as possible. I recommend using the slicer attachment on your food processor. (Note: save your carrot tops for making broth!)
2. Add to a bowl, and toss with sea salt, or garlic-sea salt.
3. Optional – add a heaping tbsp of dulse for extra minerals and thyroid support!
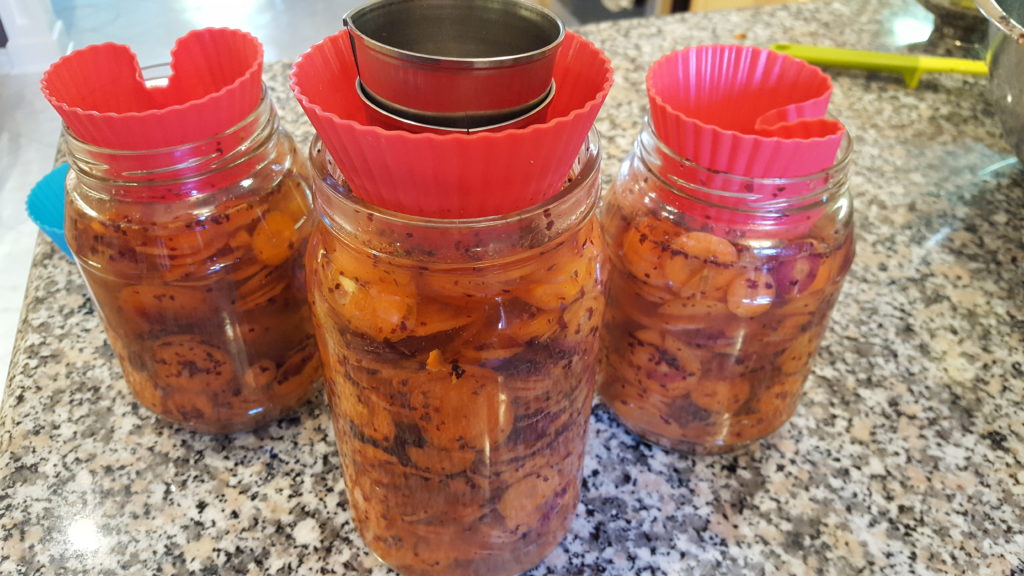
4. Toss well. Spoon into jars, packing carrots down as tightly as you can.
5. Create a brine by mixing 1 tsp salt (garlic salt) with 1 cup of water, and adding to the jars of carrots. Add enough brine to cover carrots completely.
6. Use something to hold the carrots under the water. I like to use my silicone muffin liners!
7. Place in a cool, dark corner of the room, out of direct sunlight. But don’t put them in a closet or cupboard where you can forget about them (learned this one the hard way!). Check on them every day to make sure the carrots are still below the water. If not, add a bit more brine, or push down the muffin liner. Let ferment for 4-7 days. Start checking at 4 days to see if you like the tangy flavour. I usually ferment for 5 days.
I love adding a spoonful to salads, or just on the side of a meal. When I was breastfeeding, my favourite snack was to toast 2 pieces of GF bread, spread half an avocado on each piece and top with these bad boys. Delish!
What’s your favourite fermented food? Have you tried making it yourself? Share in the comments below!
I can’t tell you how many people have told me to “just relax, whatever you do before hand, you will inevitably end up eating take out most of the first few months with a newborn”. Aside from the fact that nutritionally, I couldn’t imagine trying to heal/recover from pregnancy, labour & delivery on takeout, OR creating breast milk from nutrient-deplete foods, I know that I simply cannot eat those kinds of foods if I want my body to work properly (more on my health journey here!).
Gluten and vegetable oils will instantly cause massive inflammation in my body, specifically joint pain (E.g. once during my pregnancy I had multiple vegetable oil exposures over the course of 3 days and on the 3rd night I woke up in tears with bilateral pulsing pain of my hands, wrists and elbows. Yeah, not fun.)
Dairy causes massive digestive distress in me, but it’s also the food my husband is highly allergic to (instant congestion – with a history of asthma – followed by bad eczema that takes months to go away), so since we’re both very reactive, I’m not going to expose our little one to milk before he/she has developed a solid gut. Odds aren’t super great for him/her tolerating dairy well.
Gluten-free flours contain corn (which really does a number on my gut), so even gluten-free options are not really options in my world (other than Cup of Tea Bakery which uses rice, tapioca and potato as their flour – no corn! Except some of their products use quinoa and/or bean flours, so I still have to be quite careful.)
While others may think that I’m just Type A-ing it, or being obsessively healthy, not being prepared food-wise is a disaster waiting to happen for me. And by disaster I literally mean PAIN.
So in an effort to prevent pain (as well as set the stage for my healing/recovery and kicking off my kiddo’s postpartum nutrition well), I started stocking my freezer and keeping my pantry full, when I was around 7.5 months pregnant. Here’s what I did…
NOTE: I’m sure I’ll do a follow up post after the baby arrives about how beneficial and/or useless this was, or what I should have made. LOL
Pre-Baby Food Prep
Freezer Meals
Chicken “Noodle” Soup – We got a bunch of soup birds from our favourite farm – The Shulist Family Farm. Starting in July, I would make a batch of broth in my instant pot, pull off the meat and turn it into soup. I always add white rice, because we both tolerate it great and I know I’ll need lots of carbs once the baby comes.
Easy Paleo Hamburger Pie – I tripled the recipe (and made a few mods like adding sautéed onion and a broth/tomato paste combo in lieu of tomato sauce). Had one batch for dinner and leftovers. Froze the other 2 portions!
Banana Muffins – I made 2 dozen of these delicious, high-fat, high-nutrient (nut-free!) muffins, as well as another 2 dozen lemon blueberry, following more closely to the original recipe.
Mom’s Spaghetti Sauce – I tripled this recipe (which is already doubled) and froze multiple litres in 2 cup portions, which will be perfect for last minute meals like spaghetti squash bolognese.
Chicken Liver Pate – anyone who follows me on Instagram knows this is my go-to recipe for getting liver into me! Why liver you ask? Check out this post! I doubled up the recipe and portioned it into 10 half cup servings. Not only will liver help me stay nutrient-replete while nursing, but it will also provide lots of life-giving nutrients to kiddo (specifically folate, vitamin A, D, K2 and all the B’s), AND give me what I’m sure will be a much-needed energy boost.
Bone Broth – like it’s going out of style. Go read the post on bone broth for the health benefits (healing, building new tissues) and you’ll see why I prioritize this incredible food. I’ve got lots frozen in little pucks, ready to be added to rice, last-minute soups/stews or slow/pressure-cooked meats. My Instant Pot is also always ready to make more broth, as soon as I run out!
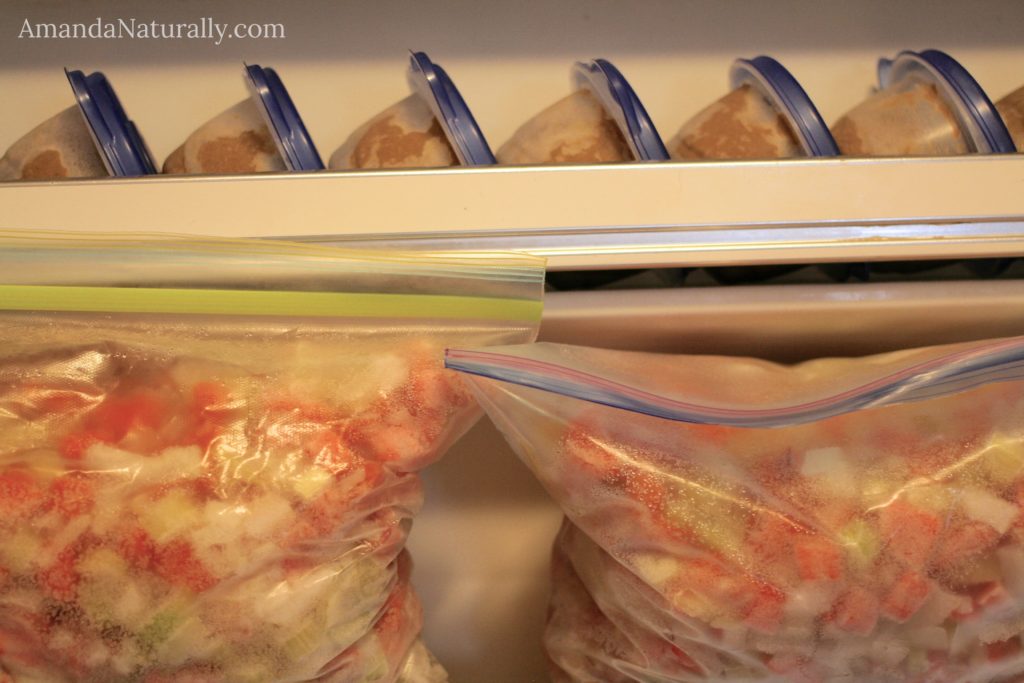
Mirepoix – I pre-chopped about 20 cups of onion, carrot and celery, flash froze on lined baking sheets and then stored in large ziploc freezer bags. Pre-prepared mirepoix will make slow/pressure cooking SO easy. Take any piece of tough meat (brisket, chicken thighs, pork shoulder), throw in a few handfuls of mirepoix and a puck or 2 of bone broth and you’re good to go.
Sweet Potato Flatbreads – This is one of my favourite of Diane SanFilippo‘s recipes, so I quadrupled it! I love them thrown in the toaster and slathered with ghee. Or as a sandwich for a fried egg. So good!
Lactation Cookies – but I modified them to be nut-free, since I don’t do great with large volume of almond flour. I also added blessed thistle and fenugreek (2 research-based galactagogues), omitted walnuts & chocolate chips, and added collagen.
Burger Patties – every time I’ve made something with ground meat over the last few weeks, I pulled out twice as much meat as I need. So normally I would use 1 lb ground beef for 4 burgers (one each for dinner, leftovers for lunch) or taco night/leftovers. Now I grab 2lbs (and often a combo of ground beef & ground pork – such a solid flavour combo), and do what I normally do, while also making 4 extra patties to flash freeze. I quickly amassed a few dozen burger patties! This isn’t anything too complicated, but you can cook a burger patty from frozen, and a ¼ lb of meat thaws a lot quicker than an entire pound.
Additional Recipes I Plan To Make (pending early arrival)
Chili (but I’ll add beef heart because, nutrients), Ginger Carrot Soup, Butternut Squash Soup (but I’ll go easy on the thai curry paste, probably just use a little yellow curry paste instead of loads of red like I normally do!) and likely more muffins…
Pantry/Freezer Stock
Carbs/Starch
Sweet Potato Noodles (found in the rice noodle section of Asian grocery stores)
Frozen wild salmon (from Costco) for my go-to, super-fast Salmon en Papillote
Lots of roasts/large pieces of meat like pork shoulder, tip/blade roasts and brisket for easy, high-volume slow/pressure-cooker meals like pulled pork and shredded beef (hello leftovers!)
My 3 favourite oils: olive oil, avocado oil and coconut oil (all from Costco!)
Ghee (I make my own following these directions with Rolling Meadow grassfed butter)
Shredded coconut
Perishables
eggs (multiple dozens since they last so long and cook up so quick!)
veggies with a long fridge-life like kale and broccoli would be my typical go-to’s (and I’ll still eat them), but they also tend to be slightly notorious for causing belly distress in little one’s, so this will be a bit of an experiment. I can eat an entire head of cauliflower raw, or a massive bowl of cabbage, and have no gut reaction, so it might be okay!
boxes of pre-washed organic spinach and baby-kale
organic apples & pears (things you can eat with one hand!)
Beyond Babies
While this post is specifically about what I did to prepare for baby’s arrival, there are a lot of great tips that can be totally applied to your normal, every day life. Making a double batch of something and freezing for last minute meals, keeping healthy muffins on hand, stocking your pantry with delicious and nutritious items – these habits will help keep you on track and healthy throughout your life!
Okay mamas, help a newbie out! What else should I be making to get ready for kiddo’s arrival??

 I love food and I love to eat. So you would think the whole breastfeeding-eat-all-the-food situation I’m in right now would be heaven. But let me tell you this, getting in enough calories every single day, to maintain my milk supply is really tough! Eating has become a full-time job!
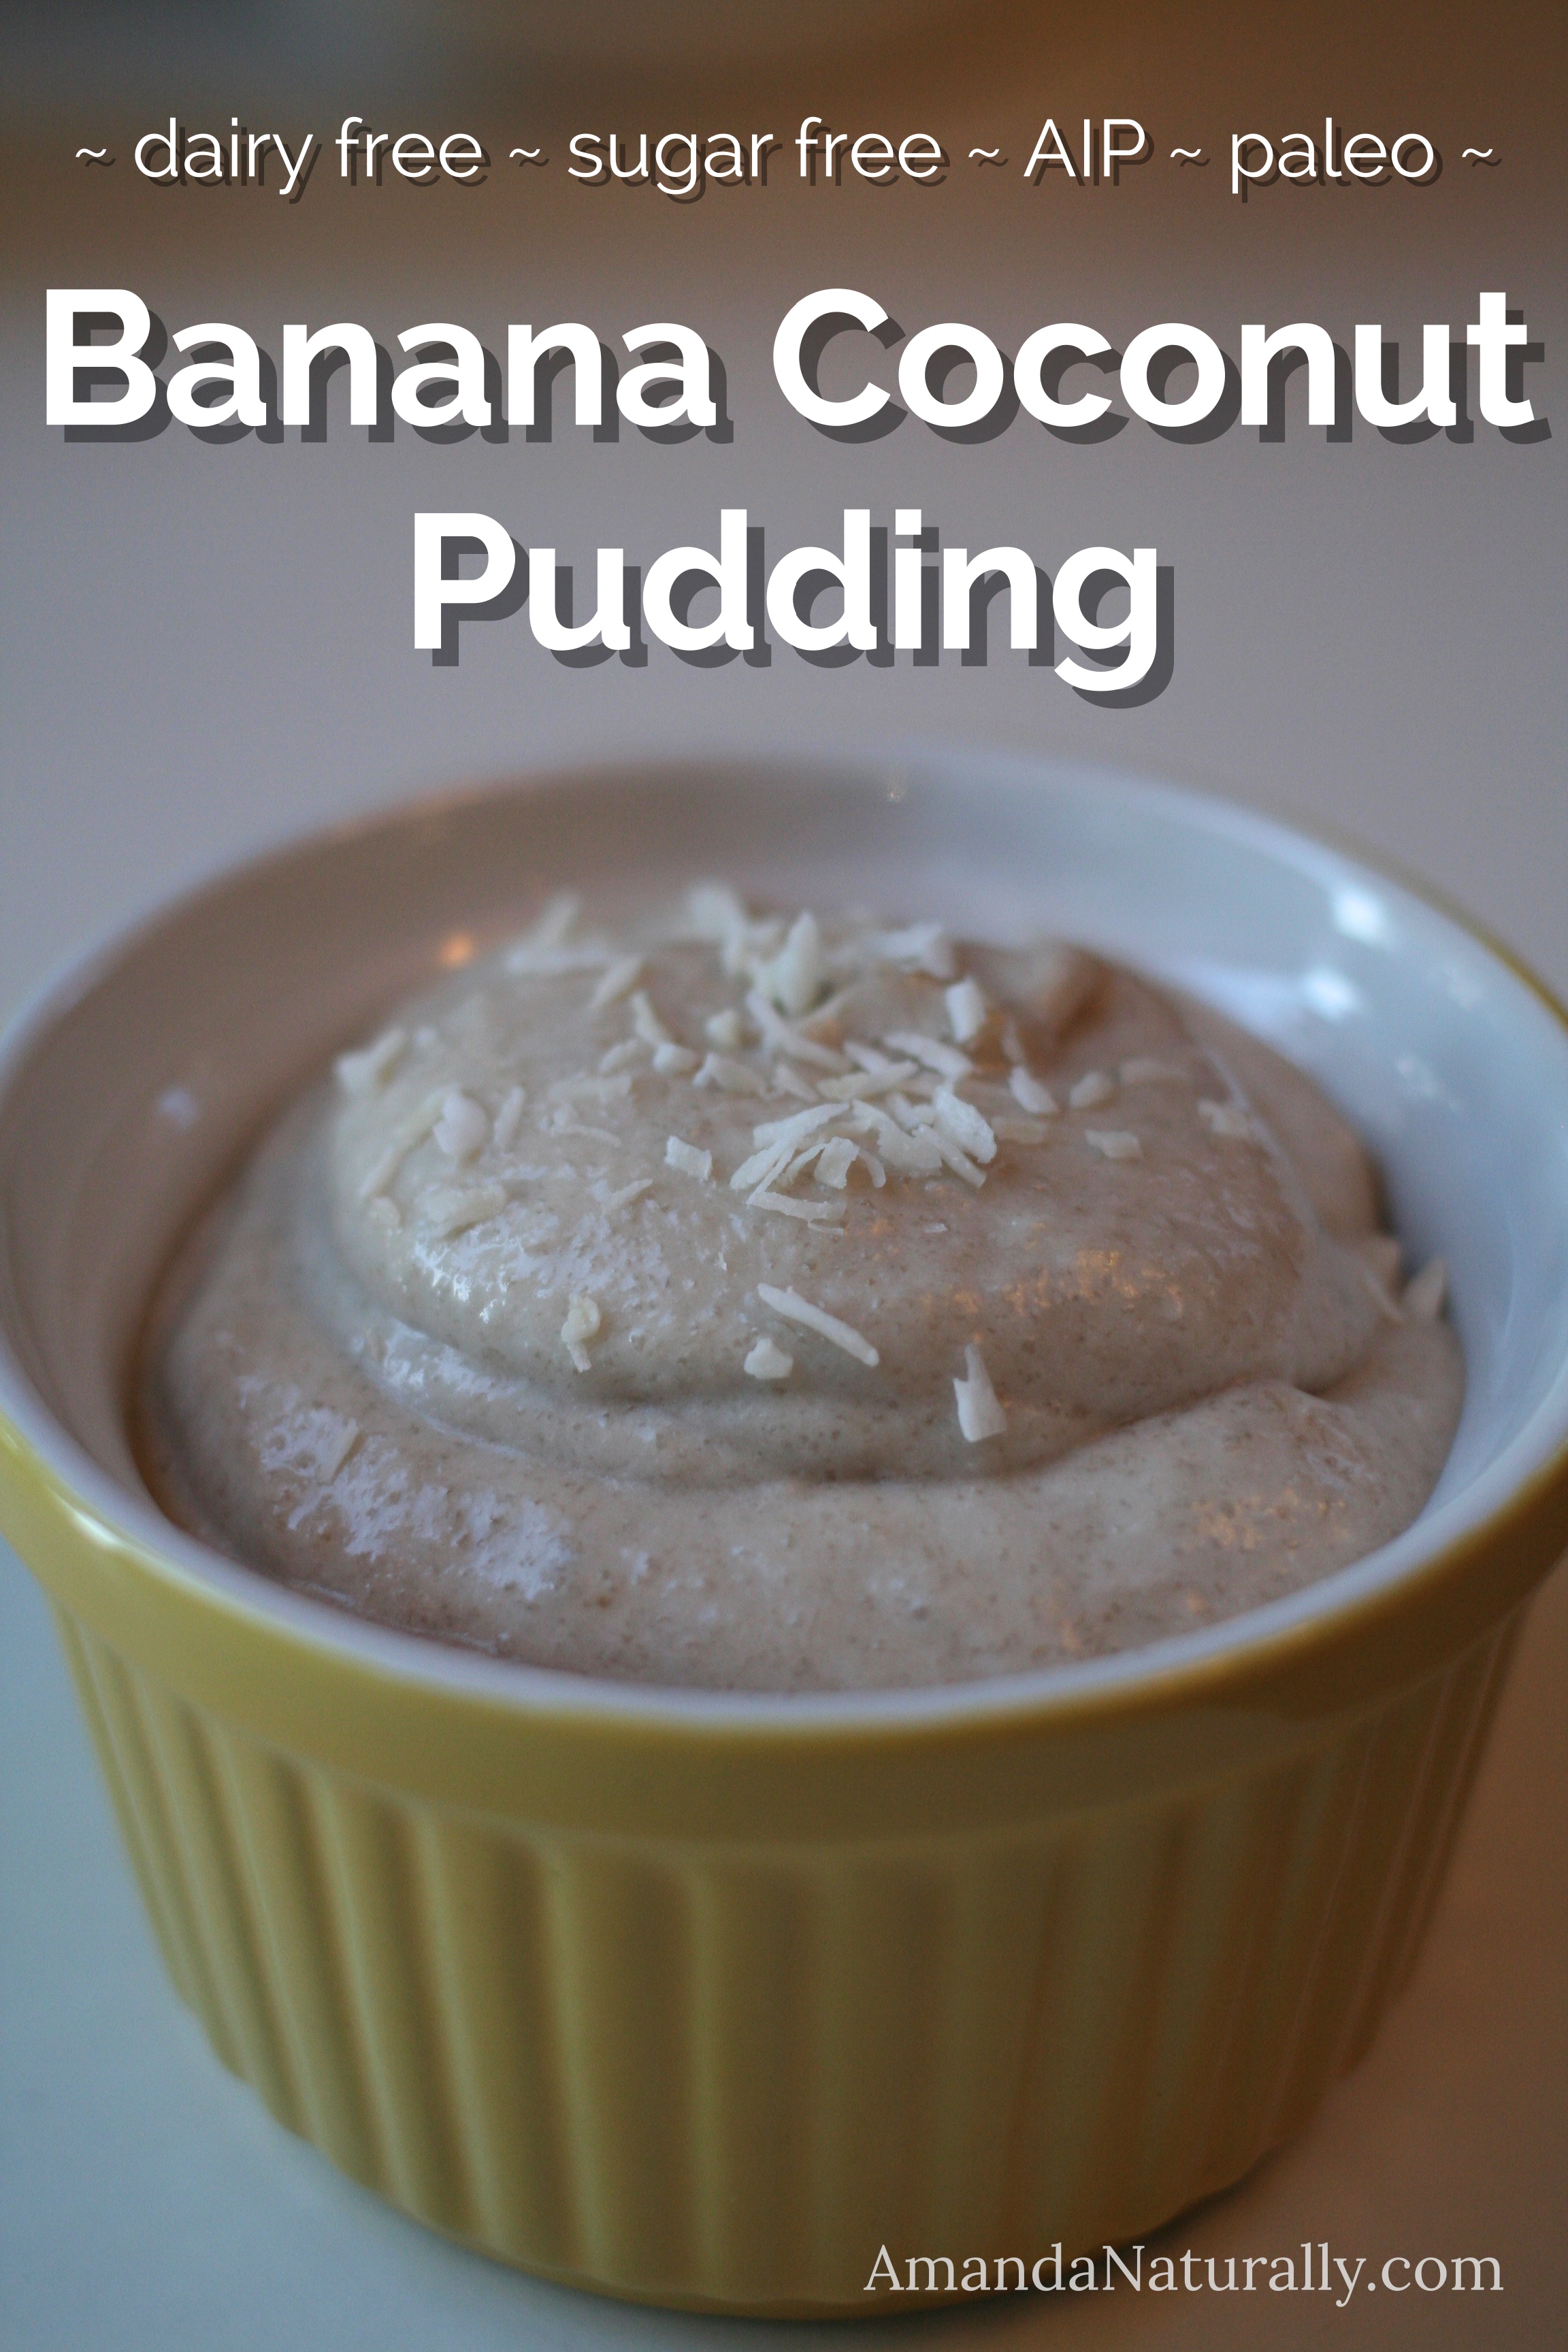
 Fermented foods are a staple in every single traditional culture, and their absence in the typical North American Diet, is likely a major contributor to poor health. I’ve written about gut heath and fermented foods many times on this blog already, so feel free to check out those posts: