Category Archives: Beatty Protocols

Compliant with most dietary protocols recommended at Beatty Naturopathic

Thai Curry Beef

Thai Curry Beef - Instant Pot or Slowcooker Options, made with Stewing Beef and Bone Broth in less than 15 minutes!Cooking for kids is a game changer eh? And I only have 1! Kudos to you mamas (and papas! #dontforgetdads) cooking for multiple babies. I never truly appreciated the flexibility I had when it was just me and maybe my husband I was cooking for. Timing didn’t really matter, meltdowns didn’t happen if we ate too close to bedtime, smoothies or salads were a totally fine fall-back option. Add in a baby learning to eat and having to be a little extra thoughtful about making sure our meals fit her stage of eating development just complicates things even further!

Since nutrient-dense, home-cooked meals are the top priority in my house (read: non-negotiable), I have had to figure out some ways to get those kind of meals on the table quickly! My favourite tool for accomplishing this is without a doubt, my Instant Pot. I use it several times a week and honestly don’t know how I would manage without it! Things are usually a little crazy in the mornings, so while I could put dinner in the slow cooker, it goes much more smoothly if I can throw it in the instant pot during her afternoon nap around 1-2ish. (Bonus: you can put frozen meat in it too! So I only sort of have to plan ahead.)

Instant Pot Love

Ingredients for Amanda Naturally's Thai Curry Beef using the instant pot or slow cooker!

This amazing gadget is especially helpful because the easiest meat for my almost 11-month old to eat, is anything that is shredded or pulled. Chicken thighs, pork shoulder and stewing beef are top choices right now. Considering the fact that it’s the middle of summer, stewing beef doesn’t normally come in to the rotation. But it’s such a great food for her – both developmentally and nutritionally – that I was determined to figure out how to use it in a way that wasn’t just plain ol’ stew!

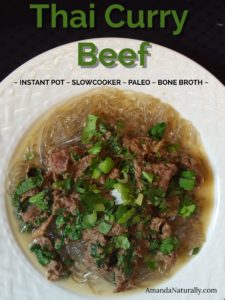
This recipe for Thai Curry Beef is a typical weekday recipe for me – a non-recipe recipe as I like to call it. A “throw it all in the instant pot and see what happens” recipe. And boy did it turn out delicious! It’s now part of the weekly rotation and we all love it – especially the kiddo! 
Thai Curry Beef
A quick recipe with only 10-15 minutes prep TOTAL! Delicious, family-friendly, nutrient-dense and flexible!
Write a review
Print
Prep Time
15 min
Prep Time
15 min
Sauce
  1. 1 cup bone broth
  2. 1 onion, diced
  3. 1 tbsp green curry paste (I like Aroy D brand)
  4. 1 tbsp fish sauce (optional, but it takes it to the next level)
  5. 1-2 cloves of garlic (or 2+ tsp garlic granules/powder)
  6. ½ tsp salt
Beef
  1. 2 lbs stewing beef (grassfed preferred)
Final Touches
  1. 4 cups baby spinach, roughly chopped
  2. ½ cup full-fat coconut milk
  3. cilantro, for garnish
  4. green onion, for garnish
  5. sweet potato noodles, zoodles, cauli-rice or white rice for serving
Instructions
  1. Combine broth, onion, curry paste, fish sauce, garlic and salt into the bottom of your slow cooker. Mix well.
  2. Add in stewing beef. Cook on low all day (minimum 8 hours).
  3. Stir in ½ cup coconut milk and spinach about 10 minutes before serving. Heat through.
  4. Serve on sweet potato noodles, zoodles, cauli-rice or white-rice, topped with cilantro and green onion.
INSTANT POT DIRECTIONS
  1. Combine sauce ingredients in bottom of the instant pot.
  2. Add stewing beef, secure lid. Press "Meat/Stew".
  3. When done, let it return to pressure naturally and ideally let it sit in warming or slow cooker mode for another hour or so. You can let it sit more if you have the time!
  4. Stir in ½ cup coconut milk and spinach about 10 minutes before serving. Heat through.
  5. Serve on sweet potato noodles, zoodles, cauli-rice or white-rice, topped with cilantro and green onion.
Amanda Naturally http://www.amandanaturally.com/

Cold Brew Coffee

One of my favourite things to do is listen to Podcasts. I’ve always enjoyed listening when driving or walking the dog, but especially since becoming a mom since my time available for learning has plummeted. Podcasts let me consume content while doing something else! The Balanced Bites podcast is one of my favourites, and it was also the first place I learned about Cold Brew Coffee (a popular brand in the USA is a sponsor).

Fairly early into my coffee journey (I started enjoying a cup daily midway through high school. I blame my parents! lol) I realized iced coffee was amazing. But my favourite was a super sweet fake dessert iced coffee from Starbucks – so not super ideal for health. Then one VERY HOT summer working on a rooftop restaurant in Toronto, I started drinking plain ol’ iced coffee with some milk and sugar. I quickly learned that the best results came from brewing an espresso, chilling it and then turning it into iced coffee – that way it wasn’t watered down like when you brew coffee and try to chill it quickly with just ice! But it also took forethought.

Fast forward to this summer, where my coffee obsession is fairly high (this time I blame the baby. Ha!) and it’s hot. I’m often heading out in the morning when I want my second coffee, and can’t stand drinking hot coffee on a hot day. I tried to make an extra pot in the morning and chill it for later, but it doesn’t usually happen. That’s why DIY Cold Brew entered my life.

Cold Brew Coffee is exactly as it sounds. Coffee that’s been brewed cold, instead of with hot water. There are many reasons for the rise of Cold Brew Coffee – with the most common being the smooth, rich flavour it has combined with the less acidic feeling in the stomach. I like it because it takes 1 minute to prep and allows me to have iced coffee all week! Here’s how:

Homemade Cold Brew Coffee

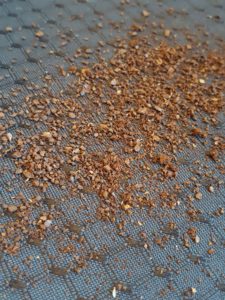
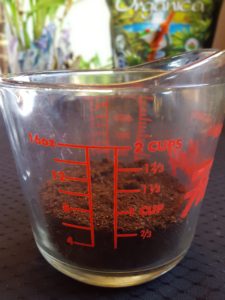
1. Measure out ¾ cup of organic, fair or direct trade coffee (why direct trade?), ground on the coarsest grind setting you have. I’m sure a high powered blender would work if you don’t have a  coffee grinder. Fine grind = bitter coffee, so make sure it’s coarse! Coarser (like with a mortar and pestle coarse) is better than fine any day!


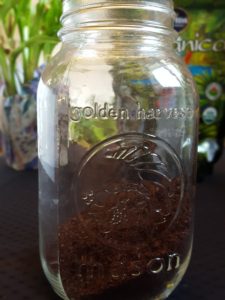
2. Dump coarse-ground coffee grinds into a 1L jar.

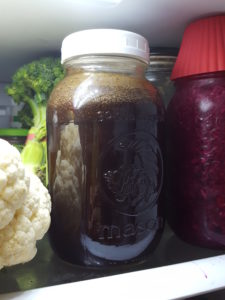
3. Add 3 cups of filtered water to the jar. It can be cold or room temperature. Secure lid and place in fridge for 12-24 hours. (Note, after making this once, I no longer measure the water because I know that the jar is almost full with the water and grinds combined!) 

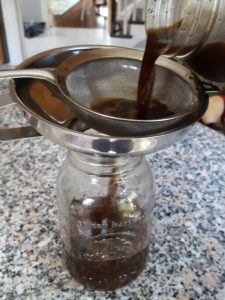
4. After desired length of brew (I like 18-24 hours best), remove from fridge, strain into another jar and voila – you’re done! Coffee for the week, or a few days if you are sharing with someone.

Keep in mind that cold brew is MUCH higher in caffeine. So enjoy smaller servings and/or water down with water, ice and your desired milk (I like full-fat coconut milk or grassfed cream). I also like to sweeten with a touch of maple syrup!

My favourite way to enjoy cold-brew is:

  • small cup, filled with ice
  • ½ cup cold brew
  • ¼ cup water
  • 2-3 tbsp coconut milk
  • 1-2 tsp maple syrup

You can also heat up cold brew and enjoy it like a normal cup of coffee! I do this on Crossfit mornings, when I want cup of coffee fast, and don’t want to wait for it to brew. I can have a delicious cup of coffee ready to go in less than a minute!

Are you an iced coffee drinker? Or are you a purest and only enjoy a cuppa joe hot. Share your favourite way for enjoying this delicious vice in the comments below!


Banana Coconut Pudding

I love food and I love to eat. So you would think the whole breastfeeding-eat-all-the-food situation I’m in right now would be heaven. But let me tell you this, getting in enough calories every single day, to maintain my milk supply is really tough! Eating has become a full-time job!
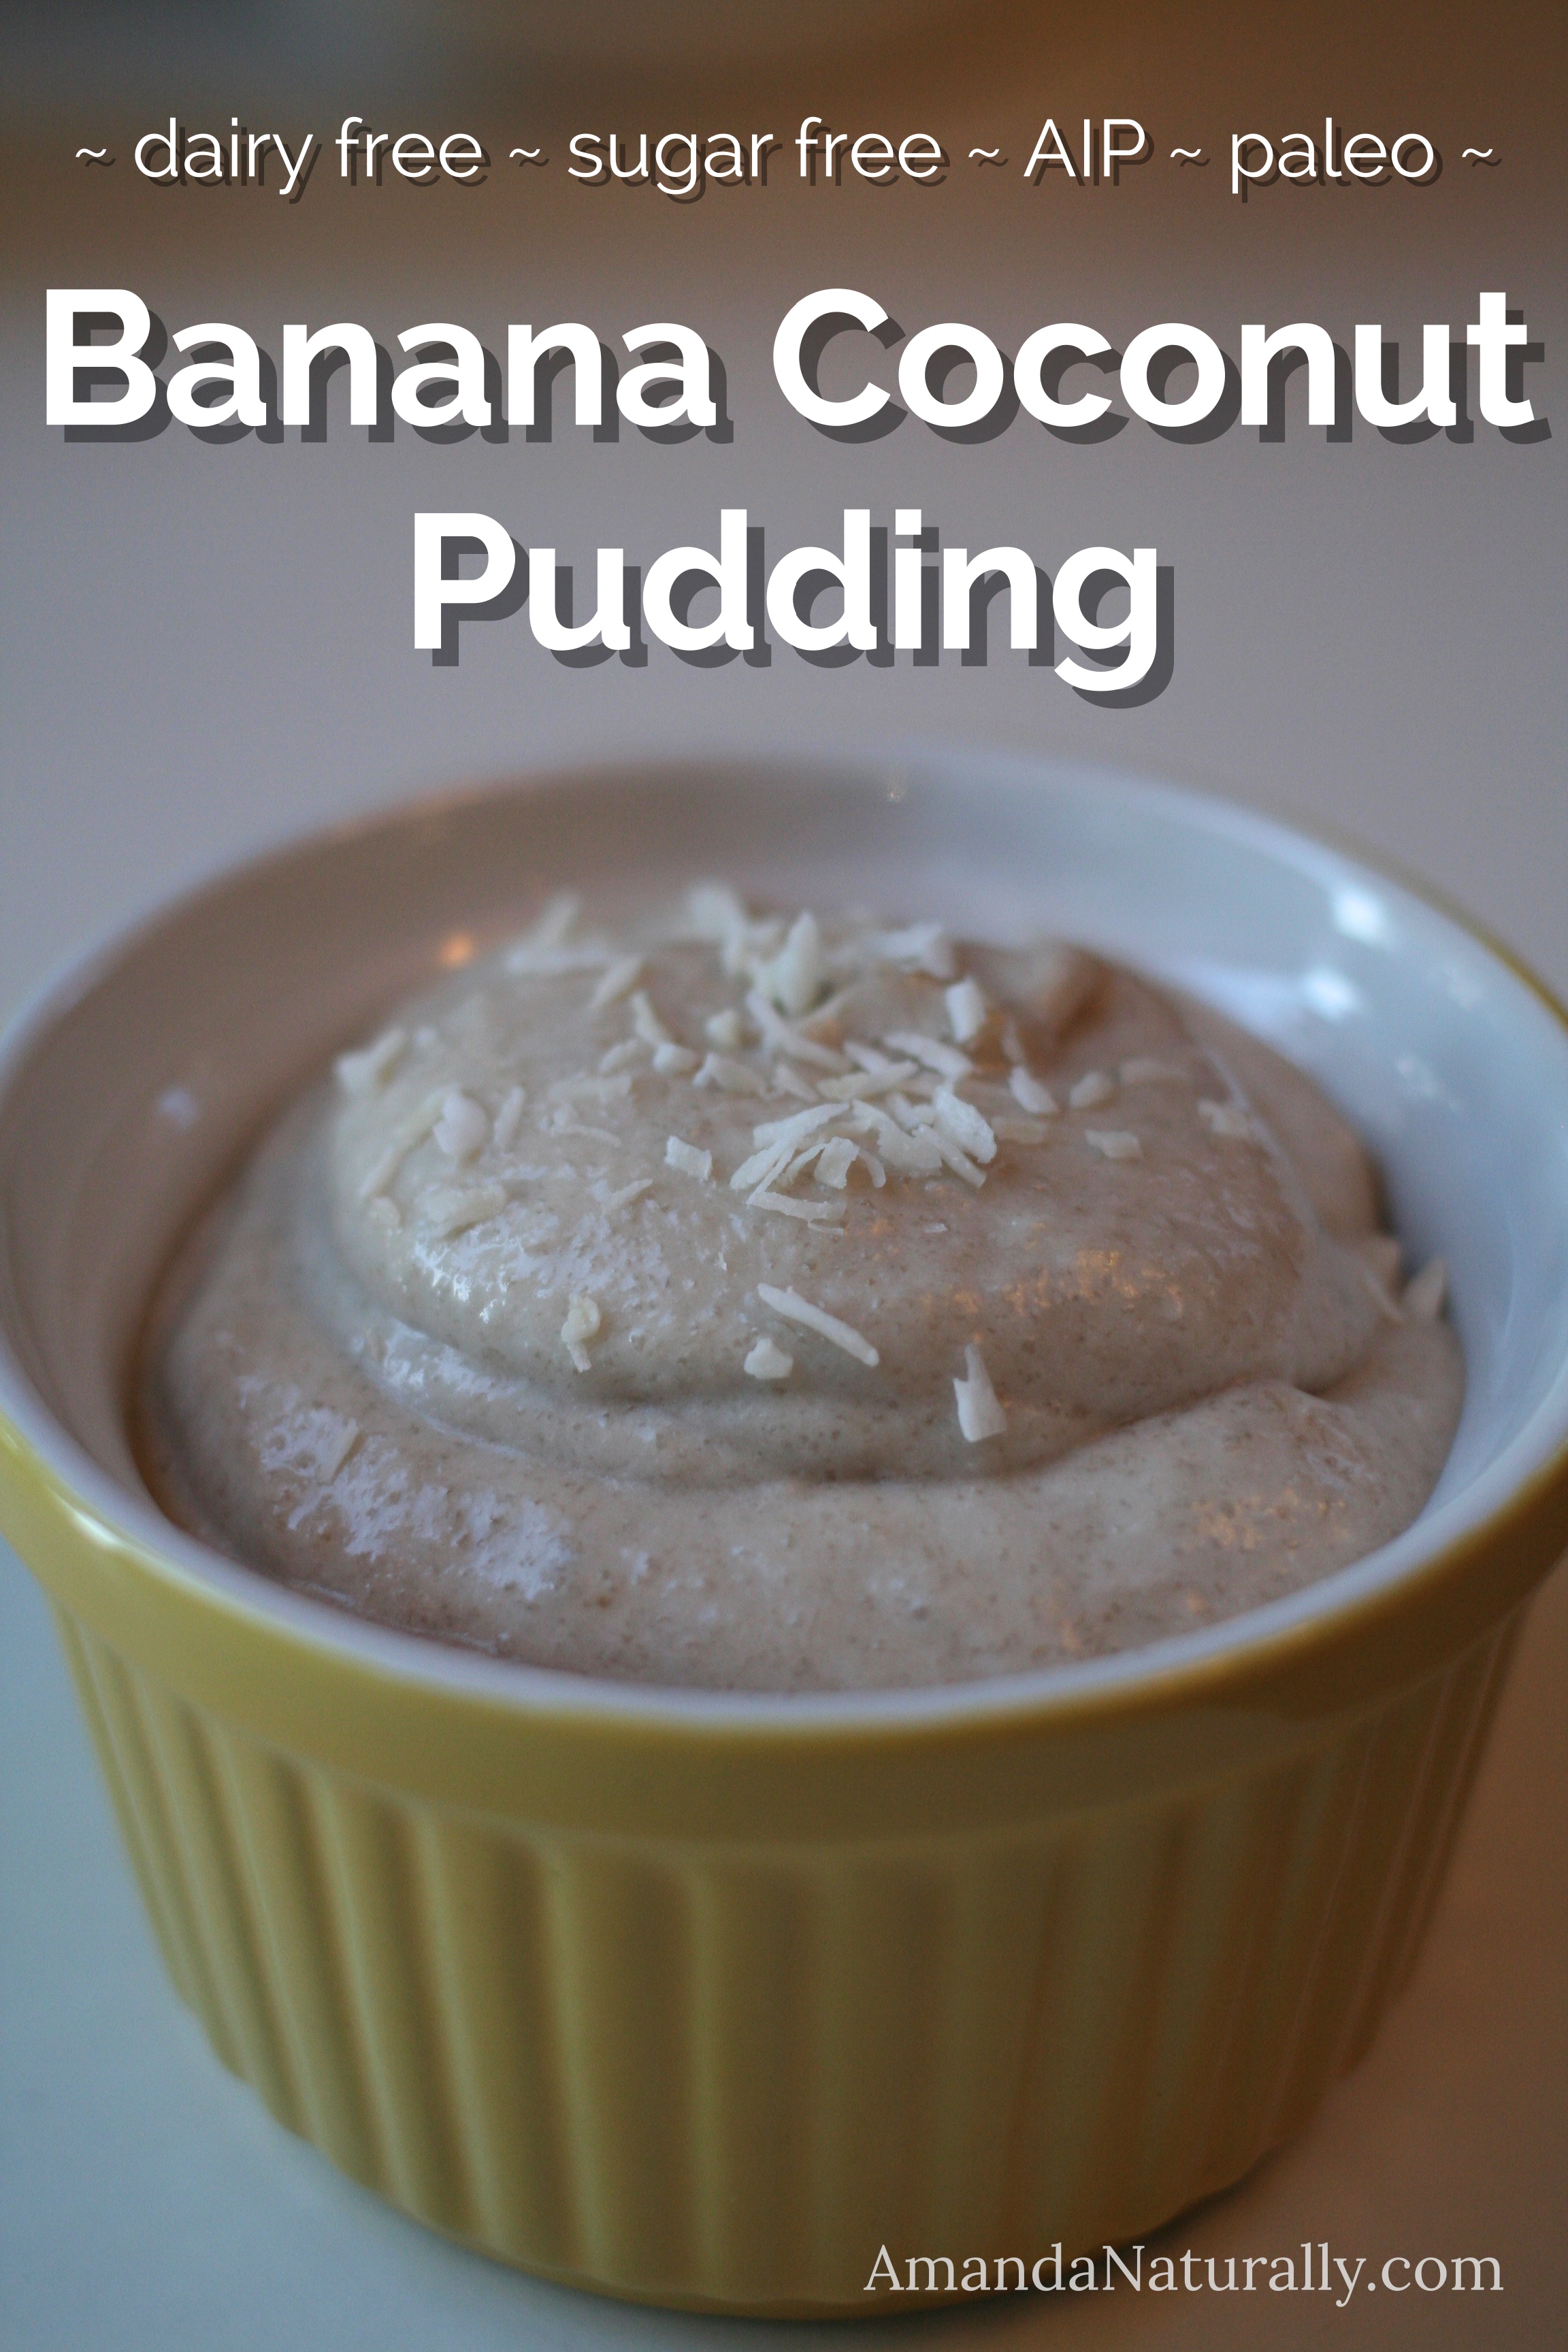
Full-fat coconut milk has been a life saver – mainly in the form of smoothies but recently with quick blender puddings, like this Banana Coconut Pudding! I love it because it takes me about the same length of time to make as a smoothie, but I make a huge batch that stays in the fridge and I can eat it for days! (as long as the hubby doesn’t get to it first…which happened…words were exchanged…)

Additionally, my stomach has been a little off in the mornings – it always is when I don’t sleep well and the kiddo is teething, so clearly not sleeping well. Starting with a small bowl of pudding has been a great way to start the day with food, but not overdo it on my digestive system!

Gelatin vs. Chia – chia seeds are fun. I’ve made chia pudding before, and it’s yummy (as long as you use the full fat coconut milk and not the white-water-no-nutrition almond milk). But chia seeds are the plant-based alternative to gelatin. Which for someone like me, is counter intuitive. I’m always looking for extra ways to get gelatin (especially the grassfed kind) in for gut-healing, so I would much rather make a real pudding, instead of a chia-one. But that’s just me! 

Banana Coconut Pudding
Quick blender pudding, with nourishing and satiating ingredients! Dairy-free, sugar-free, paleo and AIP!
Write a review
Print
Prep Time
5 min
Prep Time
5 min
Ingredients
  1. 2 cups full fat canned coconut milk (Aroy D is my favourite brand)
  2. 3 tsp gelatin (grassfed is preferred)
  3. ripe bananas (totalling 2 cups mashed)
  4. juice of ½ lemon
  5. 1 tsp vanilla extract
  6. pinch of sea salt
Instructions
  1. Pour coconut milk into a small sauce pan. Heat over medium just to warm through - don't boil! Turn off heat, sprinkle gelatin on top and let sit for a few minutes.
  2. Meanwhile, add enough ripe bananas to your blender to make 2 cups.
  3. Add lemon juice, vanilla and sea salt and blend.
  4. Pour coconut milk/gelatin mixture into blender. Blend again.
  5. Pour into a bowl or container and refrigerate for 4 hours or overnight.
  6. Top with shredded coconut, cinnamon, banana slices, blueberries, cocoa...get creative, or simply enjoy it as is!
Notes
  1. You can absolutely add some maple syrup or honey, but I honestly think that's overkill. Ripe bananas are sweet enough!
  2. Super into chocolate or nut butters? Add some PB, almond butter or cocoa powder!
  3. Great for kids, even little ones!
Amanda Naturally http://www.amandanaturally.com/
Copyright 2014 Amanda Naturally | Design by The Nectar Collective