In the first 2 posts in this series, I discussed:
- What is Leaky Gut – A compromised digestive tract lining that can lead to a whole host of health concerns from minor allergies to full-blown autoimmune conditions
- What Causes a Leaky Gut – Food (specifically wheat, sugar, alcohol, dairy, grains and legumes) stress, pharmaceuticals, GMO’s
My goal with this blog post is to give you a concrete plan for healing your leaky gut. Not sure if you actually have leaky gut? Odds are, you do. Still not sure? Read the above post on causes – if any of the causes are currently, or at one point in your life were applicable, you’ve more than likely got leaky gut. So this post is for you!
Aside from healing chronic leaky gut, the recommendations in this blog post can also be used in the following situations:
- post “bombing” by a food trigger (i.e. “dairy-bombing” as I like to call it when I accidentally ingest dairy)
- during times of serious stress and/or poor sleep
- when you have been exposed to illness
- if you feel like you are coming down with something
- if you are sick!
- if you have any GI issues ranging from irritation or discomfort to food poisoning or other “every body out” situations!
Step 1 – Eliminate Foods that Contribute to Leaky Gut
At absolute minimum, get rid of gluten, sugar and dairy. Unfortunately when we’re sick, we’ve been trained to want crackers or dry toast because they are “easy on the digestive tract”. Nothing could be further from the truth. Not only are they completely devoid of any nutrients, but they damage the gut, feed pathogenic overgrowth in the intestines and cause an blood sugar/insulin spike that contributes to poor health.
Even better – get off all grains and legumes as well. While whole grains and legumes have some nutrition (especially if they’re actually prepared properly), the nutrient bang-for-your-buck is woefully inadequate compared to whole foods such as eggs, meat, fish, vegetables (both starchy and non-starchy) and healthy fats. And with a compromised digestive tract, you don’t want to make it work extra hard to actually obtain nutrients from these foods.
For most people, adopting a grain, legume and dairy free diet is plenty. But if you have underlying health concerns or a history of severe digestive and/or autoimmune symptoms, the following should be avoided as well:
- nuts and seeds
- eggs
- nightshade vegetables (potato, tomato, eggplant, peppers)
Omitting the eggs and nightshade vegetables are only recommended for people following an Autoimmune Protocol – a very strict, but incredibly effective dietary intervention. It is usually not necessary for the majority of the population.
Step 2 – Focus on Nutrient Dense Foods
While the gut is very quick to start healing itself (new cells replace old ones in as little as 3 days!), many nutrients are required to become the building blocks of those new cells. Foods to focus on are:
- wild caught seafood
- grassfed beef
- pasture raised pork
- pasture raised egg yolks (unless following AIP)
- healthy fats (avocado, olive, coconut and grassfed/organic ghee if tolerated)
- vegetables, both starchy and non starchy
A quick note about vegetables – if you are experiencing digestive symptoms (not always the case with leaky gut, many symptoms are found on the skin, brain, joints or organs), you may do better with cooked vegetables than raw. Serious digestive damage can be made worse by raw vegetables, so choose soup over salads.
Step 3 – Add in Super Foods
The number one food you can add in to your diet to heal leaky gut is Homemade Bone Broth. Not only is it high in minerals in an easily absorbed form, but the gelatin found in homemade broth is critical for healing the digestive lining. Bonus is if you are experience any other connective tissue symptoms (joints, skin, vaginal lining, bladder, brain…), broth can help there too! Read my post on Bone Broth for a detailed explanation of the science behind this powerful food!
Next up – LIVER! This polarizing food is one of the most nutrient dense foods you can put in to your body. Now I get it – I wasn’t raised on liver, so it has taken me a while to get to a place where I actually enjoy it. But I worked at it because I knew how important it was to include in the diet. This Chicken Liver Pate from Balanced Bites was the first way I actually enjoyed liver, but now I can eat it fried with onions, and bacon of course! Worried about the toxins that are “stored” in the liver? Lucky for you, this isn’t actually how physiology works. The liver processes or neutralizes toxins, but it doesn’t store them. If for some reason it cannot excrete them through bowel movements and/or urine, it will store them in the fatty tissue of the body (another reason for choosing grassfed/organic/pastured meat products). It does, however, store a huge variety of vitamins and minerals, including important ones that are otherwise hard to get from our diet like Vitamins A, D & K, as well as folate and iron. (UPDATE: want to know more? I wrote an entire post on liver – found here!)
Another group of foods that you want to include in your healing protocol (actually you want to include these all the time) are foods high in omega-3 fatty acids. The most concentrated sources are cold-water fatty fish like salmon, sardines, mackerel and even trout and tuna. This is followed by all other seafood and shellfish, which still contain loads of omega-3’s, at a slightly lower concentration. Bonus is seafood-based protein is exceptionally easy to digest. Worried about toxins in fish – read this and this. Additionally grassfed beef and pastured egg-yolks contain some omega-3 fatty acids. Finally, you want to avoid consuming large amounts of omega-6 fatty acids (vegetable oils, grains, conventional chicken) because this contributes to inflammation and further increases our need for omega-3’s – we’re going for optimal balance between omega 3’s and 6’s.
NOTE: plant-based sources of omega-3’s do not count. They are a different form of omega-3 (ALA), which the body has a very difficult time converting to the form we need (EPA or DHA). That means flax, chia, walnuts and any other plant-based “omega-3” is not helping you out!
Sea greens such as kelp, dulse, nori and other seaweeds are an easy way to get healing minerals in to the diet. Add to homemade broth or soup, or buy flaked sea greens and shake on to meals before serving to add a good hit of nutrients.
Finally, fermented foods. Fermented foods such as sauerkraut, kimchi, kefir, yogurt (if dairy is tolerated), and kombucha are a fabulous source of probiotics. In fact, fermented foods blow probiotic supplements out of the water when it comes to the number and variety of probiotic strains they contain. Why are probiotics so important for gut health? Well that’s a blog post in and of itself – but the main reason is the health of your gut bacteria is the largest indicator of the health of your body, across the board. Regardless of what you’re trying to recover from, you need to nourish your gut bacteria. You do this by eating lot of vegetables, avoiding gut-harming foods (grains, vegetable oils, sugar) and regularly inoculating the gut with healthy bacteria in the form of fermented foods. Now, this recommendation may time some time to work up to. If you are experiencing major gut pain, you are going to want to start very slow. I’ve had clients need to start at ½ tsp of sauerkraut liquid and slowly go up from there. If you are new to fermented foods, I recommend starting at about 1 tsp, once or twice a day. More is not necessarily better when it comes to fermented foods. Diversity, variety and frequency is more effective.
Step 4 – Get Your Lifestyle in Check
Stress, intense exercise and less than 7 hours of sleep all cause leaky gut. So you can be doing all of the above steps, but if you’re crossfitting 6 days a week, training for a marathon, are super stressed at home/work or are telling yourself and others that you “do fine on 5 hours of sleep” you will not heal your gut. So, what do you need to do?
- Mange your stress – however that looks for you (with the exception of additional intense exercise). Yoga, meditation, adult colouring books (my new fav thing!), deep breathing, reiki, walking the dog, listening to music – whatever it is, make it a priority.
- Sleep at minimum 7 hours per night. In fact, sleep more. Sleep 8-9. I honestly wrote 7 hours because I know the backlash I receive every time I tell a client to sleep 8-9, so I cave and say 7. So make sure you get at least 7, ideally 8 or 9 hours every night.
- Dial in your exercise. Most people should not be exercising hard more than 3 or 4 days per week. If you do, you need to be working with professionals to make sure you can recover properly, and that you are doing all of the above recommendations all the time. In bad cases of leaky gut with concurrent adrenal fatigue, autoimmune conditions or another health crisis, I often recommend limiting exercise to restorative yoga, short walks, gardening and gentle stretching.
A common complaint I receive when I make these time-consuming recommendations is “I don’t have time for all that”. At risk of sounding like a total jerk, I want to share a quote that I once read: try replacing the words “I don’t have time” with “that’s not a priority” and see how it feels. Brutal, but oh so true!
Additional Steps
So let’s say you’ve done all of the above (be honest with yourself!), and you are still experiencing issues related to leaky gut – it is time to call in professional help. Find a practitioner you can work with to identify additional causes of leaky gut. Things to look for include (but are not limited to):
- dysbiosis, yeast, fungus and/or small intestinal bacterial overgrowth
- additional food sensitivities
- parasites
- adrenal fatigue
- heavy metal overload
- low stomach acid
- H. pylori
- vagus nerve dysfunction
- supplementation for targeted healing
Conclusion
As with all health concerns, there is no one-size-fits-all approach for healing leaky gut. It is a complex web that needs to be approached from a holistic and functional perspective. But without addressing diet and lifestyle factors, you will not be able to recover. So start today by taking baby steps, or jumping in whole hog, whichever method works best for you. Respect your digestive tract and you will set the stage for whole-body wellness.

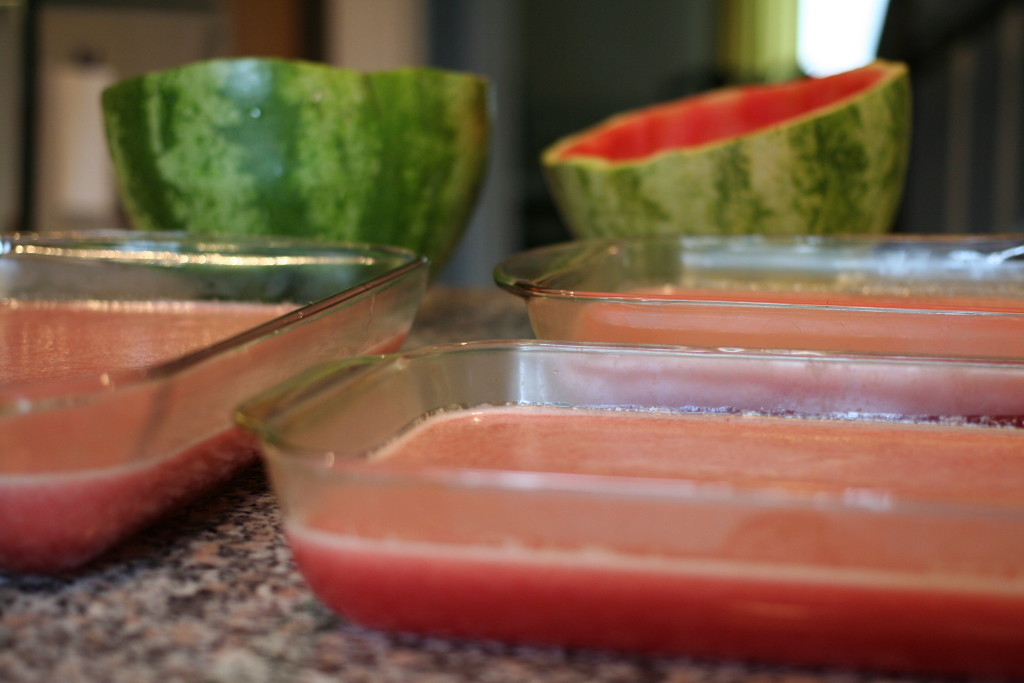
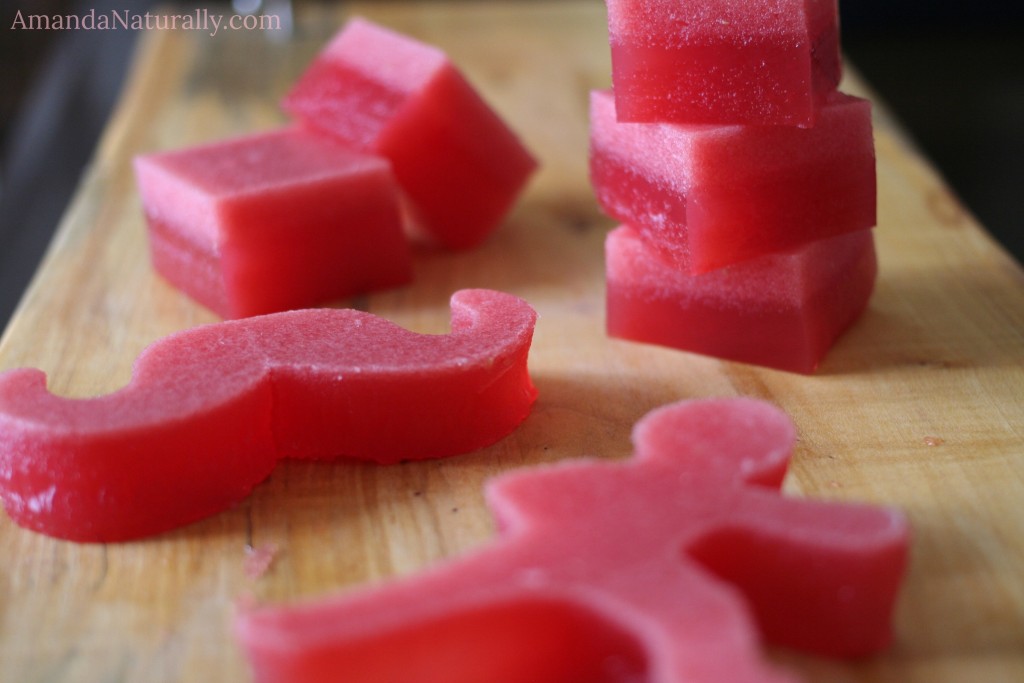
 When I was in grade school, we were always allowed to bring in a treat for the whole class on our birthdays. Since my birthday was in June, and it was usually hot out, my mom would always make jello jigglers for me to take! They were always a huge hit because they were delicious, refreshing and fun. Making your own jello jigglers is super simple and can be incredibly healthy, as long as it’s not with the artificially sweetened, food dyed, jello brand.
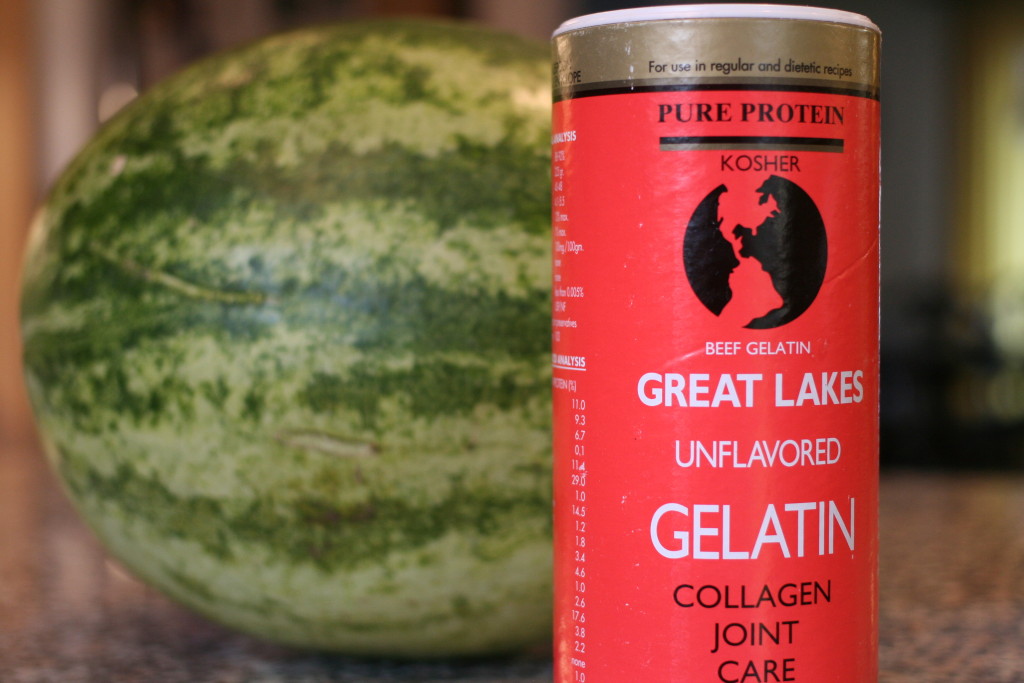
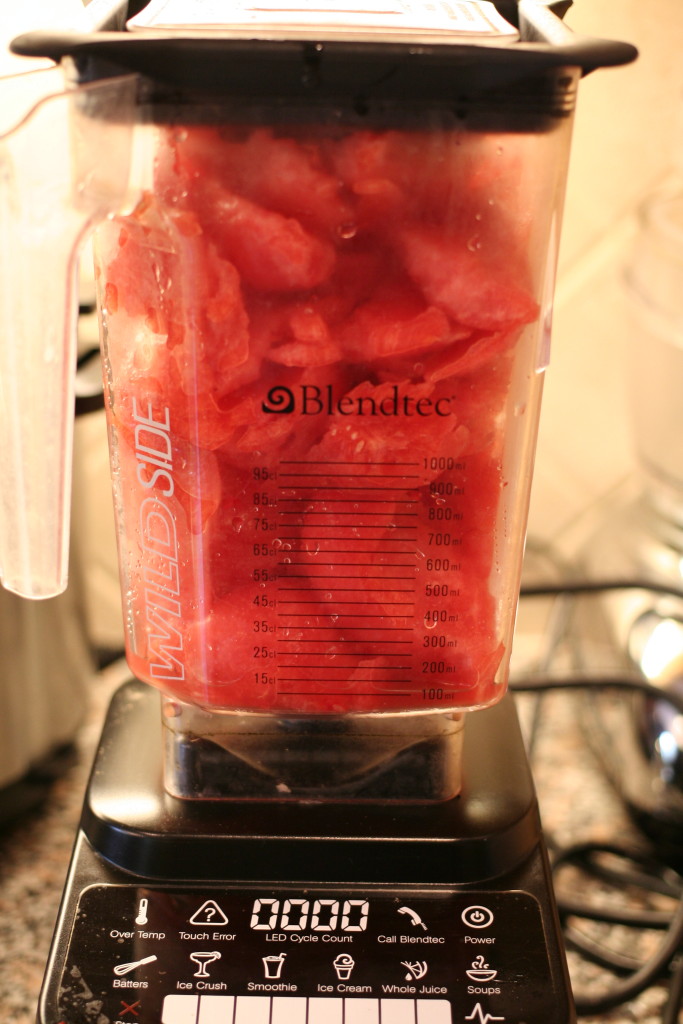 2. Puree in your