Ever since I was a (highly energetic) little girl, my parents knew that burning off that energy was key to my happiness, and team sports was the way to do it! I started playing soccer at age 5 and never looked back. My dad also wanted to make sure I could keep up with everyone in my class, so he made sure to teach me how to throw a baseball/football properly, and shoot a basketball/box out like one of the guys. This set the foundation for a serious love affair with activity, exercise, competitive sports and all things movement!
Skiing, snowboarding, wake boarding, biking, volleyball – I was up for anything! Once I left high school (which was the epitome of competitive sports for me), I naturally moved into the fitness realm. I had a trainer briefly, fell in love with group exercise classes for a while, ran a half marathon, had a mild-obsession with yoga for 2 years and then started to lift heavier and do high intensity training on my own at a gym. That eventually led me to Crossfit, which I quickly realized was a perfect fit for me. The community, the focus on PRs (never on weight or how you look), the competition, the doing things I didn’t think were possible (like walking into the gym, thinking “there’s no way I can do this WOD” and then just doing it!) – it was a match made in heaven. I’ve been Crossfitting for 2 years now, anywhere from 3-5 days a week, and I honestly can’t imagine any other style of working out! And then I got pregnant…
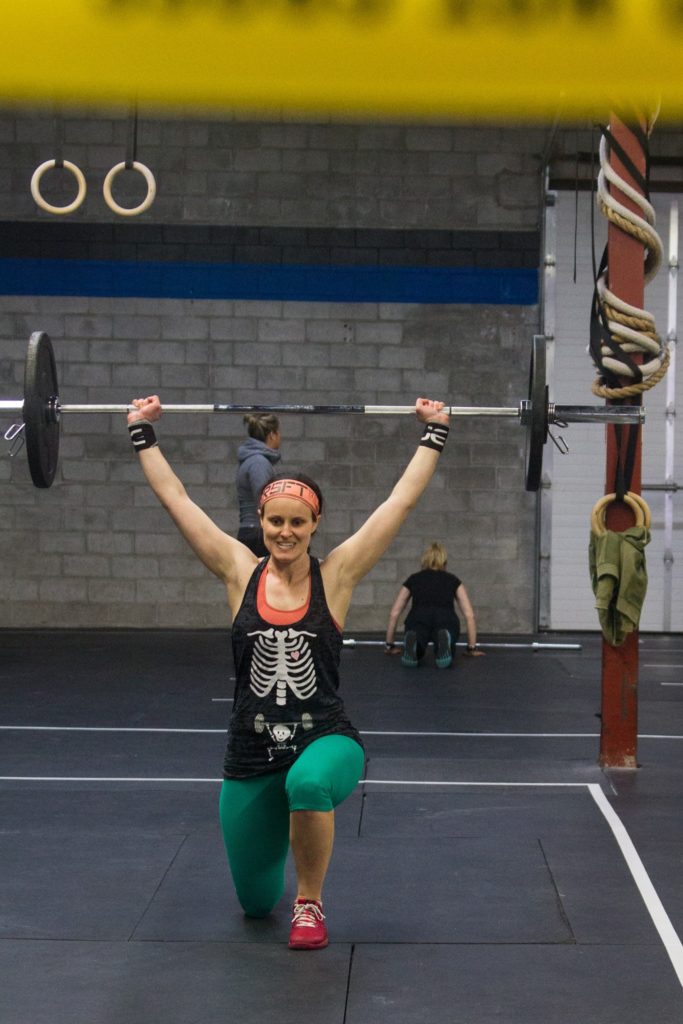
Pregnant and Crossfitting
So what? I was pregnant not injured! So there was no way I was stopping exercising. Here’s why:
- I have always exercised so I’d lose my mind if I had to stop.
- It is totally and completely safe to do what you’ve always done, during pregnancy (albeit with some modifications as things progress).
- I couldn’t imagine better preparation for labour, than staying strong.
I’ve had a few questions about how I scaled/modified workouts to suit my changing body, and I also want to document for future pregnancies (or friends at the gym who decide to follow suit) so here is a breakdown/timeline of how I changed my workouts as I progressed throughout my pregnancy. At the end I have a quick summary of common Crossfit movements, and how you can scale them.
DISCLAIMER: I am not a doctor or medical professional. All exercise during pregnancy should be discussed with your health care provider. This is simply a documentation of what worked for me, my body and my pregnancy! Know yourself and be safe. Maintaining strength and mobility is important during pregnancy, but smashing PRs and going all-out simply isn’t. The priority is building a baby – which is a hell of a lot of work! Listen to your body and move it accordingly.
First Trimester
- No More Inversions – as recommended by my functional chiropractor. Handstand push ups became dumbbell/barbell presses. Nose-to-wall holds became plank holds. Rationale: redirecting blood and lymphatic flow away from the uterus, which is in the delicate stage of creating a brand new placenta (read: a new organ), isn’t a great idea.
- No Twisting – interestingly Crossfit doesn’t include a lot of work in the twisting plane, other than sort of twisting/countering a twist in rope climbs. This one wasn’t too hard. I just started working on strict pull ups instead of rope climbs. Rationale: limiting intrauterine constriction.
- No sit ups – I subbed in plank work. For example, I would set up plank about a foot away from the rig. For every 1 sit up RXd, I would do 4 rig-touches (2 with each hand). As in, I would lift my left hand off the floor and touch the rig, quickly put it down, repeat on the right side. Or sometimes push ups, elevated push ups, KB swings or even air squats – depending on what made sense for the WOD. Rationale: limiting intrauterine constriction and preventing Diastasis Recti (permanent separation of abdominal muscles that doesn’t return to normal postpartum).
- No Explosive Jumping – step ups instead of box jumps. Or 12″ box jumps instead of 20″.
- No Getting Out of Breath – Rationale: if you’re panting, baby’s not getting oxygen. I started taking a few more breaks during the WODs. In many cases, I would go heavier with stricter movements. So instead of high volume, lower weight kipping pull ups / touch-n-go olympic lifts, I focused on strict pull ups (banded) and heavy cleans/snatches.
- I told my Crossfit coaches I was pregnant very early (like 4 weeks early), so they would understand and help me scale appropriately. They’ve been awesome.
- Still Worked Out Hard – in fact the Crossfit Open started when I was 12 weeks. I fully participated, RXing a few WODs and even getting my first chest-to-bar pull up!!
Second Trimester
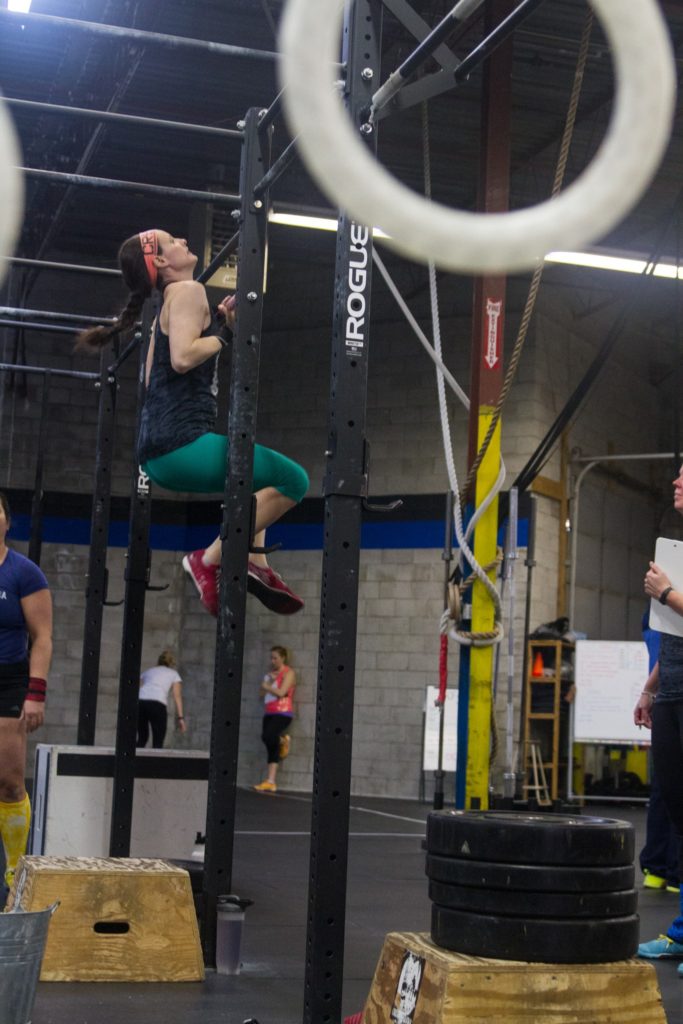
- 16 weeks – stopped kipping pull ups because I was starting to get a slight bump, and my abs were starting to change/separate. I did strict, banded pull ups when it made sense. For high volume, I did ring rows. Rationale: preventing Diastasis Recti.
- 16 weeks – burpees to plank position, instead of all the way to the ground (belly in the way)
- 19 weeks – step out burpees. With changing anatomy and achey hips, I was having a hard time jumping back in. So I started jumping out to plank, then stepping back in. Quickly moving to stepping out and back in.
- 20 weeks – stopped bench pressing. This was surprising, but I found that my abs were really kicking in, and it was super uncomfortable. Switched to slightly elevated push ups. Rationale: preventing Diastisis Recti.
- 21 weeks – I stopped running. The reasoning for this is I had 2 ultrasounds, a week apart, and the baby was in the exact same position. My functional chiropractor recommended stopping running to limit intrauterine constriction, which may have been impeding the baby’s ability to move around freely. This was a very conservative move, and lots of women run comfortably throughout their pregnancy. To be honest though, I quite enjoy running normally, but I really did not enjoy it with a belly – it was seriously uncomfortable! I substituted rowing for the remainder of this trimester – keeping the RX distances the same
- 22 weeks – no more olympic lifting. While many pregnant women continue doing snatches and cleans with a belly, it seemed very counterintuitive to me. The whole focus of olympic lifting is to keep the bar as close to your torso as possible, which takes so much practice. To change form for a few months, and have the bar go out and around the belly, not only increases risk of injury, but undoes all of the hard work on technique I’ve put in so far. So instead, I switched to dumbbell cleans/snatches, KB swings, or technique work on parts of the lifts (like pulls, jerks or snatch balances)
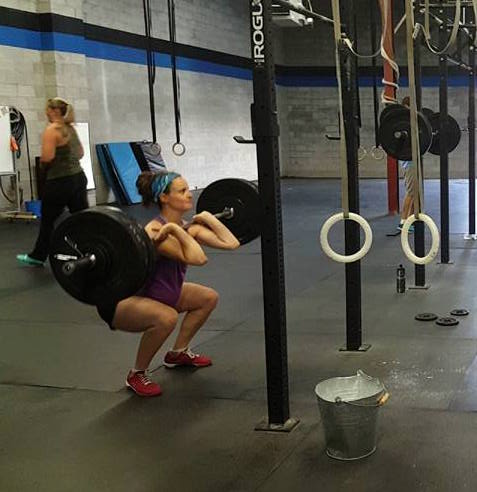
- 22 weeks – all WODS with squats/presses etc. from the floor, I started taking from the rack
- 24 weeks – elevated burpees. With the ever-growing belly, burpees are constantly changing! Haha. Now I put a barbell on the rig, about a few inches off the ground. Just to give me a bit of extra room to accommodate for the belly. I was able to switch to jumping out and in again by elevating them.
- 25 weeks – switched from double unders to singles.
- 26 weeks – easily tied my old back squat PR at 165#. To be fair, it was a year old and I had only been CFing for 6 months when I tested it. But still!
- 27 weeks – stopped rowing. My belly doesn’t let me anymore! Luckily it’s the summer, so running is the preferred form cardio…which I scaled to farmer’s carries (see below)
- Front/Back squats – I took about 20# off my 1RM and used that for all RXs. So if the RX was to do 5+ at 85% of my front squat 1RM (which is 155#), I did 5+ at 85% of 135# (115#).
- Strict/Push Press & Jerks – no change. In fact I PR’d my split jerk at 120# at 27 weeks!
Third Trimester
- Cardio (skipping, burpees, jumping jacks – anything except running) – step ups with a 16″ box, then a 12″ box. Scaling the number appropriately – so if the RX was 20 burpees, I would do 40 x 12″ step ups.
- Opting Out – 500m row for time, 7 minutes max burpees, max height box jump… there was no point in scaling these! Instead I cheered on my buddies or did accessory work.
- Deadlifts – from risers because I couldn’t bend over far enough! Also did sumo deadlifts to account for the belly.
- Plate Snatches – for metcons (which I did slowly).
- Pull Ups – I did exclusively ring rows at this point. Even strict, banded ring rows were hard because the band was pressing against my ever-expanding belly
- 28 weeks – running WODS modified to farmers carries (instead of rowing). A 400m run RX, would turn into 100m farmer’s carry with 2x 35# Kbs – one in each hand.
- 30 weeks – I decreased from 4 WODs/week to 3, to give me more time to recover, and another sleep in day (I normally go to the 7am class).
- 30 weeks – still squatting, all the way down. Don’t need lifters anymore because my belly keeps me in good alignment! Haha!
- 34 weeks – PRd my deadlift at 215#, although it was from risers AND in sumo stance, so range of motion significantly decreased
- 36 weeks – switched from barbell thrusters to dumbbell thrusters. I could still do barbell thrusters, but I found with the added weight out front (I’m all belly), my low back was really sore later in the day. Which is clearly not where you’re supposed to feel a thruster! Dumbbell thrusters allowed me to keep better form and not stress out my low back.
- 37 weeks – I was cruising along feeling great, until baby dropped at 37 weeks. Suddenly I was waddling and all movements became much more challenging. Cue air squats, walking, gentle step ups and pretty high ring rows!
- 38wks + 3 days – my last WOD. I fully planned on working out, lightly, until I went into labour. But that evening, I was quite achey from the WOD and I started thinking about what it would be like if I went into labour right then. Labour is a highly demanding WOD – lol – and I didn’t want to go in depleted. I made the decision then and there to stop CFing for the remainder of my pregnancy, build up my internal strength and walk like crazy! (Most days I did 2 x 30-45 minute walks with the dog – seeking out lots of hills. In August. During the hottest summer in 75 years.)
Emotions
So I want to briefly address this. As a competitive, Type-A individual, I love pushing my body hard (within reason), seeing improvements, hitting new PRs and getting stronger. Which is why I love Crossfit so much. I’m going to be honest with you. Modifying things during the first trimester, when my body more or less looked exactly the same, was hard. I didn’t even feel pregnant and yet, my workouts were suffering. I was frustrated, there may have been some tears. But I knew it was for the best, so I checked my ego at the door (which is critical at Crossfit regardless, otherwise you’ll get injured), and just started following the recommendations I knew were best. Once I started actually showing, and my body started changing, it was WAY easier. Of course I felt slight pangs of jealousy as my friends were doing rope climbs and I was doing ring rows, but, I was also doing 20# weighted ring rows, and GROWING A BABY! I took pride in what I was able to do, while pregnant, instead of what I couldn’t do.

Summary of Modifications
Bench Press – elevated push ups.
Box Jumps – change to step ups. Reduce height as pregnancy progresses.
Burpees – burpees to plank, step outs to plank, slightly elevated burpees (using a box, or a bar on the rig), elevated burpee step outs.
Cleans – once belly is present, switch to dumbbell cleans or front squats.
Deadlift – maintain proper form. Decrease weight as necessary. Pull from risers. Adopt sumo stance if belly is in the way.
Double Unders – single unders, then step ups.
Handstand Push Ups – dumbbell/barbell press
KB Swings – maintain proper form. Decrease weight as necessary.
Muscle Ups – strict C2Bs + ring dips. Ring rows + supported ring dips.
Presses/Jerks – no changes necessary. Or switch from barbell to dumbbells if more comfortable.
Pull Ups – as belly starts to develop, eliminate kipping pull ups. Strict pull ups (banded if necessary) and ring rows for high volume.
Push Ups – elevated push ups. Ring push ups.
Ring Dips – maintain proper form. Stop kipping as belly develops. Floor/box supported dips. Bench dips.
Rope Climbs – strict pull ups. Ring rows.
Rowing – maintain good form. Decrease intensity as necessary. Shift to step ups or farmer’s carries (see running) if belly is in the way.
Running – maintain form, keep breath rate reasonable so you can have a conversation. Out of breath = baby has no oxygen. If you are uncomfortable running, switch to rowing or farmer’s carries. Row the same distance as the running RX. Do 25% the distance for farmer’s carry, with a dumbbell or KB in each hand.
Sit Ups / Toes to Bars – stop altogether, to prevent damaging your abs (Diastasis Recti). Sub plank variations, push ups, KB swings, air squats, GHD holds.
Snatches – once belly is present, switch to single-arm dumbbell snatch, plate snatches or OH squats. Or work on snatch balances.
Squats – maintain proper form. Decrease weight as necessary. Widen stance slightly. Take from rack if the RX is from the floor.
Sumo Deadlift High Pull – first modify to rowing or using a KB. Once belly starts getting too large, do high volume deadlifts, slightly higher weight than RXd for the SDHPs.
Thruster – maintain proper form. Decrease weight as necessary. Switch to dumbbells to maintain form if necessary.
Wallballs – maintain proper form. Decrease weight as necessary.


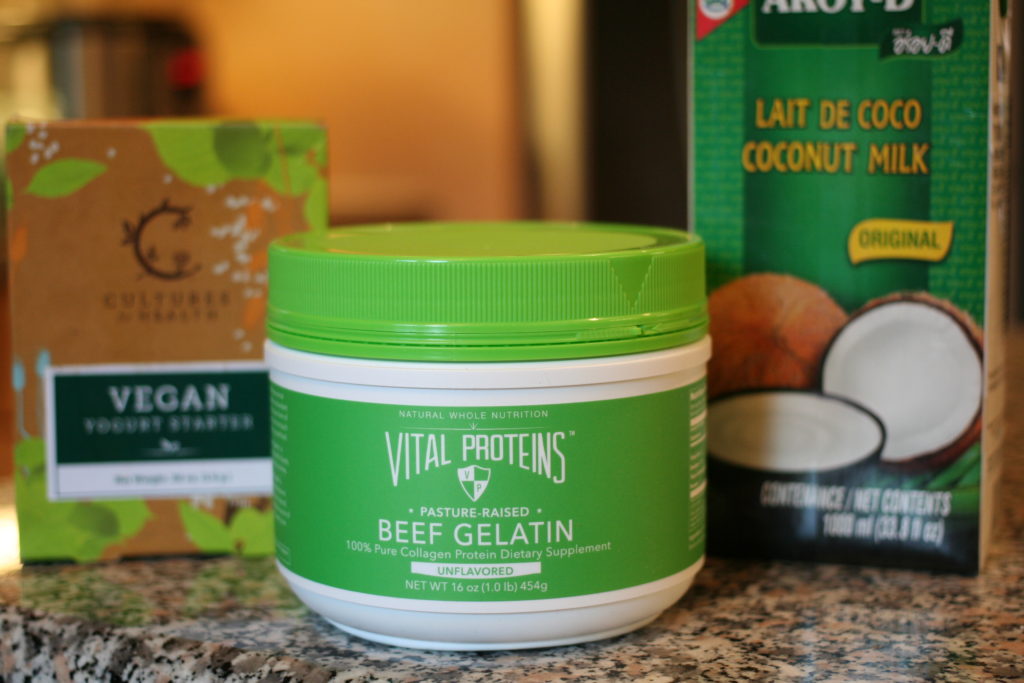
 Yogurt is one of the foods I miss the most, since having to avoid dairy. Unfortunately there are no good alternatives out there. And while there are some expensive cultured almond or coconut snacks available, they are filled with stabilizers, gums and other weird ingredients – so I don’t touch them. Not to mention they’re always super low fat, so what’s the point? I had resigned myself to not having any yogurt ever again, until I got an