This recipe came out of troubleshooting the following food-related challenges opportunities I was posed with last week:
We have cucumbers growing like crazy in our garden right now, and I needed to use them up in any way possible. They were large field cucumbers, which worked just fine, but I think smaller english cucumbers (with no seeds!) might work a bit better.
We received an eggplant in our weekly CSA bin, and I don’t normally cook with eggplant. To be honest, I don’t really love eggplant, but I didn’t want it to go to waste. This is what I will do with eggplant going forward!
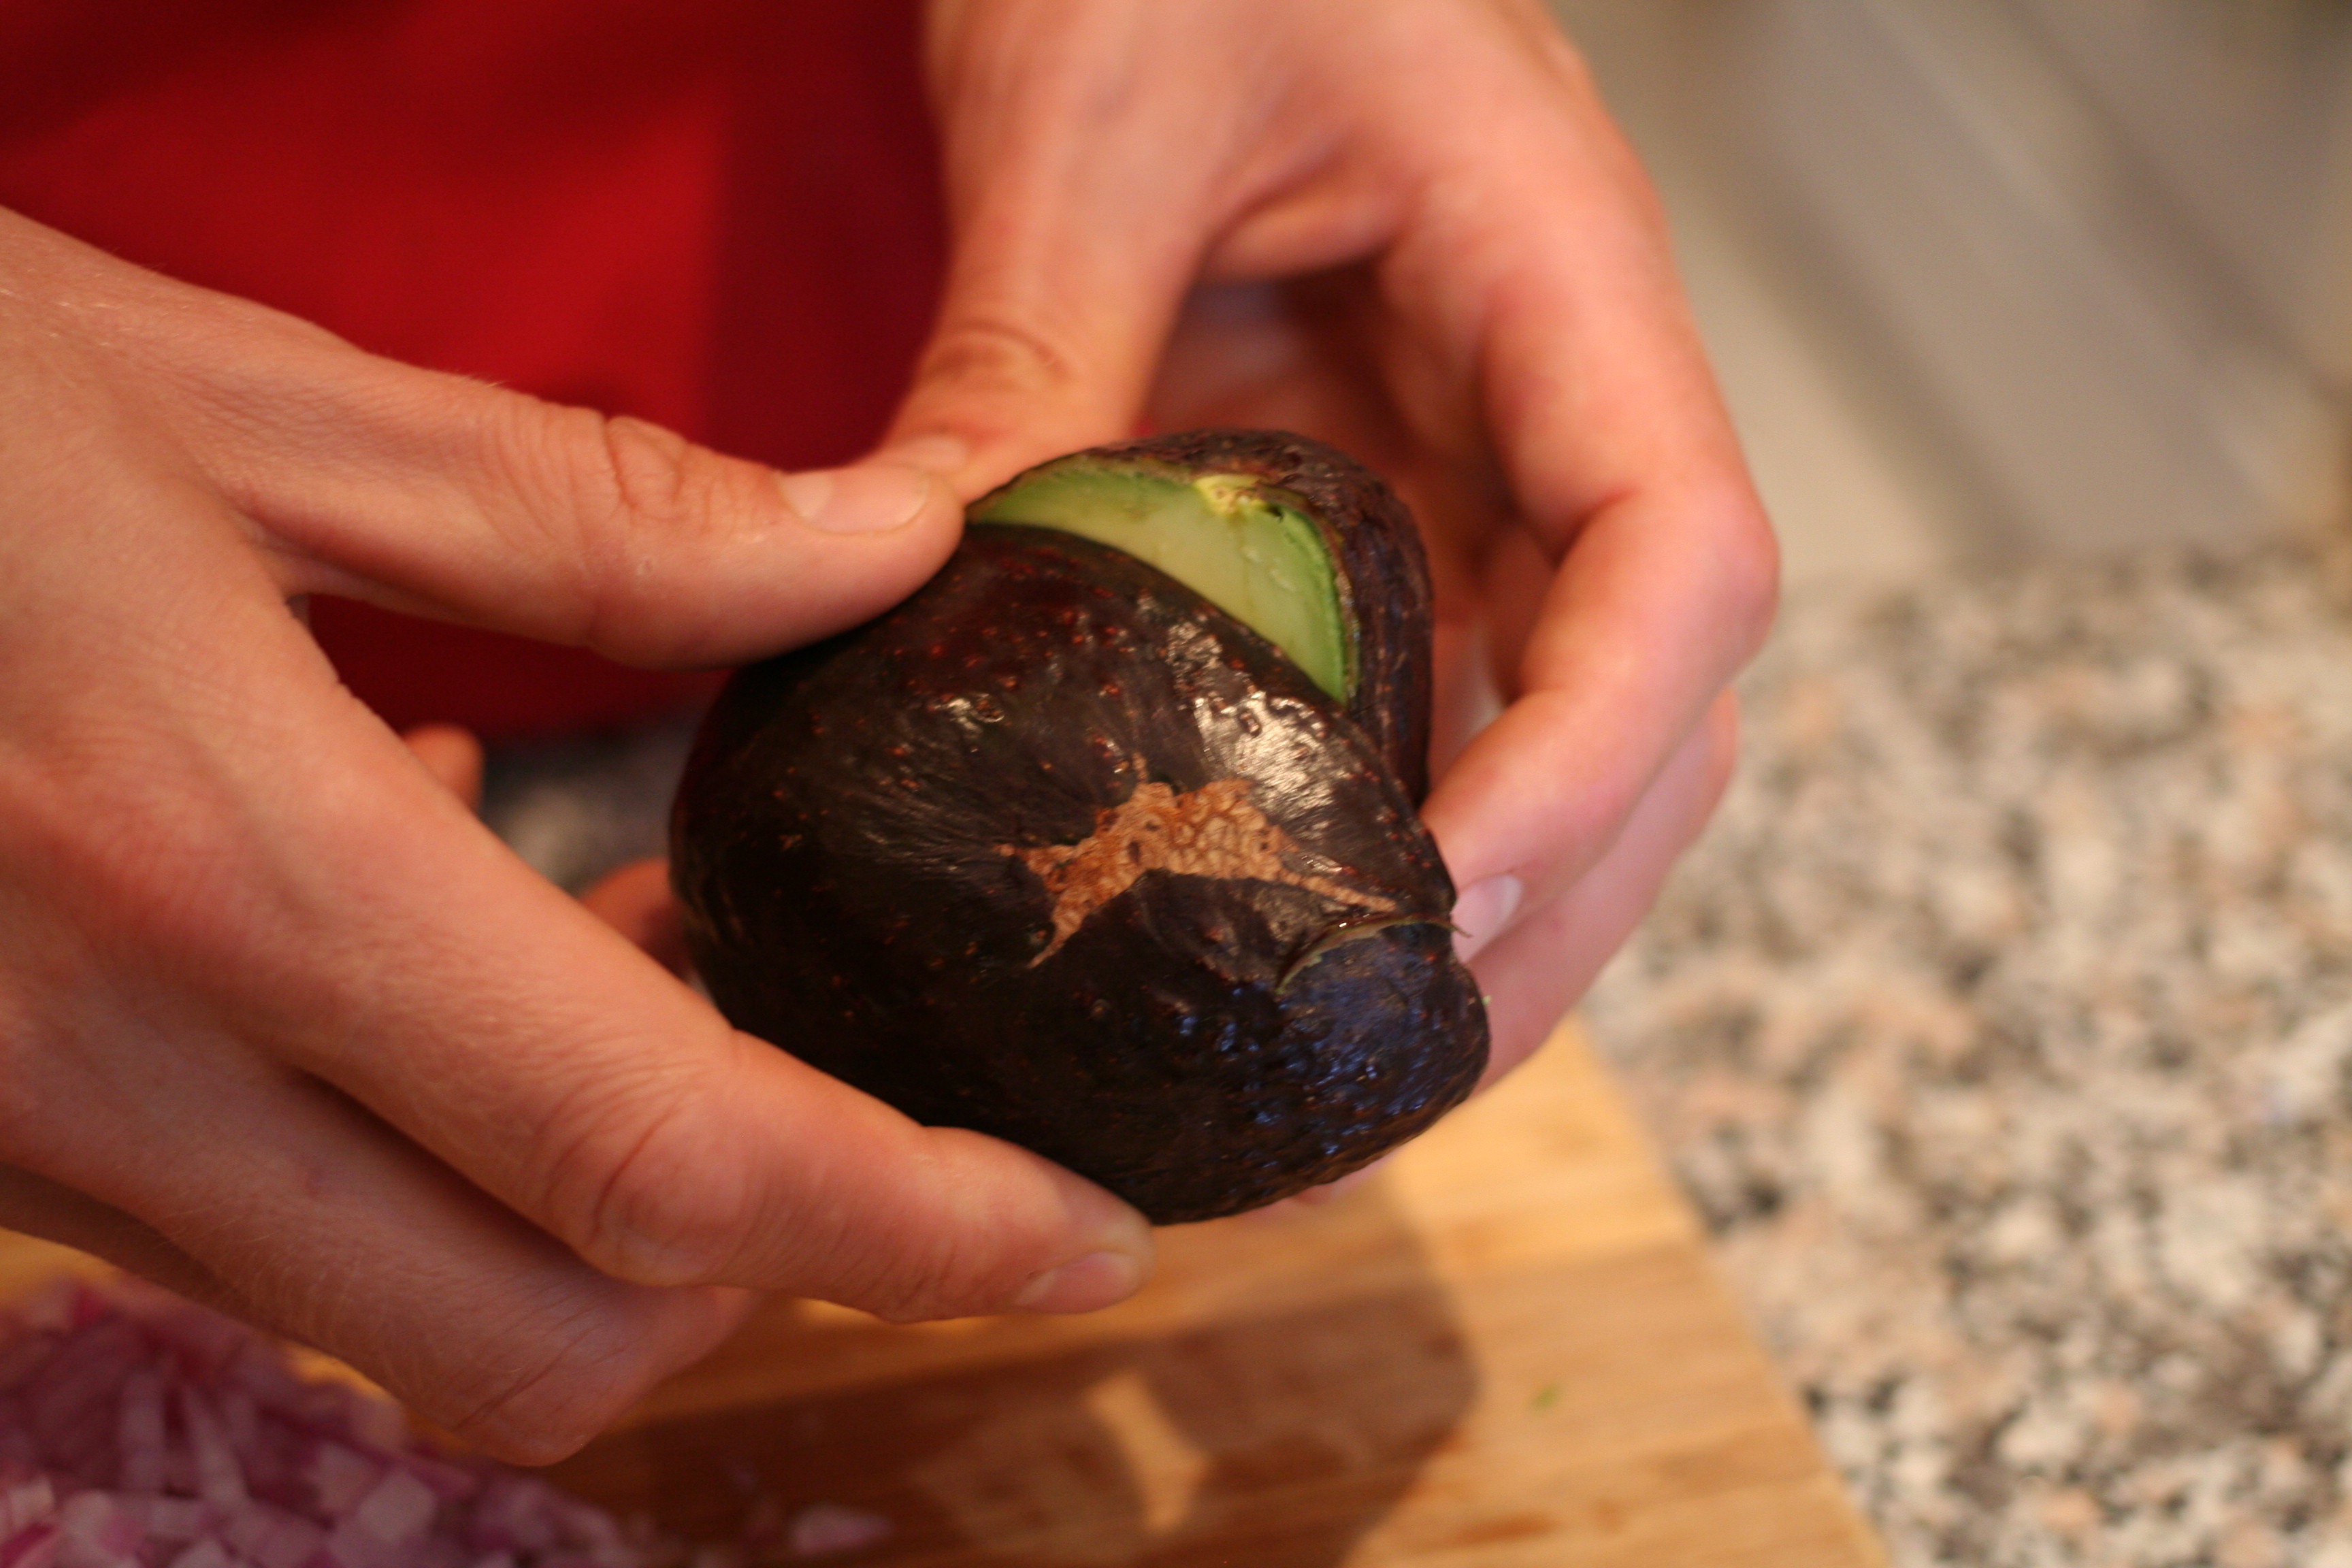
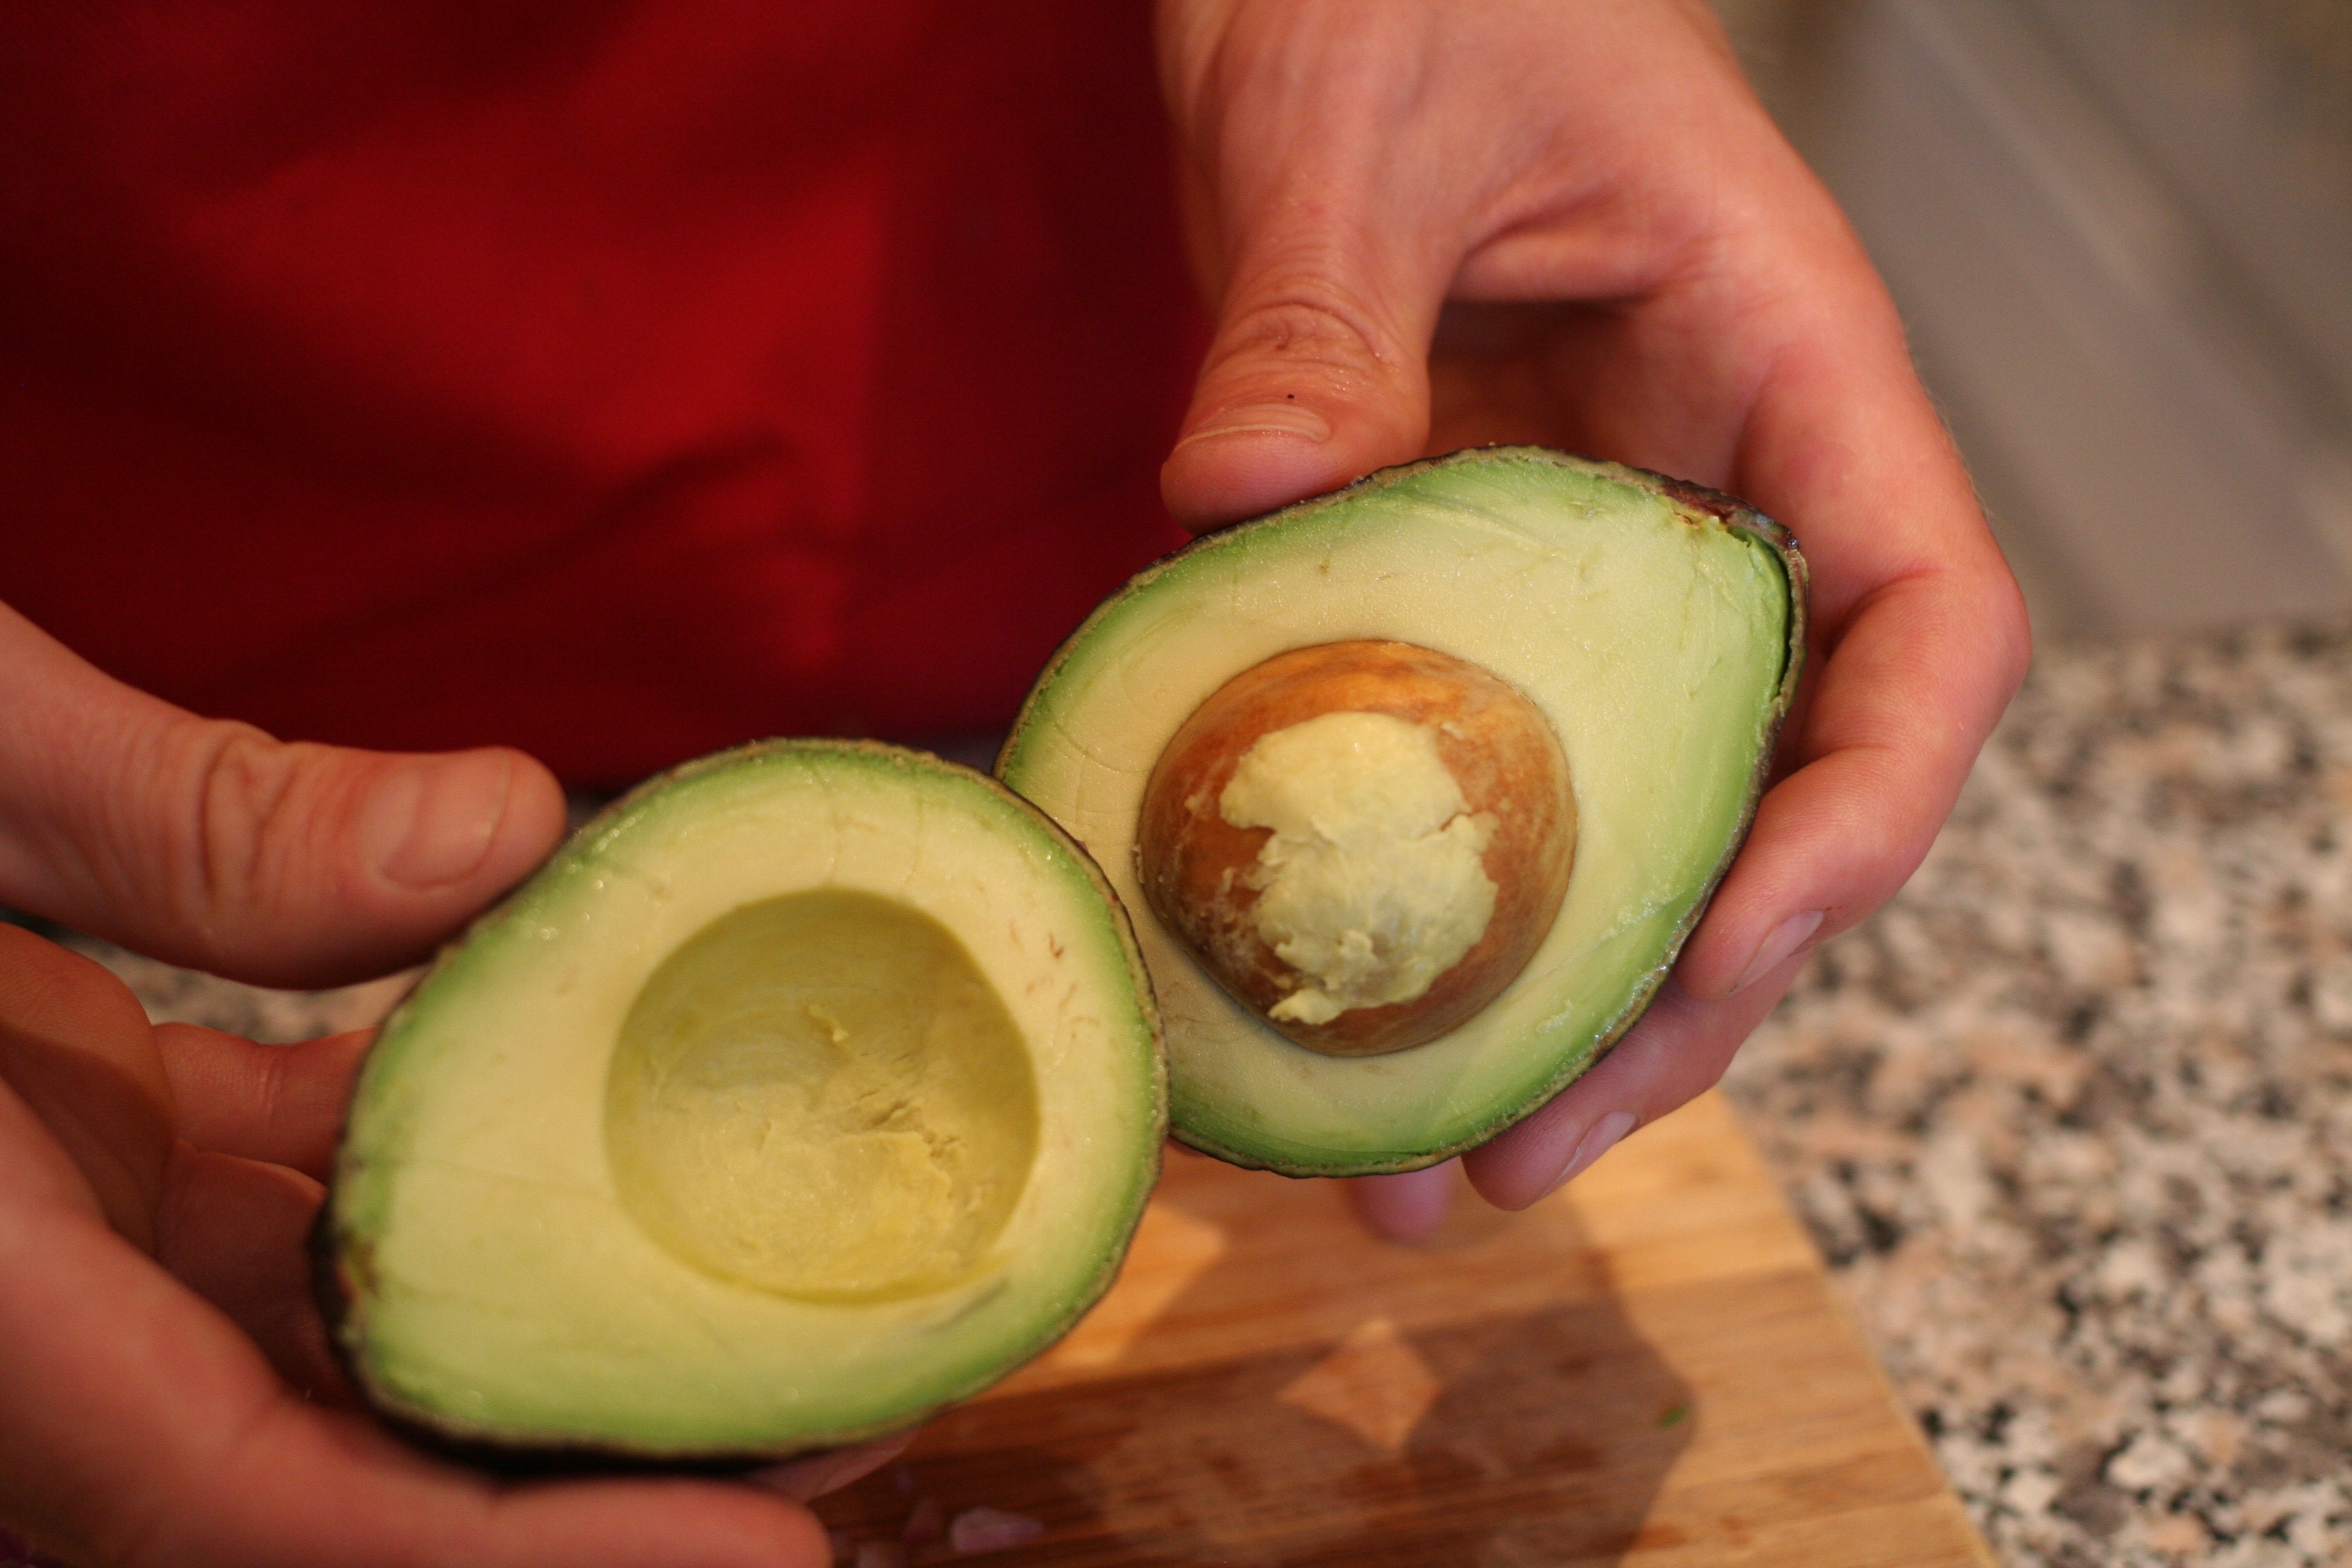
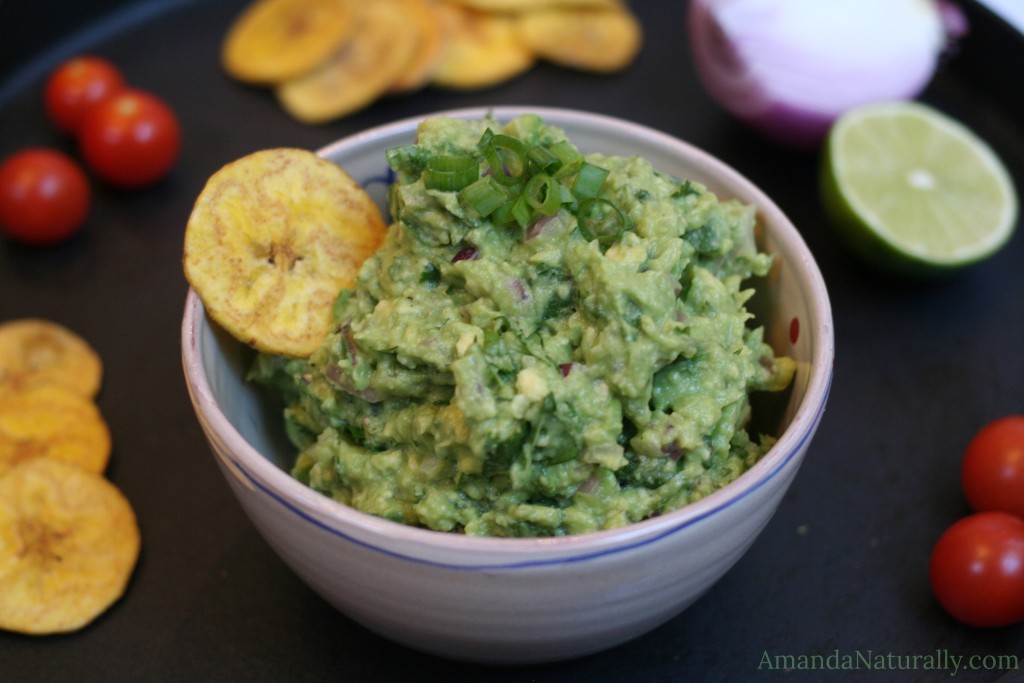
I needed to create an appetizer that I can eat (grain, dairy, legume free), but that was also vegetarian friendly. Guacamole is usually our go-to, but that was already being brought to the event, so it was time to get creative!
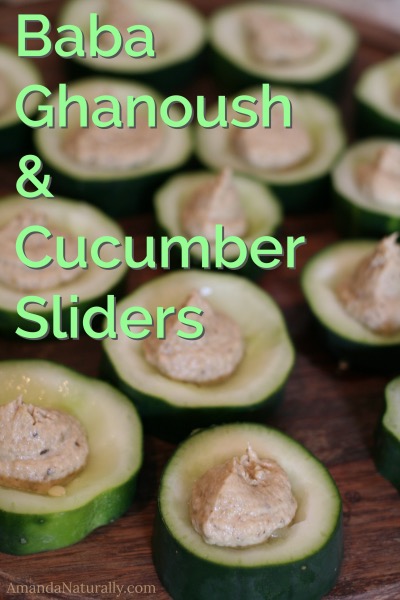
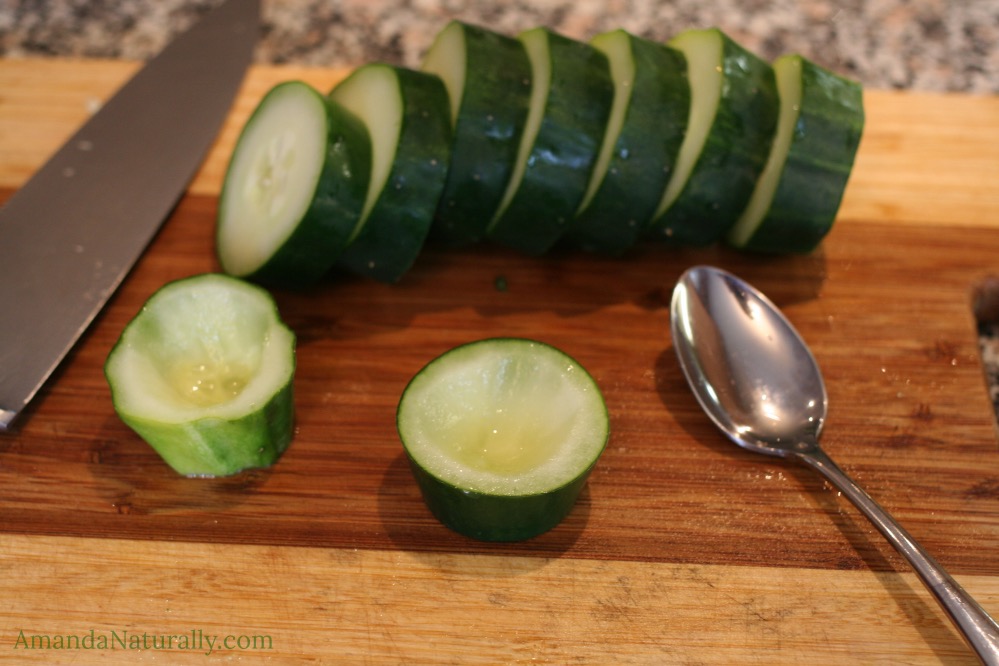
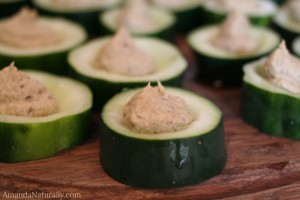
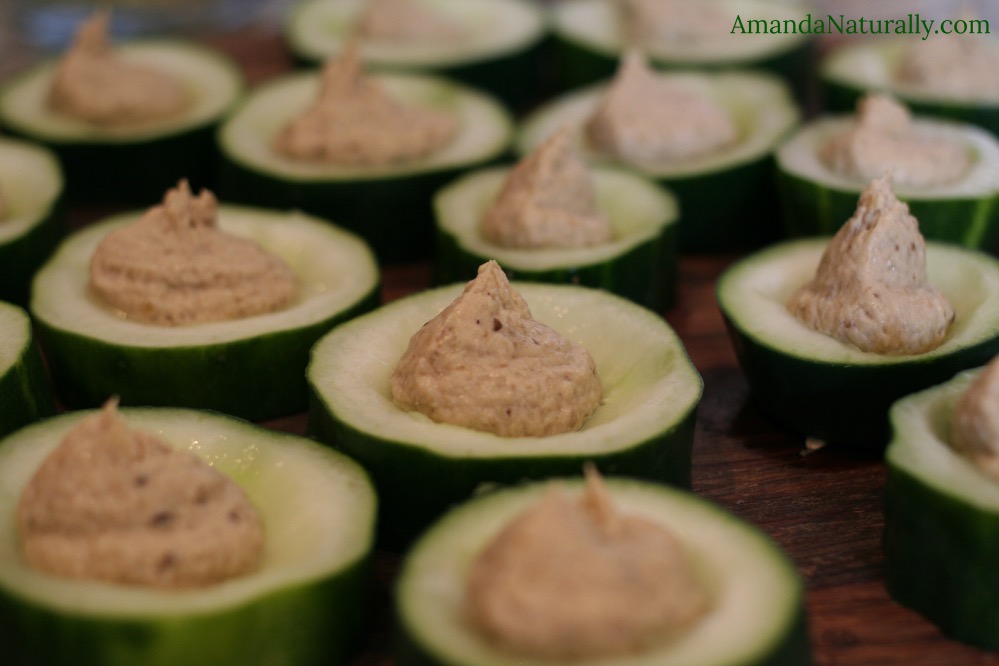
So many appetizers are based on bread, and since bread is such an epically nutrient-poor, processed food (even the gluten-free versions!) I thought I would use cucumber slices in place of a cracker or crostini, and top it with baba ghanoush (roasted eggplant dip). To make sure the dip didn’t slide off the cucumber, I cut the cucumber into thicker discs, and scooped out the flesh in the middle to make it a little cup. They worked great!
You could easily use this same approach and fill the cucumber cups with guacamole, egg/tuna salad, salsa or hummus/bean dip (if tolerated).
Baba Ghanoush & Cucumber Sliders
2015-09-03 11:06:50
A delicious, nutrient-dense appetizer that is free of grains and dairy. Vegan friendly as well!
Avocado’s are the best. They are jam-packed with nutrients, fibre and healthy fat. And they’re freakin delicious too!!! Adding half an avocado to your eggs, salad, or burgers, is the perfect way to not only get in some additional nutrition, but to make sure your meal will be filling for hours. Also, please note that the fat/calorie content of the avocado is not to be feared. The era of “1/8th avocado per day” is long gone. Avocados are not going to jack up your cholesterol. They’re not going to make you gain weight (unless you go bananas on them, but that can happen with any food) – I regularly eat 2-3 halves/day, often more if I’m hungry. Enjoy this yummy food free of worry forever and ever!
A lot of people are a little nervous the first time they buy an avocado. That’s totally normal. It’s a weird little fruit that requires a few tricks to peel/open it and not destroy it in the process. This article is designed to help de-mistify the avocado and teach you how to make the food that avocado shines in…guacamole!
Step 1 – Determining if Your Avocado is Ripe!
Okay so this is probably the trickiest part of the whole process and it is pretty important. Once you cut into that avocado, it will no longer ripen. If you open it up and it’s really tough inside, there’s nothing you can do but toss it. So how do you determine if your avocado is ripe? I personally use the squeeze test:
Not Ripe: avocado is hard as a rock and bright green
Almost Ripe: avocado gives slightly when you squeeze it, but still fairly hard
Salad Ripe: avocado gives when you squeeze it and leaves a slight indent. Perfect for salads and burger toppings.
Guac Ripe: avocado easily gives when you squeeze it and stays indented. Fabulous for guacamole, and still totally great on salads and burgers!
Over Ripe: avocado is black; you squeeze and it easily gives way to the pit inside; the inside feels like liquid; or there’s mould on it.
The more you use the squeeze test, the better you’ll become at determining if the avocado is ready to go or not! However, if that’s a little too subjective for you, I recently saw this neat trick floating around Facebook. Originally from Northwest Edible Life – this photo shows how removing the stem will tell you if the avocado is ripe or past its prime:
Step 2 – Storing Your Avocados
If your avocados are hard as rock, store them on the counter for a few days to let them ripen. Speed ripening by keeping them near other fruit such as bananas and apples. (Warning: this will also ripen the fruit faster!)
If your avocados are perfectly ripe, or when they reach that desired ripeness on your counter, move them to the fridge. You get a few extra days out of them this way – unless of course you want to eat them all at once! I find if I move the avocados to the fridge as soon as they hit the “salad ripeness” (ie. as soon as they give a bit under pressure), they last a good week before they move into that over-ripe zone.
Step 3 – Opening Up The Darn Thing
1. Using a sharp knife, cut into the avocado, lengthwise. The pit will stop you from going further. Rotate the knife all the way around the pit.2. Twist the 2 halves in opposite directions.The pit will stay in one half. If you are only eating half, choose the one without the pit. Store the half with the pit still in it, in the fridge. This will prevent it from browning.3. Using a chef’s knife, sharply strike the pit with the sharp side of the knife. The knife should stick into the pit.4. Hold the avocado steady and twist the knife (as it’s attached to the pit).Voila!
Step 4 – Making Guacamole
Ingredients:
3 ripe avocados
½ red onion (or 1 small onion)
juice of 2 limes
1 cup loosely-packed cilantro
sea salt, to taste
green onion to garnish (optional)
Directions:
1. Cut open avocados. Slice avocado horizontally and vertically (a.k.a. make a grid with the knife).
2. Use a spoon to scoop out the avocado into a bowl.
3. Juice 2 limes and add to the bowl.
4. Dice red onion finely and add to the bowl.
5. Season with a bit of sea salt and mash away! I use a potato masher, but a fork or meat tenderizer both work fine.
6. Taste and season with more sea salt, or add additional lime juice, based on you preference. Top with green onion if desired and enjoy! My personal preference is to enjoy guac with plantain chips or clean potato chips. The hubby loves it on organic blue corn chips!
GUAC HACK: If you’re making guacamole in advance and you don’t want it to turn brown, there are 3 tricks you can use:
Cover with lime juice (downside: much more lime flavour)
Place saran wrap directly on the guac so no air can get in (downside: plastic, waste)
Place the pits of the avocados in the bottom of the bowl, right in the guacamole. I learned this trick from a dear friend of mine who’s Argentinian and says that’s the only way to do it. This is what I do now!
So tell me – what’s your favourite way to enjoy guacamole??
Have you had coconut milk ice cream yet? If your answer is anything other than “hell ya”, go out and get some right now! Specifically the brand Luna and Larry’s Coconut Bliss because it has the cleanest ingredients. It’s like the Hagen Daaz of dairy-free ice cream. Rich, creamy, and lots of great flavours (can you say dairy-free salted caramel & chocolate??). It’s amazing (I don’t work for them I swear, I just love the stuff). Other than a little bit of guar gum and their use of agave as sweetener, there’s nothing super sketchy about their ingredients. The only problem? It’s a little pricey and what do you do if you don’t have a store near you which carries them? Or what if you’re like me and you really have to be careful with the amount of guar gum you eat?
That’s where this recipe comes in!! This Summer Berry Ice Cream rivals anything that you can buy – and I’m not just saying that. Give it a try – I promise you won’t be disappointment.
This is a fairly quick ice cream recipe (with a little planning in advance) and the best part is it doesn’t require an ice cream maker (cause I don’t have one…hint hint family).
Summery Berry Ice Cream
Ingredients:
1 can of Aroy D coconut milk (400ml)
100 ml maple syrup (it doesn’t have to be exact, you’re trying to get to a total of 500ml or 2 cups of combined coconut milk/syrup)
1 tsp vanilla extract
pinch of sea salt
1 cup frozen blueberries
1 cup frozen blackberries
Directions:
1. Combine coconut milk, maple syrup, vanilla and sea salt. Stir well.
2. Pour into ice cube trays and freeze.
3. Once frozen, pop out of trays and dump into your high powered blender with 2 cups of frozen fruit. If you have a Blendtec like me, blend on “ice cream” mode. You might need to pause and scrape down the sides once or twice. (a Vitamix or food processor will work too, just be careful not to over blend!)
Scoop out and enjoy!
If you don’t serve it all up at once, you can put it back in the freezer for later. If it’s too hard, pull it out 5-10 minutes before you want it, to let it soften.
So tell me, what flavour of ice cream should I make next?