Tag Archives: school lunch

Pumpkin Spice Muffins

Pumpkin Spice Muffins | grain free, gluten free, nut free | AmandaNaturally.comWell it’s about time I posted a pumpkin recipe this fall!

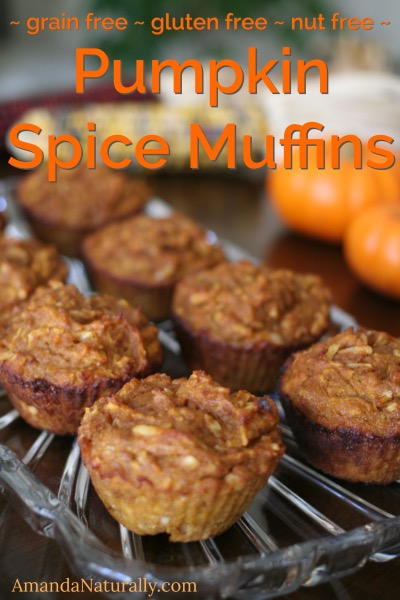
I’m a huge fan of the pumpkin-spice obsession that occurs as of October 1. Normally I stick with homemade pumpkin spice lattes using my pumpkin spice creamer, but sometimes I get a little more creative.

Case in point, this recipe for pumpkin spice muffins! I opened a 500mL can of pureed pumpkin for a few PSLs last week and knew I was running out of time before the remaining pumpkin went bad, so I whipped up a few dozen of these bad boys.

I have a feeling these Pumpkin Spice Muffins will become a common occurrence in our household!

NOTE: you will likely want to double this recipe. If you don’t think you will be able to finish them within a week (you will though, trust me), they freeze really well!

PS. Have extra pumpkin puree? Why not make some delicious no bake pumpkin pie squares?

Pumpkin Spice Muffins
Serves 12
A delicious, fall-inspired muffin - free of grains, refined sugar and nuts! Safe for schools. Perfect for cool fall mornings.
Write a review
Print
Prep Time
15 min
Cook Time
30 min
Total Time
45 min
Prep Time
15 min
Cook Time
30 min
Total Time
45 min
Wet Ingredients
  1. 6 eggs, brought to room temperature
  2. ½ cup coconut oil, melted
  3. ¼ cup honey
  4. ½ tsp vanilla extract
  5. 1½ cups pumpkin puree
  6. ½ cup mashed ripe banana
Dry Ingredients
  1. 1 cup shredded coconut, unsweetened
  2. ½ cup coconut flour, sifted
  3. 1 tbsp pumpkin pie spice (increase if you like really spicy muffins)
  4. 1 tsp cinnamon
  5. ½ tsp sea salt
  6. ½ tsp baking soda
Optional Ingredients
  1. raisins
  2. chopped dates
  3. pecans
  4. walnuts
  5. chocolate chips
Instructions
  1. Preheat oven to 350F. Line muffin tin with silicon liners.
  2. Combine wet ingredients in a bowl.
  3. Combine dry ingredients in another bowl.
  4. Add dry ingredients to wet and mix really well. It will thicken up after a few minutes.
  5. Using an ice cream scoop, scoop a generous serving into each muffin liner. They don't rise a lot, so fill them up to the top!
  6. Bake for 30 minutes, or until set and slightly golden.
  7. Let cool and enjoy!
Notes
  1. It is important to have the eggs at room temperature so they don't cause the coconut oil to solidify. If you don't have time to leave them out, simply place them in a bowl and cover with hot tap water for about 10 minutes, while you prepare the rest of the ingredients.
  2. These muffins freeze really well so I always make a double batch and freeze half.
Amanda Naturally http://www.amandanaturally.com/

Watermelon Jello

Watermelon Jello | AmandaNaturally.com
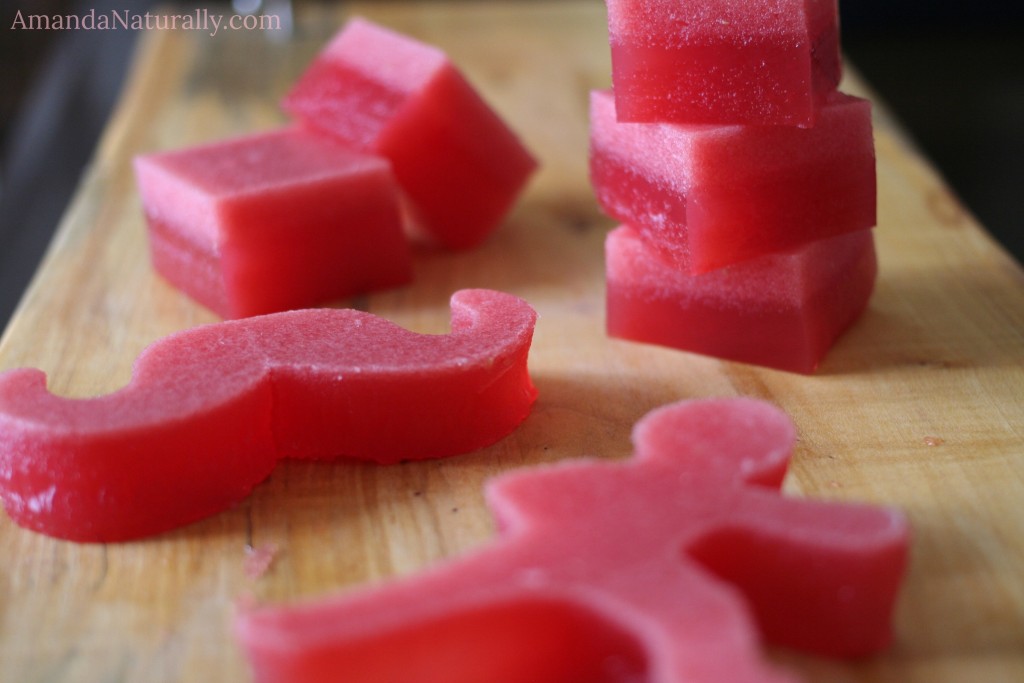
When I was in grade school, we were always allowed to bring in a treat for the whole class on our birthdays. Since my birthday was in June, and it was usually hot out, my mom would always make jello jigglers for me to take! They were always a huge hit because they were delicious, refreshing and fun. Making your own jello jigglers is super simple and can be incredibly healthy, as long as it’s not with the artificially sweetened, food dyed, jello brand.
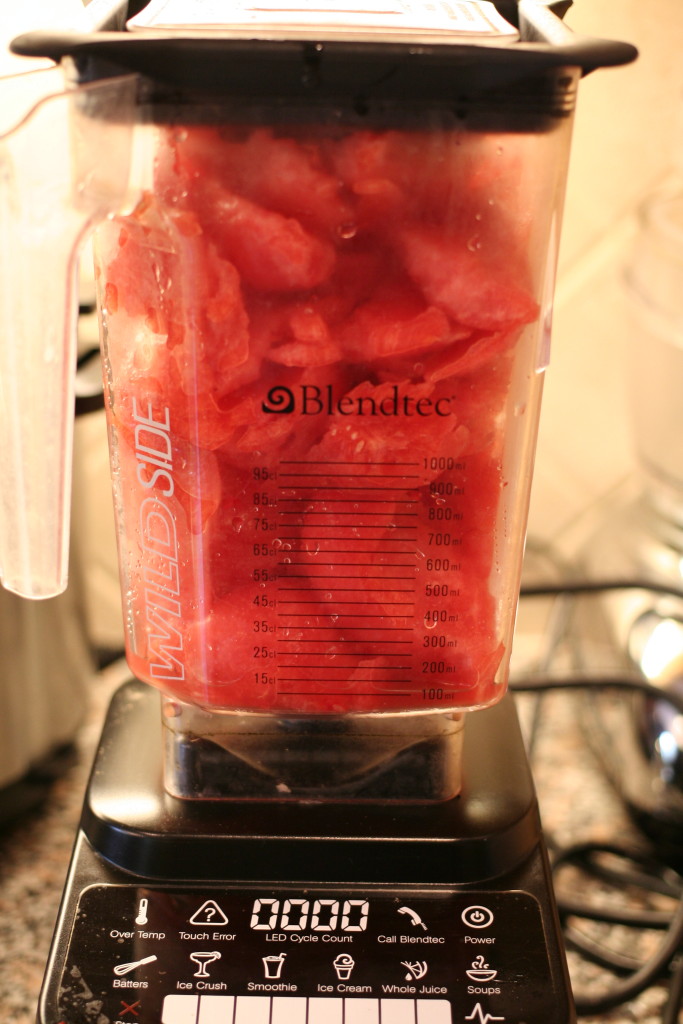
The flavour of homemade jello that I tend to make the most often is watermelon, simply because a large watermelon is a lot of fruit for 2 people to polish off before it goes bad. By turning it into jello, not only do you extend the life of the watermelon, but you have the opportunity to make an incredibly nourishing treat! Why is homemade jello so nourishing? Because gelatin, especially the grass-fed variety, is the breakdown product of connective tissue. And the best way to support our connective tissue, is to eat it! Why would we want to support connective tissue? Well it’s the scaffolding that our entire body is built upon. More specifically, it’s what keeps the gut strong (ie. not leaky!), our joints healhy and our skin firm and elastic. For more info on the benefits of consuming gelatin, check out this post. I love using homemade jello when working with parents on healing their kids guts, but adults can enjoy them just the same!


Watermelon Jello

1. Cut open watermelon and chop into pieces or scoop out using a spoon.


Watermelon Jello | AmandaNaturally.com2. Puree in your blender. You will likely have to do this multiple steps since 1 watermelon can give you a lot of material to work with! This watermelon gave 13 cups of pureed juice. (Optional: strain watermelon juice to get rid of the pulp. I’ve done this before but I find it unnecessary and time consuming. The only benefit is you get clear jello, instead of the cloudy layer on top – which I actually kind of like the look of!)

3. Stir in some raw honey and a pinch of sea salt, to your taste. For 13 cups I used 1 cup of honey. A good ballpark number is 1-2 tbsp honey per cup of watermelon. (You can absolutely omit the honey altogether and just use the fruit juice!)

4. Measure your total liquid amount (watermelon + honey). Mine was 14 cups.

5. Place half the liquid in a pot over low heat. Stir frequently and heat until very warm. DO NOT BOIL.

6. Meanwhile, place the other half of the liquid in a bowl and add the gelatin. The amount you need is 1 tbsp gelatin per 1 cup of liquid. So I used 14 tbsp gelatin (or ¾ cup + 2 tbsp). Let the gelatin bloom for about 5 minutes, while you warm the other half of the liquid.

7. Once the gelatin has bloomed (either entirely or mostly), and the liquid in the pot is very warm, dump the gelatin/liquid mixture into the pot. Whisk thoroughly to combine.

NOTE: Small batches work well with allowing the gelatin to bloom and simply whisking it in. I find with large amounts of gelatin like this, the gelatin clumps together. So when you dump it into the pot, use an immersion blender to break up all the gelatin.

8. Pour mixture into silicon muffin liners/tins, cake pans or chocolate moulds.

9. Refrigerate for 1-2 hours before popping out of moulds or cutting into jello jigglers. You can simply cut into squares, or have some fun by using cookie cutters! 


Did any one else’s mom make jello jigglers when they were a kid? Every time I make these I get super nostalgic!

Simple Coleslaw with a Lime Vinaigrette

Simple Coleslaw with a Lime Vinaigrette | vegan, grain free, AIP | AmandaNaturally.com
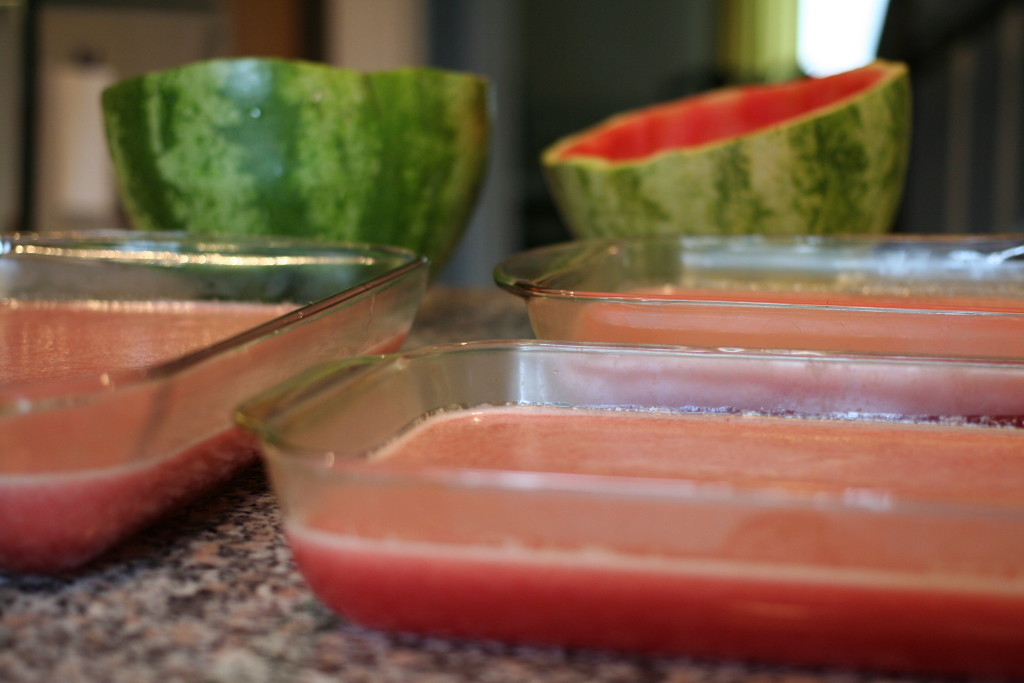
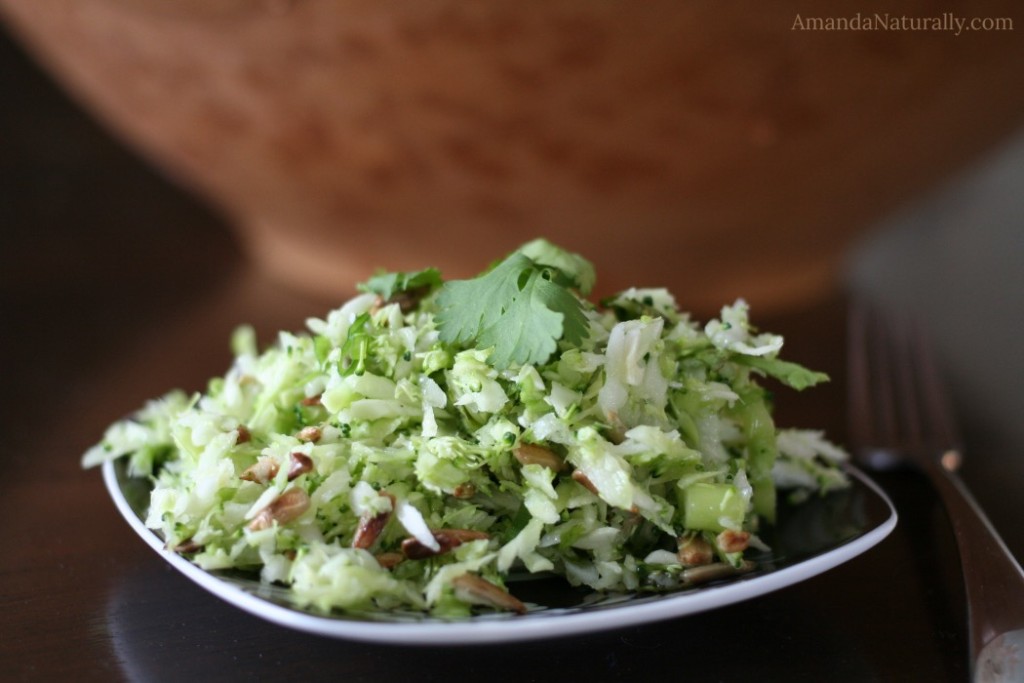
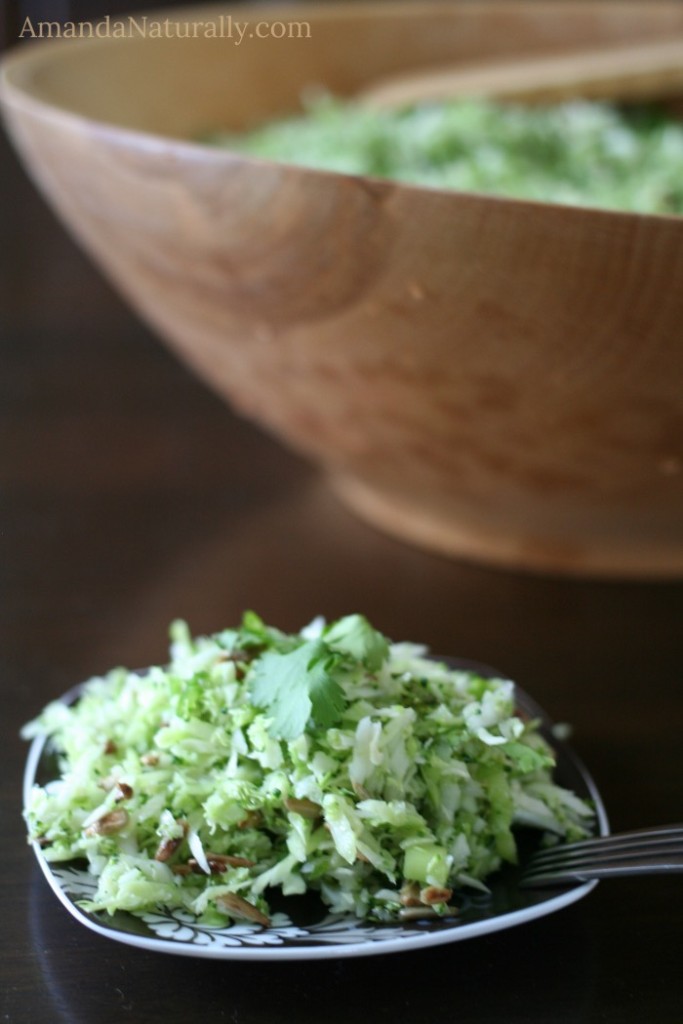
As someone who never liked mayonnaise growing up, coleslaw was something that I avoided pretty passionately. I was even that weird kid who loved salads and veggies – but the mayo killed coleslaw for me. Then one day, a few years ago, I received a cabbage in our weekly veggie bin. So I hopped on the google, searched for “healthy coleslaw” and lo and behold, a vinaigrette version popped up! I made it and it was delicious. I was super jazzed to have a way of eating cabbage that I actually enjoyed.

So what’s the deal with cabbage anyway? Why am I so adamant about getting it into my diet? It’s because cabbage, along with other cruciferous veggies (kale, chard, collards, brussel sprouts, broccoli, cauliflower, bok choy), are nutritional powerhouses. Here are some of their health benefits:

  • very high in the sulfurous compound, glucosinolate, which is metabolized by the body into potent antioxidants isothiocyanate and thiocyanate.
  • isothiocyanates have also been shown to be effective in protecting against cancer, specifically breast, colon, cervical and prostate.
  • help the body excrete excess estrogens (this is particularly helpful for someone coming off of birth control, or anyone who has estrogen dominance. Also a good idea for everyone, because many of the chemicals we are exposed to daily, from plastics to fragrances to pesticides, are xeno-estrogens, which means they mimic estrogen in our body) (additional source)
  • contains sulforaphane which may reduce hypertension and improve kidney function
  • packed with nutrients – vitamins, minerals, phytonutrients, fibre
  • contains indole-3-carbinol which supports phase 2 liver detoxification, phase 1 is also supported via the sulforaphane content. This balance is important because many “liver supporters” only up regulate phase I. Phase 1 often turns chemicals into more toxic substrates, before phase 2 neutralizes them. Only supporting phase 1 liver detox can result in nasty symptoms. (Note: supporting phase 1 and 2 liver detoxification is real detox, not juice-cleansing, cayenne shooters, no protein “detox” – that’s a load of crap.)

Another reason for consuming cabbage is it’s inexpensive, it makes a large quantity and it’s on the Clean Fifteen list so it doesn’t need to be organic. Also, unlike regular salad, when you turn it into coleslaw, it gets better the longer it sits in the fridge!! This Simple Coleslaw with a Lime Vinaigrette is my go-to in the summer – for potlucks to BBQs to a simple lunch paired with a few hard boiled eggs on a hot day. There’s a lot of flexibility with the ingredients too!

NOTE: Having a food processor with a shredder attachment is incredibly useful for making slaw. However, you can chop the cabbage up old school with a knife!

Simple Coleslaw with a Lime Vinaigrette | vegan, grain free, AIP | AmandaNaturally.com

Simple Coleslaw with a Lime Vinaigrette
This simple summer salad is perfect for everything from a BBQ to a quick lunch on a hot day. Highly nutritious and budget-friendly too!
Write a review
Print
Prep Time
10 min
Total Time
15 min
Prep Time
10 min
Total Time
15 min
Ingredients
  1. 1 head cabbage
  2. 1 bunch of hearty greens (broccoli, kale, collard greens)
  3. 1 bunch of green onions
  4. 1 bunch of cilantro
  5. ½ cup sunflower seeds, toasted**
Dressing
  1. juice of 2 limes
  2. ⅓ cup raw apple cider vinegar
  3. ⅓ cup olive oil
  4. sea salt
  5. black pepper**
Instructions
  1. Using the shredder attachment on your food processor, shred cabbage. Dump in a bowl.
  2. Shred broccoli or finely chop kale/collards. Add to the bowl.
  3. Chop green onions and cilantro. Add to the bowl along with toasted sunflower seeds.
  4. Combine dressing ingredients, whisk well and toss with coleslaw.
  5. Let sit for at least 30 minutes before serving.
Notes
  1. **AIP Modifications: omit black pepper, substitute shredded coconut for sunflower seeds
  2. This coleslaw gets better as it sits! So let it sit for a few hours or overnight before serving!
Amanda Naturally http://www.amandanaturally.com/
Simple Coleslaw with a Lime Vinaigrette | vegan, grain free, AIP | AmandaNaturally.com


Copyright 2014 Amanda Naturally | Design by The Nectar Collective