Tag Archives: DIY

Red Curry Mussels

Red Curry Mussels | grain free, low carb, nutrient dense | AmandaNaturally.comMussels have been a restaurant go-to of mine for a long time now! Living with food allergies can be challenging when it comes to eating out – especially since so many people love Italian (read: wheat and cheese). However most of the time there’s a mussel dish on the menu, and usually it’s in a simple tomato or wine sauce (although my favourite is thai curry mussels – hence the recipe below!). Add a side salad, or a side of fries if you’re into that (who isn’t?!), and boom – a naturally grain & dairy free meal. Bonus is they’re usually on the appetizer section of the menu so end up being much more reasonably priced than the entrees!

So why would we want to eat mussels? Well aside from being delicious, they’re incredibly nutrient dense. Any time we eat the entire animal, we end up eating the organs, and since so many people these days are adverse to eating things like liver, kidney or heart, eating a whole-animal in the form of shellfish gets all that organy-goodness into you, without you even knowing it! (although you know it now, so try to forget it if that knowledge skeeves you out!)

Shellfish are a mineral powerhouse, specifically when it comes to the thyroid-supporting minerals iodine and selenium,  which tend to be quite low in a Standard North American Diet. Seafood is also a highly bioavailable protein that tends to be easier to digest, so if you have a weak, damaged or irritated digestive tract – or if you’re transitioning to animal proteins after avoiding them for any length of time – seafood is a great place to start. Seafood is also high in the protein glycine (also found in bone broth) which is important for supporting connective tissue in the body (ie. healing leaky gut, joints, skin and other membranes!).

Now, when it comes to actually preparing mussels at home, it’s not as straight-forward as say, baking chicken or grilling a burger. But it’s also incredibly simple – I promise! You just need to learn how, which you can below!

Red Curry Mussels

IMG_8598Ingredients

  • 4 lbs mussels, debearded
  • 2 tbsp coconut oil (or other fat)
  • 2 onions, diced
  • 2 cloves garlic, minced
  • 1 tbsp ginger, chopped
  • 1 tbsp red curry paste (I like Aroy D brand)
  • 2 cups broth (homemade is best!)
  • 2 cups water
  • sea salt (omit if using store-bought broth)
  • ½ cup full-fat canned coconut milk (I like Aroy D brand)
  • chopped cilantro, for garnish

Step 1 – Make sure all of the mussels are fully debearded. To do this, hold the mussel under running water and rinse off any debris. If there is gunk coming out from the inside of the mussel, gently pull on it until it releases and discard. 

Step 2 – At the same time as you are debearding, take note of any mussels that are not firmly closed. If slightly open, knock on it, if it is still alive it should close in response to the knocking. If it remains open, discard – you do not want to eat a dead mussel! 

Step 3 – Once all of the mussels are debearded, set them aside. Heat coconut oil over medium high and sauté onions for about 5 minutes.

Step 4 – Add garlic, ginger and curry paste and cook for about 30 seconds, stirring frequently.

Step 5 – Add broth, water and sea salt (if using), bring to a simmer.

Step 6 – Add in mussels, cover with a lid and steam for 5 minutes. 

Most, if not all, of the mussels should open up. Discard any that do not.

Step 7 – Stir in coconut milk, heat through and serve topped with cilantro. Enjoy with a side salad and sweet potato fries to dip into any extra broth!

 

Red Curry Mussels
Serves 4
Homemade restaurant-style dinner that is quick and jam-packed with nutrients. Free from dairy and grains as well!
Write a review
Print
Prep Time
15 min
Cook Time
10 min
Total Time
25 min
Prep Time
15 min
Cook Time
10 min
Total Time
25 min
Ingredients
  1. 4 lbs mussels, debearded
  2. 2 tbsp coconut oil
  3. 2 onions, diced
  4. 2 cloves garlic, minced
  5. 1 tbsp ginger, chopped
  6. 1 tbsp red curry paste
  7. 2 cups broth (homemade is best!)
  8. 2 cups water
  9. sea salt (omit if using store-bought broth)
  10. ½ cup full-fat canned coconut milk
  11. chopped cilantro, for garnish
Instructions
  1. 1. Make sure all of the mussels are fully debearded. To do this, hold the mussel under running water and rinse off any debris. If there is gunk coming out from the inside of the mussel, gently pull on it until it releases and discard.
  2. 2. At the same time as you are debearding, take note of any mussels that are not firmly closed. If slightly open, knock on it, if it is still alive it should close in response to the knocking. If it remains open, discard - you do not want to eat a dead mussel!
  3. 3. Once all of the mussels are debearded, set them aside. Heat coconut oil over medium high and sauté onions for about 5 minutes.
  4. 4. Add garlic, ginger and curry paste and cook for about 30 seconds, stirring frequently.
  5. 5. Add broth, water and sea salt (if using), bring to a simmer.
  6. 6. Add in mussels, cover with a lid and steam for 5 minutes. Most, if not all, of the mussels should open up. Discard any that do not.
  7. 7. Stir in coconut milk, heat through and serve topped with cilantro.
Notes
  1. My favourite brand of coconut milk and thai curry paste is Aroy D. It can be found at international or Asian supermarkets, or sometimes in the international aisle of a major grocery chain.

Amanda Naturally http://www.amandanaturally.com/

Laundry Detergent

Homemade Laundry Detergent | AmandaNaturally.comNatural products (cleaning, personal care and food) are important to me. One of my number one goals is to always be working to reduce my toxic load. What does that mean? Well every day we’re exposed to gazillions of toxins from things like:


  • pesticides on our food
  • pollutants from living in a city, or near a highway
  • air fresheners
  • make up
  • personal care products (shampoo, deodorant, perfume)
  • chemicals in our water
  • flame retardants on mattresses, couches, computers, clothes
  • cleaning products (kitchen, bathroom, laundry)
  • pharmaceuticals (prescribed, OTC and in our meat/dairy)
  • the list goes on and on….

Some of these things you can totally avoid by purchasing organic food, cleaning up your make up/skin care routine and changing from air fresheners to essential oils. However some you simply can’t avoid. So instead of going crazy over trying to avoid every last toxin (which is impossible), by avoiding the toxins you are able to, you take the constant pressure off your detox pathways, which will allow them to do their job when they do get exposed to toxins you are unable to avoid. Make sense?

One way is to make your own cleaning products! I’ve used vinegar, lemon, baking soda and castille soap in various combinations for kitchen and bathroom cleaning for a long time now, and I will never go back. Not only is it incredibly effective, but super inexpensive as well! 

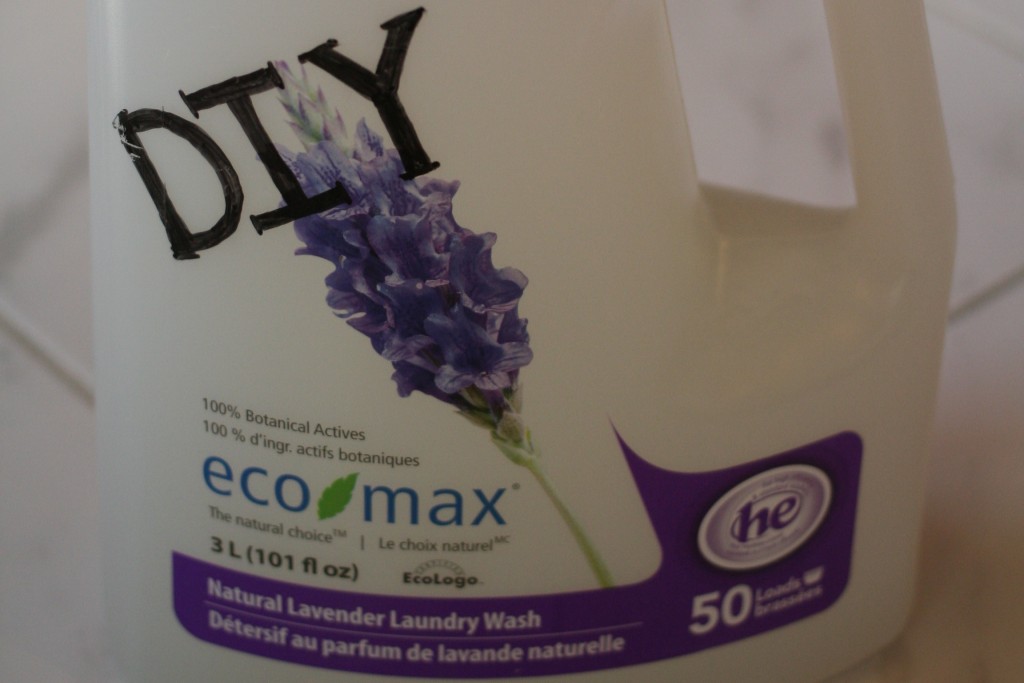
Laundry detergent, however, is something that I came to later. I purchased “clean” detergent from health food stores for years, but always wondered how effective a DIY version would be. I was hesitant to try it on any of the washing machines in my previous living arrangements, because we were renting so they weren’t mine. As soon as we moved into our first house though, I was ready to make the change. 

As with all DIY home products, I hopped over to One Good Thing By Jillee and found this post about variations on laundry detergents. I made a few tweaks and eventually came to the following recipe. I have been using this recipe in my high efficiency washing machine for 9 months now and our washing machine is doing just fine! Our clothes come out fresh and clean – even if they’re super dirty!

Homemade Laundry Detergent (adapted from this post)

Ingredients:

Directions:

  1. Pour borax and washing soda into an empty detergent container (approximately 3L in volume).
  2. Add 4 cups of boiling water. Stir/shake to combine.
  3. Fill the rest of the bottle with tap water. Let cool to about room temperature.
  4. Add castille soap and essential oil (if using) and gently swirl to combine.
  5. When using, fill the detergent holder on your washing machine to the max line. None of the ingredients are sudsy, so it won’t oversuds your laundry like using regular detergent! 

Guacamole Recipe + Avocado Tutorial

Guacamole & Avocado Tutorial | AmandaNaturally.comAvocado’s are the best. They are jam-packed with nutrients, fibre and healthy fat. And they’re freakin delicious too!!! Adding half an avocado to your eggs, salad, or burgers, is the perfect way to not only get in some additional nutrition, but to make sure your meal will be filling for hours. Also, please note that the fat/calorie content of the avocado is not to be feared. The era of “1/8th avocado per day” is long gone. Avocados are not going to jack up your cholesterol. They’re not going to make you gain weight (unless you go bananas on them, but that can happen with any food) – I regularly eat 2-3 halves/day, often more if I’m hungry. Enjoy this yummy food free of worry forever and ever! 

A lot of people are a little nervous the first time they buy an avocado. That’s totally normal. It’s a weird little fruit that requires a few tricks to peel/open it and not destroy it in the process. This article is designed to help de-mistify the avocado and teach you how to make the food that avocado shines in…guacamole!

Step 1 – Determining if Your Avocado is Ripe!

Okay so this is probably the trickiest part of the whole process and it is pretty important. Once you cut into that avocado, it will no longer ripen. If you open it up and it’s really tough inside, there’s nothing you can do but toss it. So how do you determine if your avocado is ripe? I personally use the squeeze test: 

Not Ripe: avocado is hard as a rock and bright green

Almost Ripe: avocado gives slightly when you squeeze it, but still fairly hard

Salad Ripe:  avocado gives when you squeeze it and leaves a slight indent. Perfect for salads and burger toppings.

Guac Ripe: avocado easily gives when you squeeze it and stays indented. Fabulous for guacamole, and still totally great on salads and burgers!

Over Ripe: avocado is black; you squeeze and it easily gives way to the pit inside; the inside feels like liquid; or there’s mould on it.

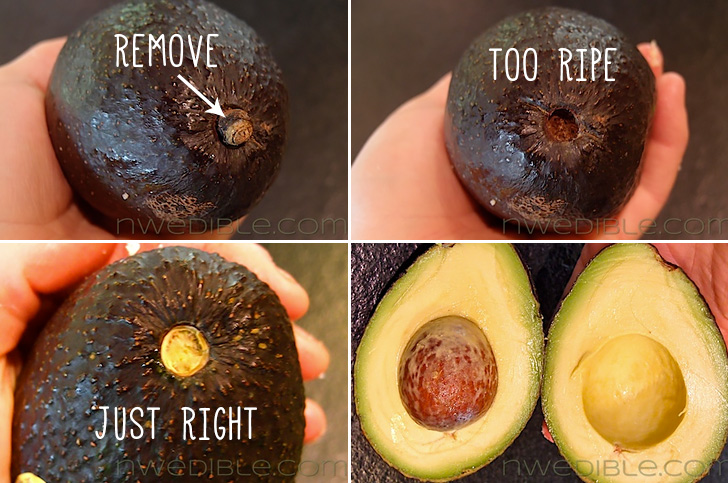
The more you use the squeeze test, the better you’ll become at determining if the avocado is ready to go or not! However, if that’s a little too subjective for you, I recently saw this neat trick floating around Facebook. Originally from Northwest Edible Life – this photo shows how removing the stem will tell you if the avocado is ripe or past its prime:

Step 2 – Storing Your Avocados

If your avocados are hard as rock, store them on the counter for a few days to let them ripen. Speed ripening by keeping them near other fruit such as bananas and apples. (Warning: this will also ripen the fruit faster!)

If your avocados are perfectly ripe, or when they reach that desired ripeness on your counter, move them to the fridge. You get a few extra days out of them this way – unless of course you want to eat them all at once! I find if I move the avocados to the fridge as soon as they hit the “salad ripeness” (ie. as soon as they give a bit under pressure), they last a good week before they move into that over-ripe zone.

Step 3 – Opening Up The Darn Thing

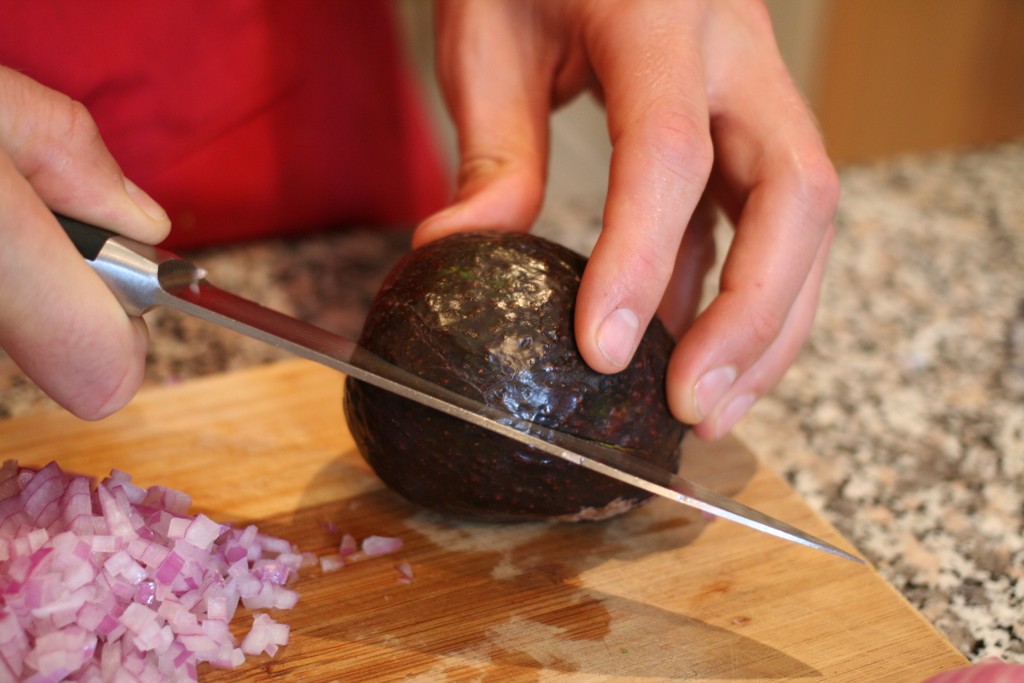
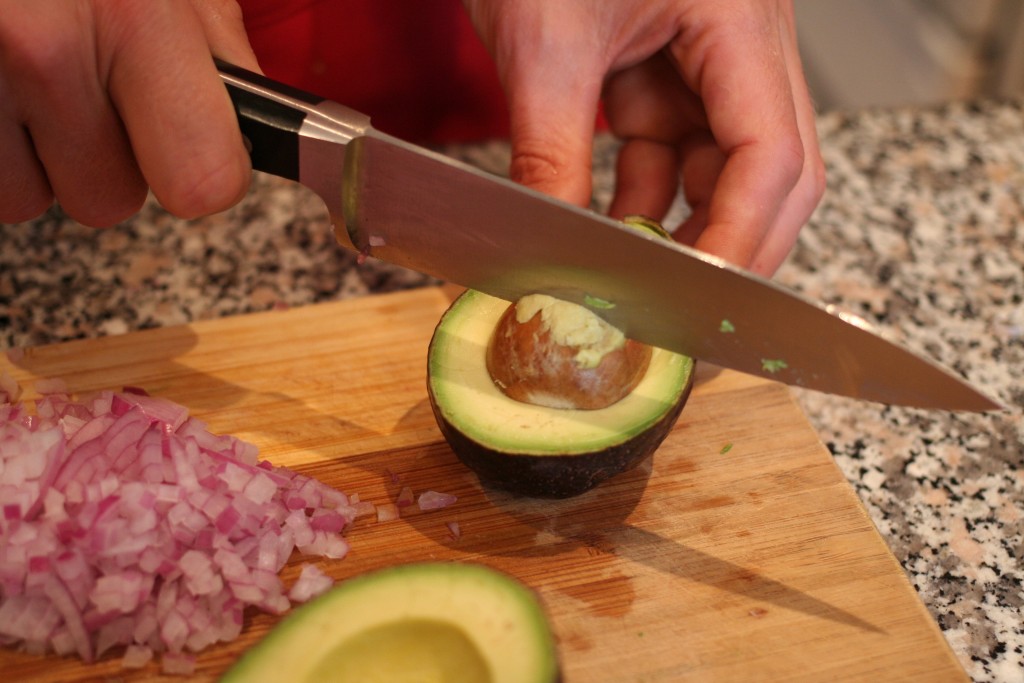
1. Using a sharp knife, cut into the avocado, lengthwise. The pit will stop you from going further. Rotate the knife all the way around the pit.
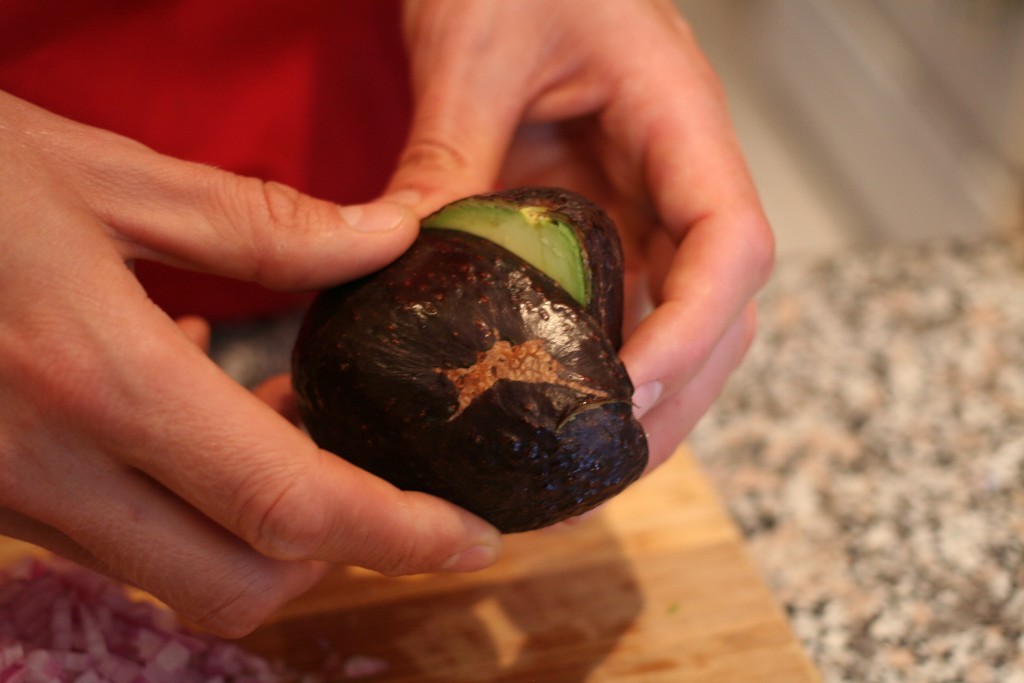
2. Twist the 2 halves in opposite directions.
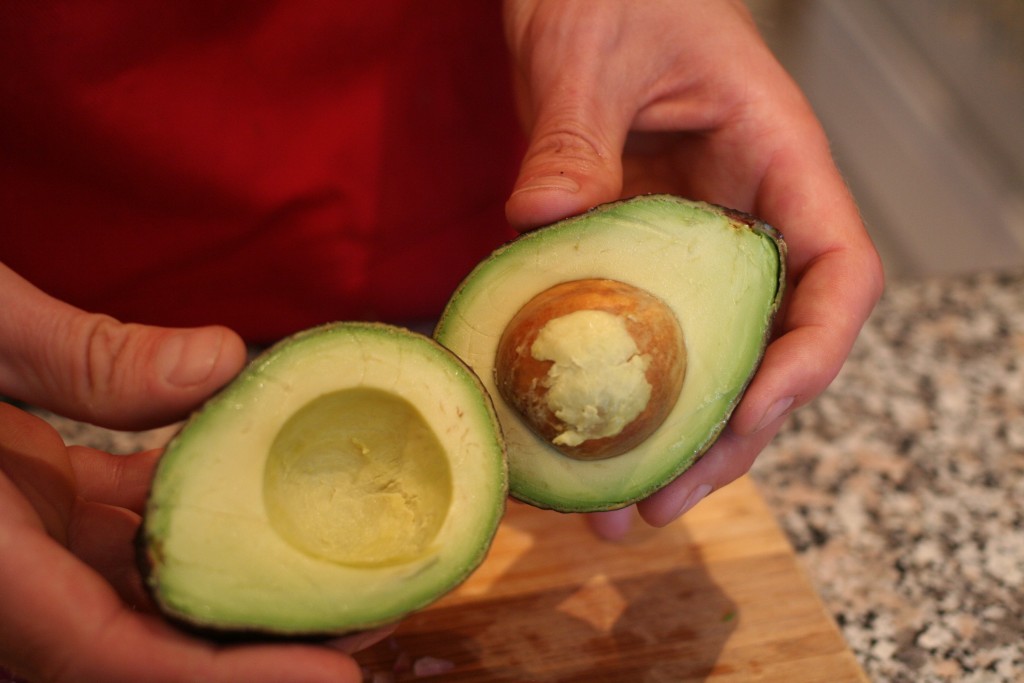
The pit will stay in one half. If you are only eating half, choose the one without the pit. Store the half with the pit still in it, in the fridge. This will prevent it from browning.
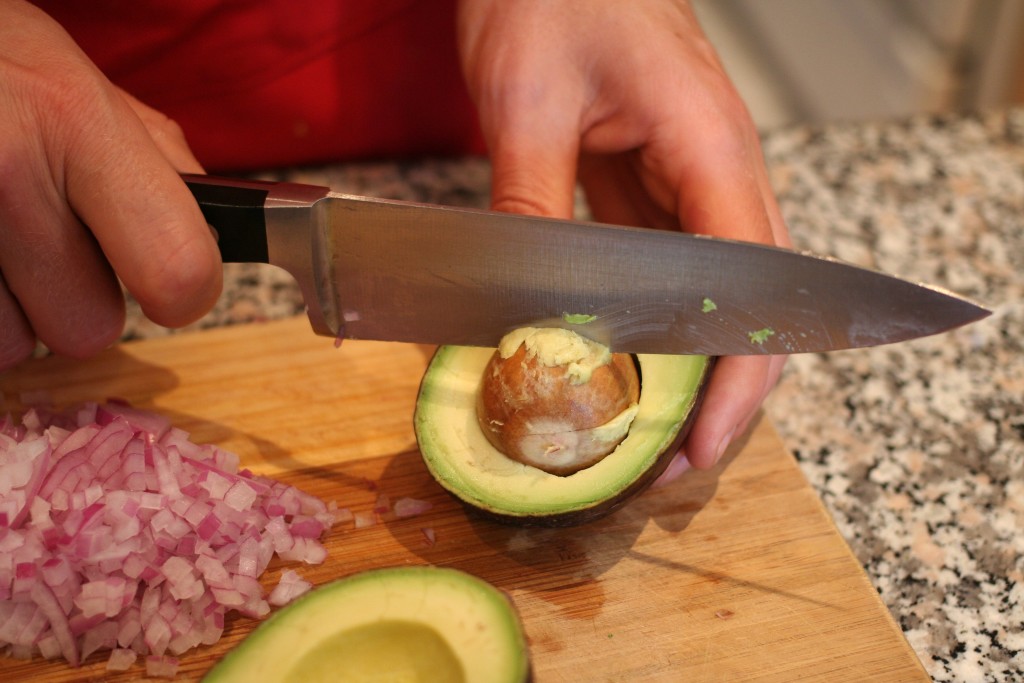
3. Using a chef’s knife, sharply strike the pit with the sharp side of the knife. The knife should stick into the pit.
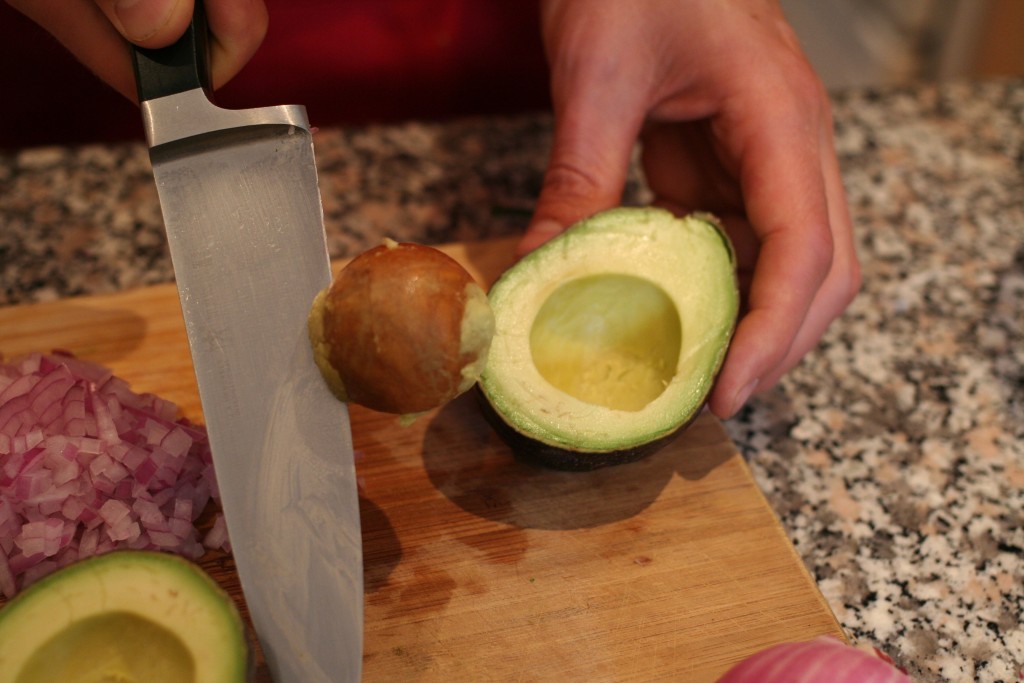
4. Hold the avocado steady and twist the knife (as it’s attached to the pit).
Voila!


Step 4 – Making Guacamole

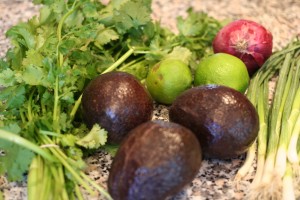
Ingredients:Guacamole & Avocado Tutorial | AmandaNaturally.com

  • 3 ripe avocados 
  • ½ red onion (or 1 small onion)
  • juice of 2 limes
  • 1 cup loosely-packed cilantro
  • sea salt, to taste
  • green onion to garnish (optional)

Directions:

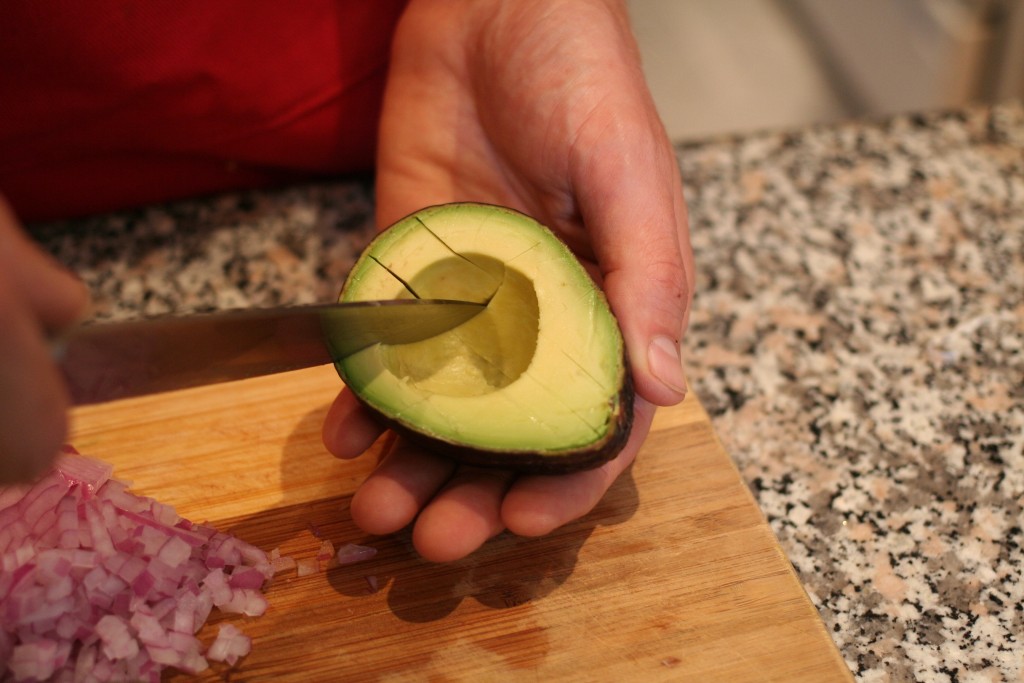
1. Cut open avocados. Slice avocado horizontally and vertically (a.k.a. make a grid with the knife).

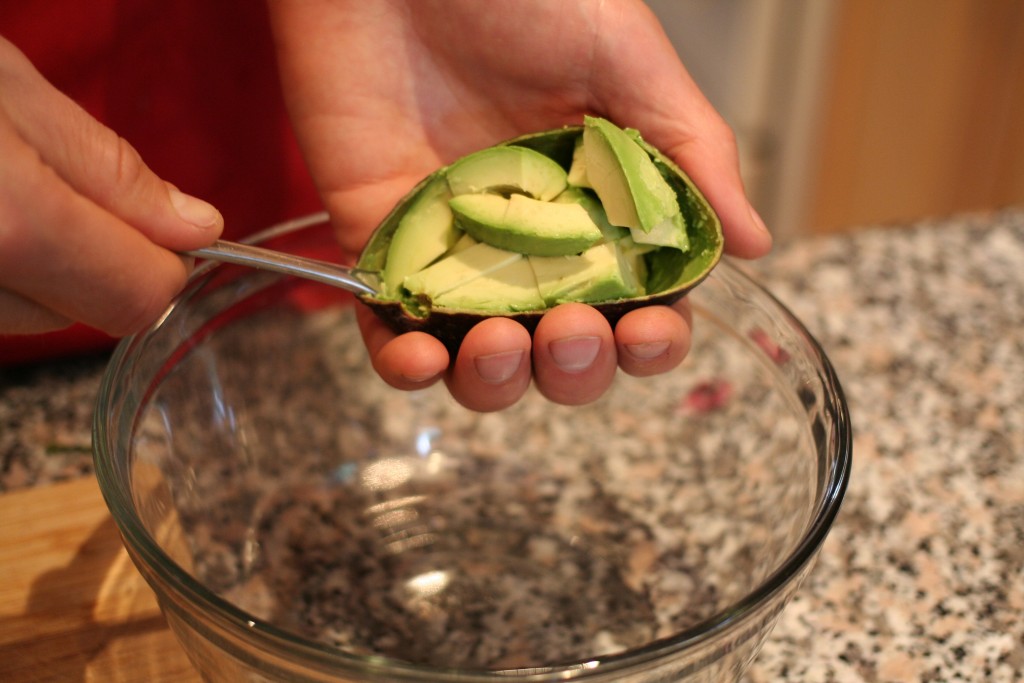
2. Use a spoon to scoop out the avocado into a bowl.

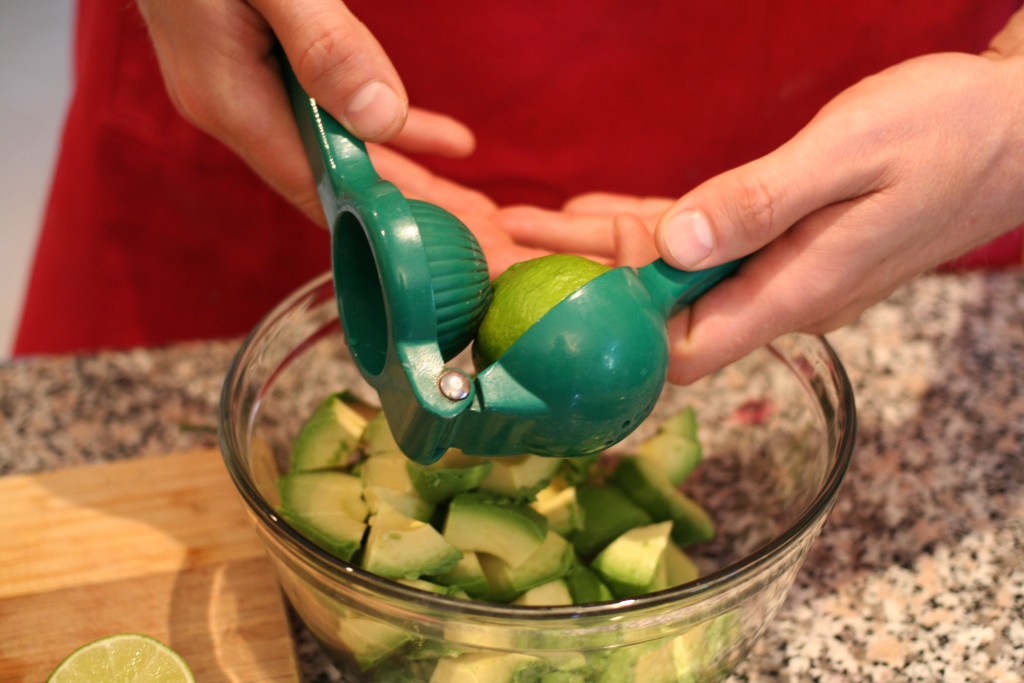
3. Juice 2 limes and add to the bowl.

4. Dice red onion finely and add to the bowl.

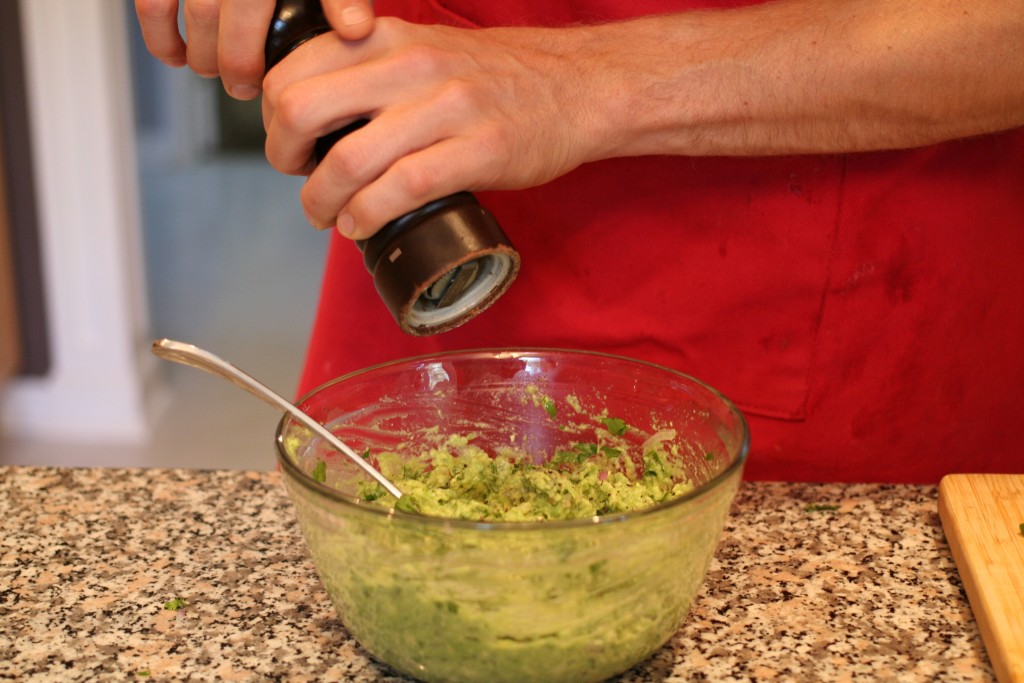
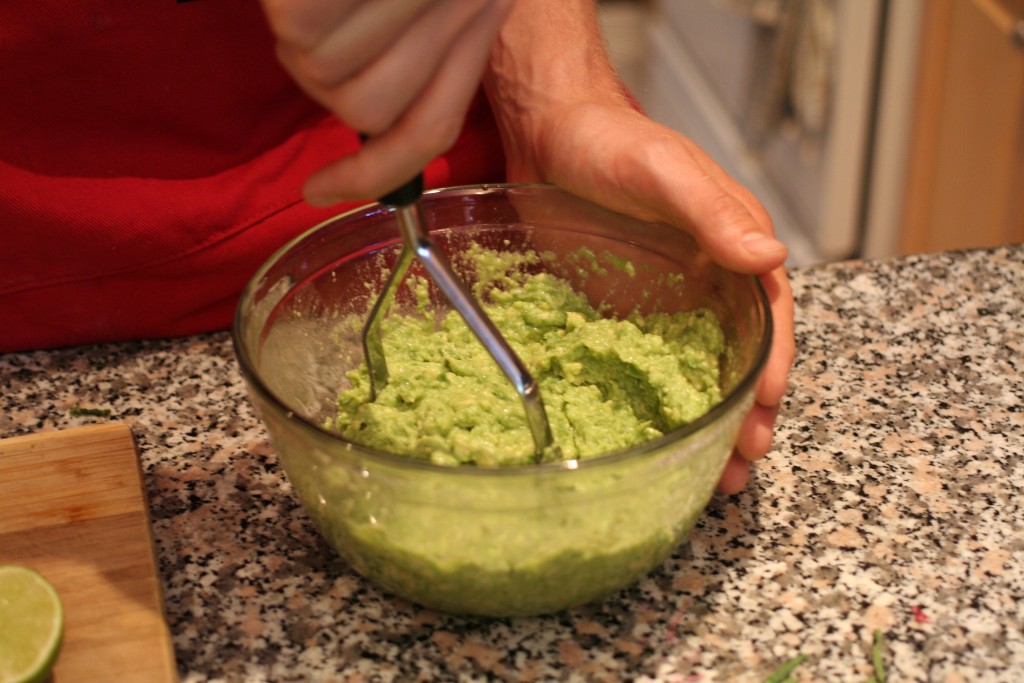
5. Season with a bit of sea salt and mash away! I use a potato masher, but a fork or meat tenderizer both work fine.

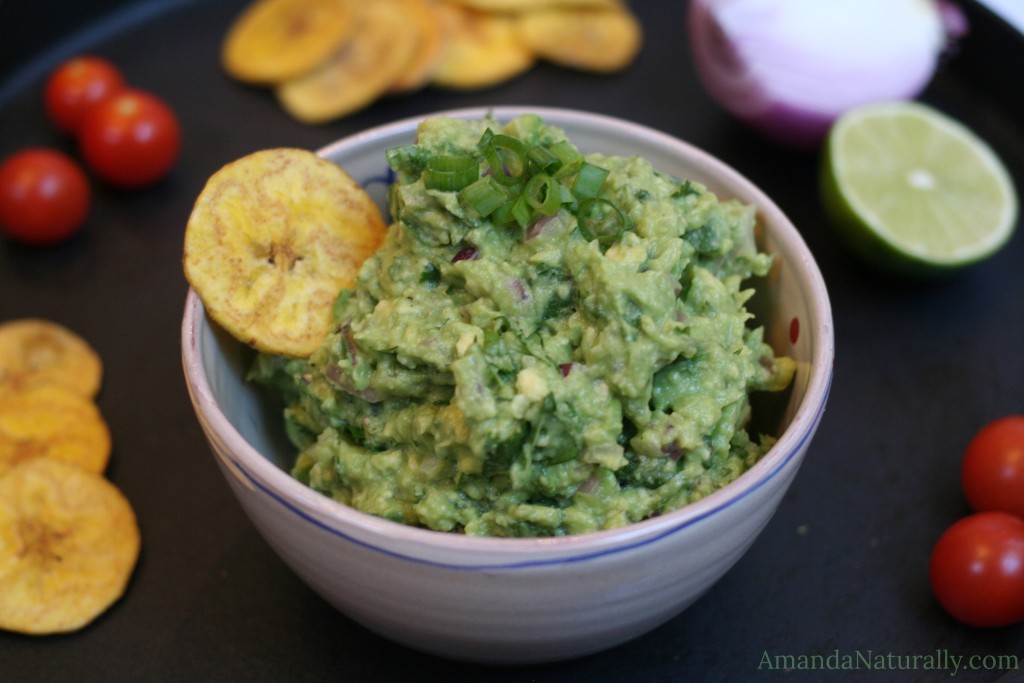
6. Taste and season with more sea salt, or add additional lime juice, based on you preference. Top with green onion if desired and enjoy! My personal preference is to enjoy guac with plantain chips or clean potato chips. The hubby loves it on organic blue corn chips!

GUAC HACK: If you’re making guacamole in advance and you don’t want it to turn brown, there are 3 tricks you can use:

  1. Cover with lime juice (downside: much more lime flavour)
  2. Place saran wrap directly on the guac so no air can get in (downside: plastic, waste)
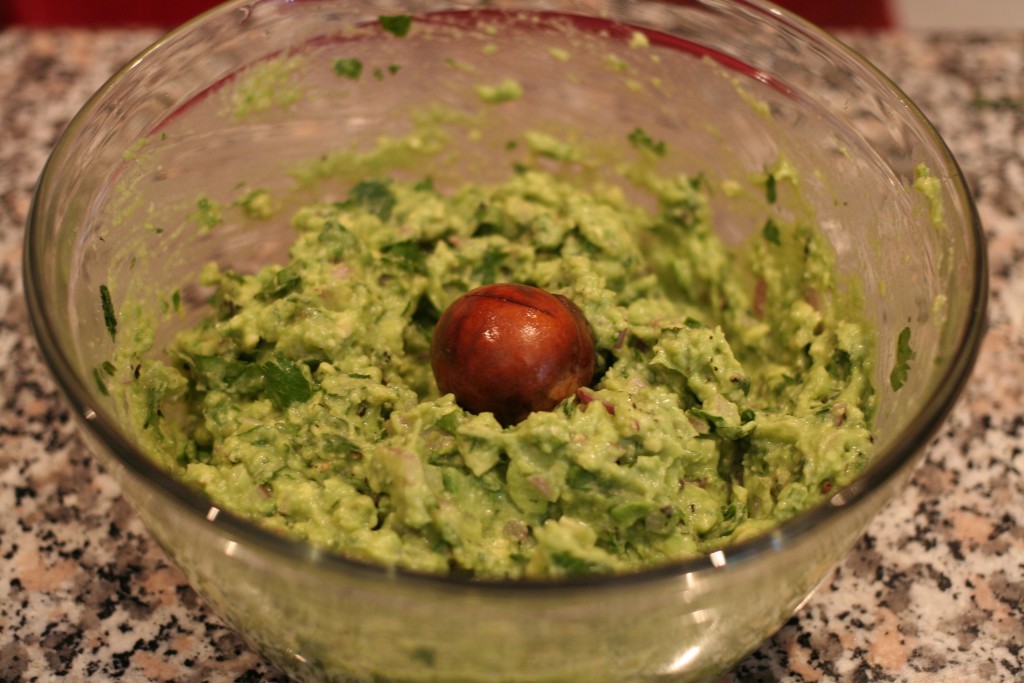
  3. Place the pits of the avocados in the bottom of the bowl, right in the guacamole. I learned this trick from a dear friend of mine who’s Argentinian and says that’s the only way to do it. This is what I do now!


So tell me – what’s your favourite way to enjoy guacamole??

Copyright 2014 Amanda Naturally | Design by The Nectar Collective