Tag Archives: DIY

Cold Brew Coffee

One of my favourite things to do is listen to Podcasts. I’ve always enjoyed listening when driving or walking the dog, but especially since becoming a mom since my time available for learning has plummeted. Podcasts let me consume content while doing something else! The Balanced Bites podcast is one of my favourites, and it was also the first place I learned about Cold Brew Coffee (a popular brand in the USA is a sponsor).

Fairly early into my coffee journey (I started enjoying a cup daily midway through high school. I blame my parents! lol) I realized iced coffee was amazing. But my favourite was a super sweet fake dessert iced coffee from Starbucks – so not super ideal for health. Then one VERY HOT summer working on a rooftop restaurant in Toronto, I started drinking plain ol’ iced coffee with some milk and sugar. I quickly learned that the best results came from brewing an espresso, chilling it and then turning it into iced coffee – that way it wasn’t watered down like when you brew coffee and try to chill it quickly with just ice! But it also took forethought.

Fast forward to this summer, where my coffee obsession is fairly high (this time I blame the baby. Ha!) and it’s hot. I’m often heading out in the morning when I want my second coffee, and can’t stand drinking hot coffee on a hot day. I tried to make an extra pot in the morning and chill it for later, but it doesn’t usually happen. That’s why DIY Cold Brew entered my life.

Cold Brew Coffee is exactly as it sounds. Coffee that’s been brewed cold, instead of with hot water. There are many reasons for the rise of Cold Brew Coffee – with the most common being the smooth, rich flavour it has combined with the less acidic feeling in the stomach. I like it because it takes 1 minute to prep and allows me to have iced coffee all week! Here’s how:

Homemade Cold Brew Coffee

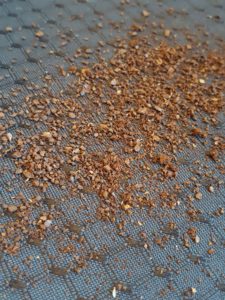
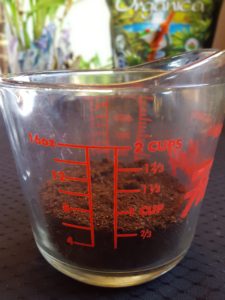
1. Measure out ¾ cup of organic, fair or direct trade coffee (why direct trade?), ground on the coarsest grind setting you have. I’m sure a high powered blender would work if you don’t have a  coffee grinder. Fine grind = bitter coffee, so make sure it’s coarse! Coarser (like with a mortar and pestle coarse) is better than fine any day!


2. Dump coarse-ground coffee grinds into a 1L jar.

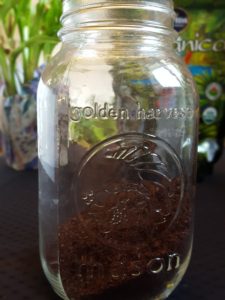
3. Add 3 cups of filtered water to the jar. It can be cold or room temperature. Secure lid and place in fridge for 12-24 hours. (Note, after making this once, I no longer measure the water because I know that the jar is almost full with the water and grinds combined!) 

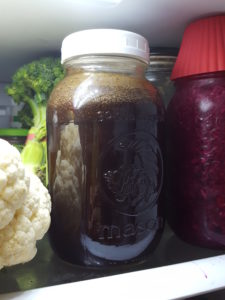
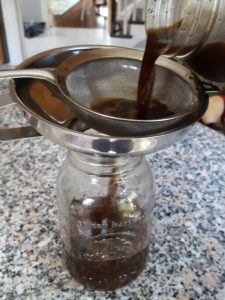
4. After desired length of brew (I like 18-24 hours best), remove from fridge, strain into another jar and voila – you’re done! Coffee for the week, or a few days if you are sharing with someone.

Keep in mind that cold brew is MUCH higher in caffeine. So enjoy smaller servings and/or water down with water, ice and your desired milk (I like full-fat coconut milk or grassfed cream). I also like to sweeten with a touch of maple syrup!

My favourite way to enjoy cold-brew is:

  • small cup, filled with ice
  • ½ cup cold brew
  • ¼ cup water
  • 2-3 tbsp coconut milk
  • 1-2 tsp maple syrup

You can also heat up cold brew and enjoy it like a normal cup of coffee! I do this on Crossfit mornings, when I want cup of coffee fast, and don’t want to wait for it to brew. I can have a delicious cup of coffee ready to go in less than a minute!

Are you an iced coffee drinker? Or are you a purest and only enjoy a cuppa joe hot. Share your favourite way for enjoying this delicious vice in the comments below!


Eggshell Seedlings

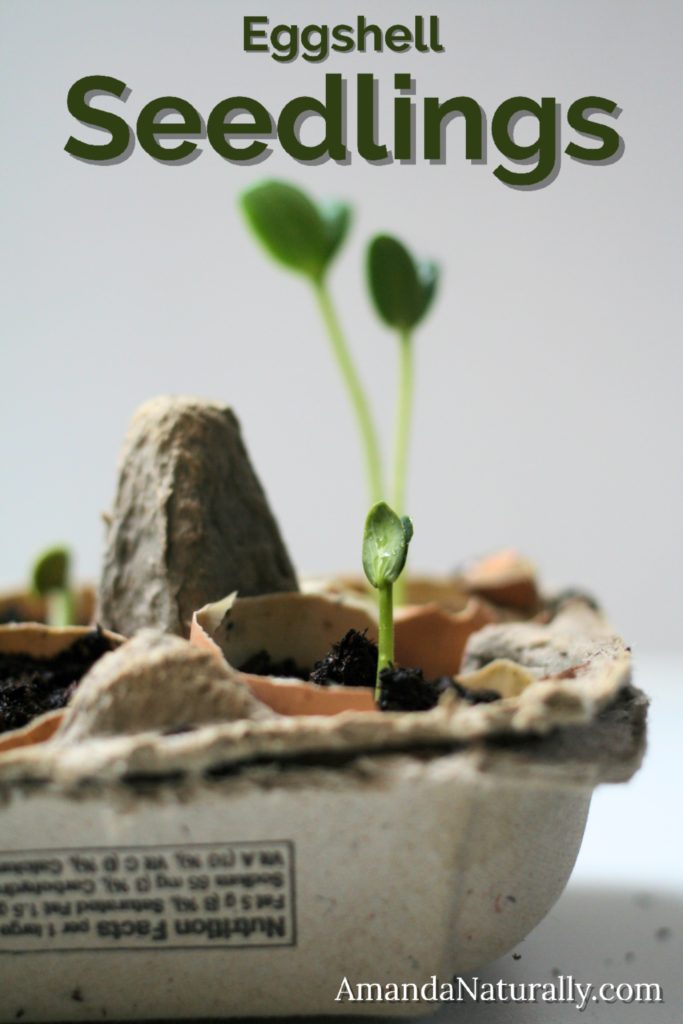
FULL DISCLOSURE: I am not a gardener. This is my husband’s project. He has a MAJOR green thumb, but he doesn’t have a blog, so I’m sharing his fun project with y’all today!


Starting Seedlings

It’s smart to start seedlings indoors between 4 and 6 weeks before you plan to transfer outdoors. This depends on the plan, so make sure you research the duration of sprouting! Where we live, the golden-rule is to not plant anything outside until Victoria Day weekend (for my friends south of the border, that’s the weekend before Memorial Day). Even if it feels nice enough, Mother Nature will bite you with a random night of frost if you attempt to plant too early!

Eggshell Seedlings

It is common to start seedlings in peat-pots or the classic plastic-cells. We’re not fans of the plastic-cells, for obvious reasons, but the peat-pots which are a great option, come with a price tag and do require energy inputs into making them. So instead, we chose egg-shells because they are free; they are incredibly environmentally friendly (especially because they were used twice!); they provide nutrients into the soil; and they are really easy to transfer. 

Process

1. Collecting Eggshells

We started collecting eggshells in March, being careful to try and crack the egg so that 2/3s of it remained in tact. This allowed for a fairly large little pot to fill with soil! Within a few weeks we had multiple dozens ready to go.

2. Preparing Eggshells and Soil

Once we had gathered enough shells, and the timing was right, the hubby rinsed all of the egg shells, poked a hole in the bottom (to allow excess water to drain and prevent drowning) and filled them with potting soil (ideally organic) making sure not to leave any air pockets. He moistened the soil every day for a few days, before planting, to bring it back to life (his words). Which means, to give any dormant microbes the change to wake up! Microbes are important for everything! Not just gut health!


3. Planting Seeds

Next, he planted the seeds at depth instructed by packages. He watered every day with a misting spray bottle, so as not to over or underwater, or displace the seeds. It takes a bit more time, but it is more effective.


4. Transferring Seedlings

Once the seedlings are mature enough, and when the weather is nice, he will transplant them into our raised garden beds. 

Using a garden trowel or your hands, dig a hole large enough for the egg. As you place the egg into the hole, gently squeeze the egg to crush the shell. This makes space for the roots to escape! Gently cover with soil and pat down around the plant, being sure not to break the seedling. Make sure not to allow any air pockets in around the egg (which can result in fungal growth). You can avoid air pockets by firmly pressing down on the soil around the seedling.

(photo coming soon!)

NOTE: If a seedling outgrows the egg, because you planted them too early, or the weather isn’t cooperating, you may have to transfer them into a larger pot in the meantime. While it’s an extra step, the nutrients still go into that soil so make sure to dump the soil from the new pot into the garden when you eventually replant outdoors!

Favourite Foods at 7 Months

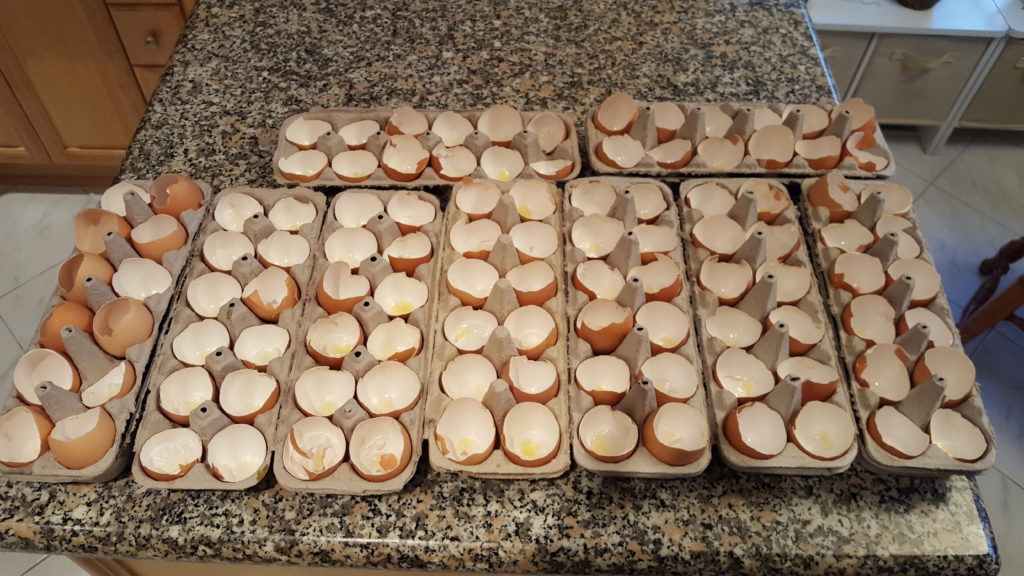
Two things before I get into the meat of this post:

1. If you’re interested, read the previous posts in this series first: First Foods and Favourite Foods at 6 Months.

2. This is a JUDGEMENT-FREE POST: Please note that this not how you *should* do things. This is just a window into how I did things, and I relied mostly on my instincts. Do what feels right mama. *Should precedes shame* so I strongly encourage you not to *should yourself*! Parenting is hard enough as it is. You’re doing great!! 


Favourite Foods at 7 Months

After 6 weeks of purees, thick soups and pate, Baby H moved up to real food pretty quickly. This was awesome, because I just fed her 1 or 2 of the items that we were eating! I still froze a few cubes of soup to have in case I wasn’t comfortable giving her the food we were eating (e.g. nights we decided to have something like gluten-free pizza, or when we went somewhere that I wasn’t happy with the quality of the food). So feeding the peanut literally meant no extra work for me, which was a great deal! It also made me even more aware of what we were eating, because I wanted to make sure she could eat some of it too.

You can see below that I’ve broken the foods down into 2 categories. These are nutrient-dense animal foods, which contain the meaty minerals she requires right now like zinc and iron, and fun flavours, which are great for palate development as well as supporting gut diversity!


Nutrient-Dense Foods

Eggs – I scrambled them for a few weeks, followed by frying overhard (emphasis on the yolk), and cutting into strips so she could hold them. By the end of 7 months, we would scramble them with spinach, or fry overhard and give her pieces of the yolk to pick up.

Pate – as soon as I discovered that she tolerated onions and garlic just fine, I stopped making baby-specific pate and just made my favourite pate! Bonus is it got me eating pate again…haha!

Fish – we stuck with salmon, because we made it a lot, and it flakes really well. At first we had to give her a bit of water to sip on, because it was dry, and it stuck to her palate, causing some minor gagging. But after a few times eating it, she became a pro!

Meat – she absolutely loved large chunks of meat, like beef strips or a piece of pork chop. We made sure it was large enough that she could grab it and not put the entire thing in her mouth. Once her 2 bottom teeth came through, we had to watch carefully because she quickly became a pro at ripping pieces off that were way too big for her! My only issue with large pieces of meat is she didn’t actually get a lot down, but she loved gnawing on it! Ground meat was next, sautéed with taco spices (because that’s what we were having!). It was spicy and she loved it! Halfway through this month, she had developed a sort of pincer precursor and ground meat actually let her practice it!


Fun Flavours

Ferments – I started her on a bit of plain, homemade kombucha, which was very tart! She loved it! Next I did a few pieces of sauerkraut (also homemade). I literally only gave her 2 tiny shreds, to make sure the cabbage didn’t bother her belly (note: I was super cautious because she didn’t tolerate ANY brassicas in my diet for her first 5 months). By the end of the month she would eat about a teaspoon. The sour taste was hilarious. She ate it, reacted strongly, and immediately went back for more!

Cucumber – I cut off a large chunk, and peeled half of it (the non-peeled side helps with grip). This was amazing for teething because it’s cold and firm but soft.

Asparagus – this was one of her favourites! She loved chewing on them. She didn’t actually eat a ton, but enjoyed mashing it with her gums.

Soups – we continued with soups from 6 months, although it became much easier because we were able to give it to her in a sippy cup with a built in straw! She stopped taking it from a spoon (because she wanted to feed herself) and instead smacked the spoon sending soup flying. Thank goodness for the dog. The straw-based sippy cup was a game-changer! The 2 favourites were Thai Butternut Squash and Ginger Carrot.

Avocado – she loved avocado, and would easily polish off a ¼ of one. It is interesting to note that, while it didn’t cause any discomfort, the little pieces routinely ended up in her diaper. So clearly was not digesting it well yet! At least I know it’s feeding beneficial gut critters!

Coconut milk – I exclusively used Aroy D brand, because there is nothing in the but coconut and water. Please note that I was not giving her this as “milk” or a replacement for breastmilk or formula. When she needed a bit of liquid to help swallow something like salmon, instead of giving her water (which fills up space with no nutrients), I chose to give her a liquid that also had a ton of healthy fats! At first we gave it to her in a shot glass, but by the end of the month the straw-sippy cup was preferred because she could feed herself! I never gave her more than ½ – 1 once at a time, because I didn’t want her filling up on that instead of breastmilk.

Sweet potato – we often shred sweet potatoes as a quick starch with many of our meals. I made sure to add some extra fat like olive oil or coconut oil to hers. She really enjoyed it, but it also let her practice her pincer! Kind of like the real food alternative to cheerios!

Copyright 2014 Amanda Naturally | Design by The Nectar Collective