
 FULL DISCLOSURE: I am not a gardener. This is my husband’s project. He has a MAJOR green thumb, but he doesn’t have a blog, so I’m sharing his fun project with y’all today!
Starting Seedlings
It’s smart to start seedlings indoors between 4 and 6 weeks before you plan to transfer outdoors. This depends on the plan, so make sure you research the duration of sprouting! Where we live, the golden-rule is to not plant anything outside until Victoria Day weekend (for my friends south of the border, that’s the weekend before Memorial Day). Even if it feels nice enough, Mother Nature will bite you with a random night of frost if you attempt to plant too early!
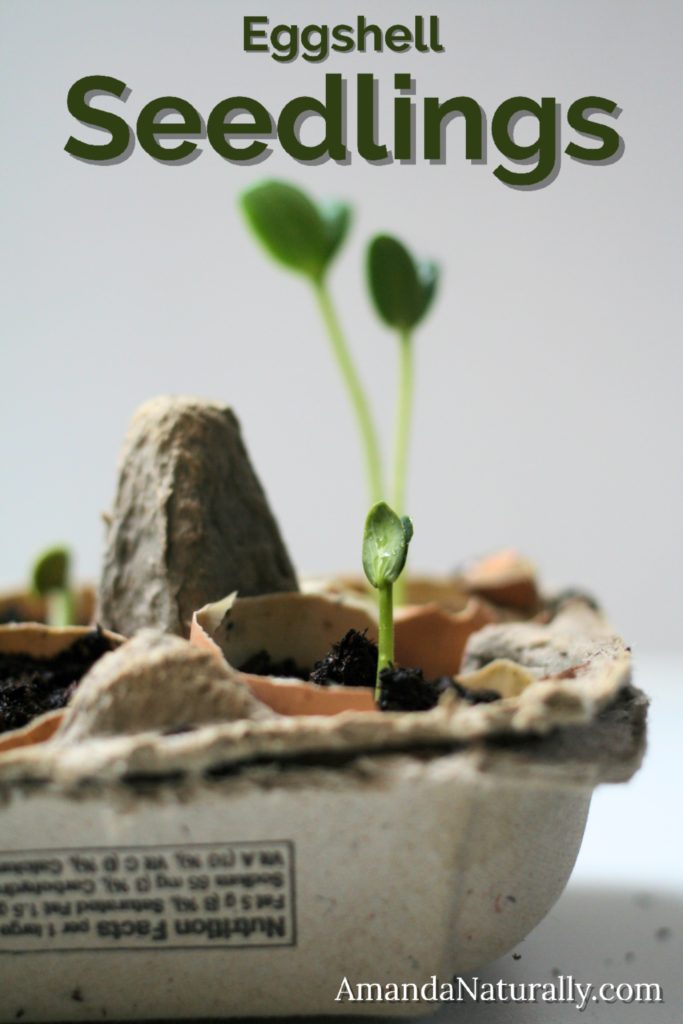
Eggshell Seedlings
It is common to start seedlings in peat-pots or the classic plastic-cells. We’re not fans of the plastic-cells, for obvious reasons, but the peat-pots which are a great option, come with a price tag and do require energy inputs into making them. So instead, we chose egg-shells because they are free; they are incredibly environmentally friendly (especially because they were used twice!); they provide nutrients into the soil; and they are really easy to transfer.
Process
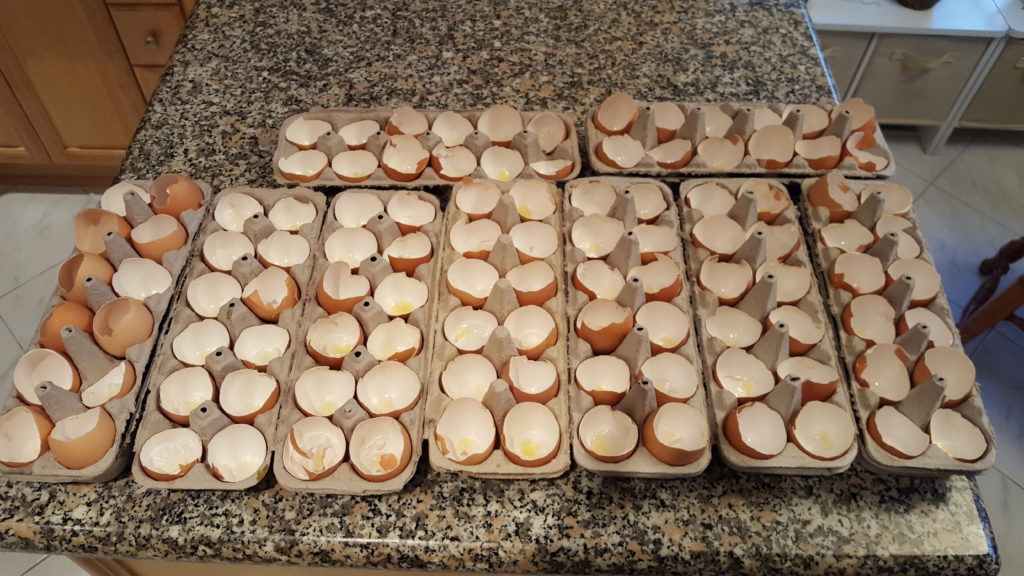
1. Collecting Eggshells
We started collecting eggshells in March, being careful to try and crack the egg so that 2/3s of it remained in tact. This allowed for a fairly large little pot to fill with soil! Within a few weeks we had multiple dozens ready to go.
2. Preparing Eggshells and Soil
Once we had gathered enough shells, and the timing was right, the hubby rinsed all of the egg shells, poked a hole in the bottom (to allow excess water to drain and prevent drowning) and filled them with potting soil (ideally organic) making sure not to leave any air pockets. He moistened the soil every day for a few days, before planting, to bring it back to life (his words). Which means, to give any dormant microbes the change to wake up! Microbes are important for everything! Not just gut health!
3. Planting Seeds
Next, he planted the seeds at depth instructed by packages. He watered every day with a misting spray bottle, so as not to over or underwater, or displace the seeds. It takes a bit more time, but it is more effective.

4. Transferring Seedlings
Once the seedlings are mature enough, and when the weather is nice, he will transplant them into our raised garden beds.

Using a garden trowel or your hands, dig a hole large enough for the egg. As you place the egg into the hole, gently squeeze the egg to crush the shell. This makes space for the roots to escape! Gently cover with soil and pat down around the plant, being sure not to break the seedling. Make sure not to allow any air pockets in around the egg (which can result in fungal growth). You can avoid air pockets by firmly pressing down on the soil around the seedling.
(photo coming soon!)
NOTE: If a seedling outgrows the egg, because you planted them too early, or the weather isn’t cooperating, you may have to transfer them into a larger pot in the meantime. While it’s an extra step, the nutrients still go into that soil so make sure to dump the soil from the new pot into the garden when you eventually replant outdoors!
Sorry, comments are closed for this post.