The best part about Thanksgiving is that it is based around real, whole foods like meat and veggies. I’ve gathered up some of the most delicious Thanksgiving recipes from the blogosphere to help you finish up your menus this weekend! The only classic Thanksgiving foods that are not real, whole foods are stuffing (which we’re omitting since we’re not stuffing the bird) and desserts! There are many creative alternatives to a bread-based stuffing – check them out! And as long as you tolerate gluten and dairy, having a piece of pie at Thanksgiving is totally encouraged. However, in case you’re like me or most of my clients, that’s not an option, so I’ve included a bunch of gluten and dairy free desserts at the end of this Thanksgiving round up as well!
Turkey Recipes (and other main course options!)
- Roast Turkey with Pan Gravy – the staple recipe in my parents house that was my original plan (I use arrowroot flour to thicken the gravy)
- Perfect Smoked Turkey – the recipe we’re going to use instead (since our oven is on the fritz) UPDATE: we will never roast a turkey again. Smoking it was a total game-changer!
- Bacon-Wrapped Turkey
- Spatchcocked Turkey (a.k.a. butterflied)
- Honey & Citrus Glazed Ham
- Cranberry-Spinach Stuffed Pork Loin
- Maple Bacon Brussel Sprouts & Carrots
- Honey Roasted Carrots
- Parsnip Turnip Puree
- Sweet Potato Casserole
- Rosemary Roasted Sweet Potatoes & Onions
- Roasted Garlic Autumn Root Veggie Mash
- Stir-Fried Kale & Bacon
- French Green Bean Casserole with Crispy Shallots
- Autumn Salad with Apples, Pomegranates & Persimmons
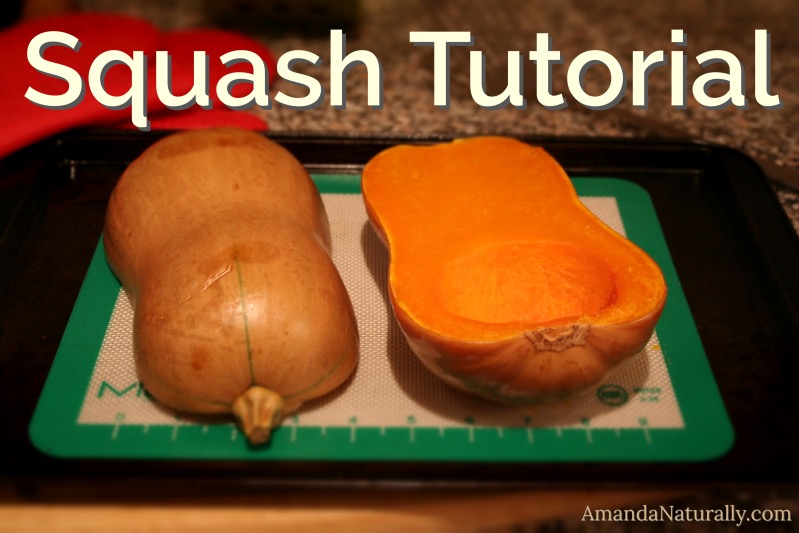
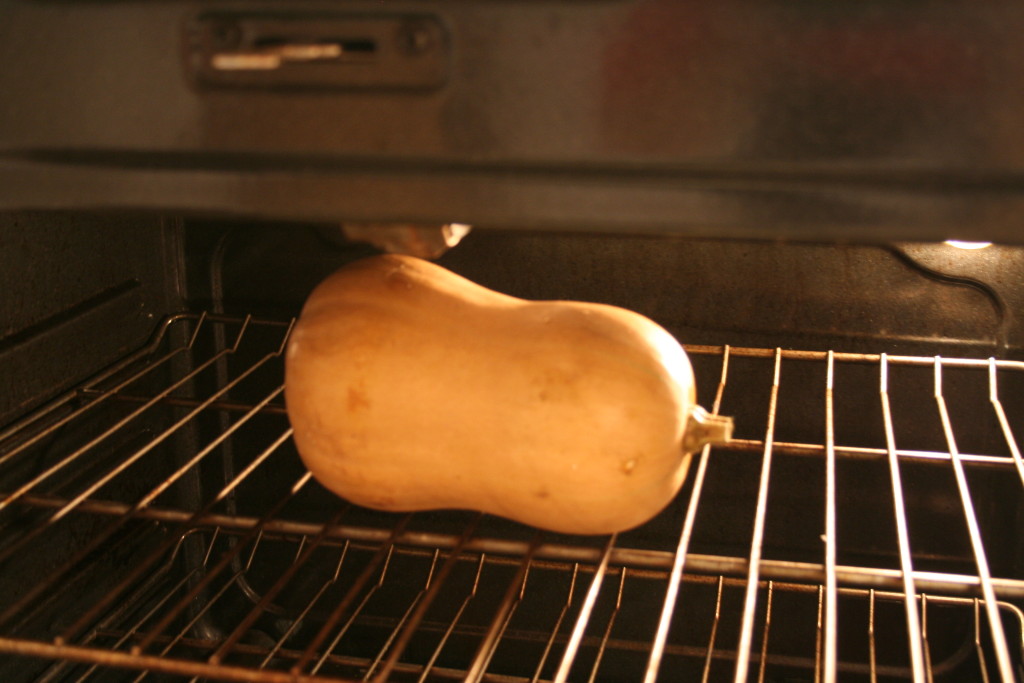
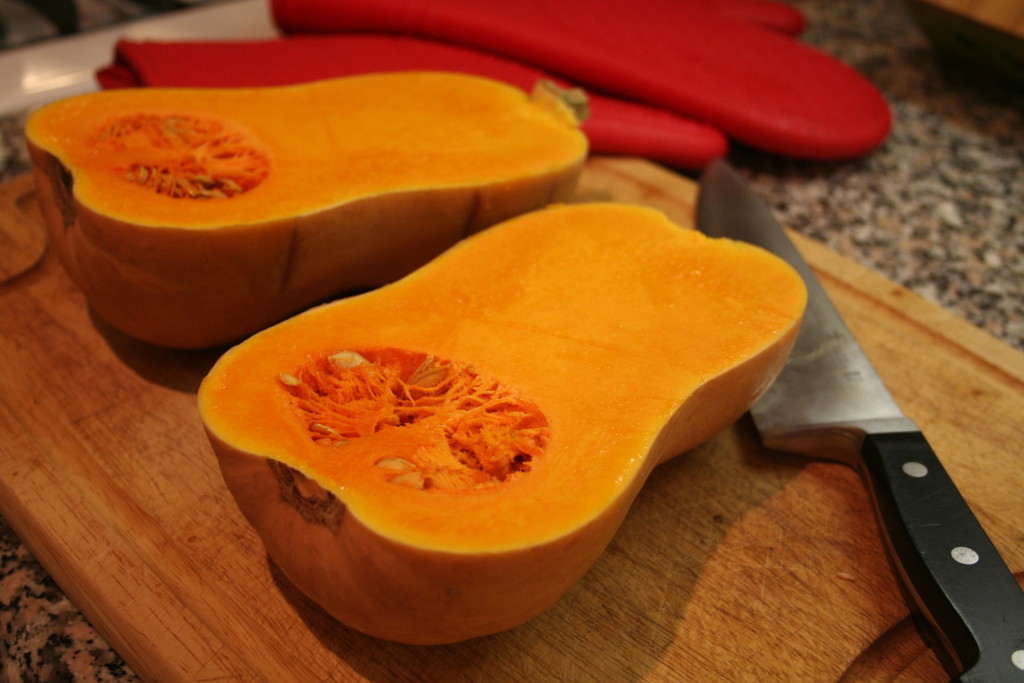
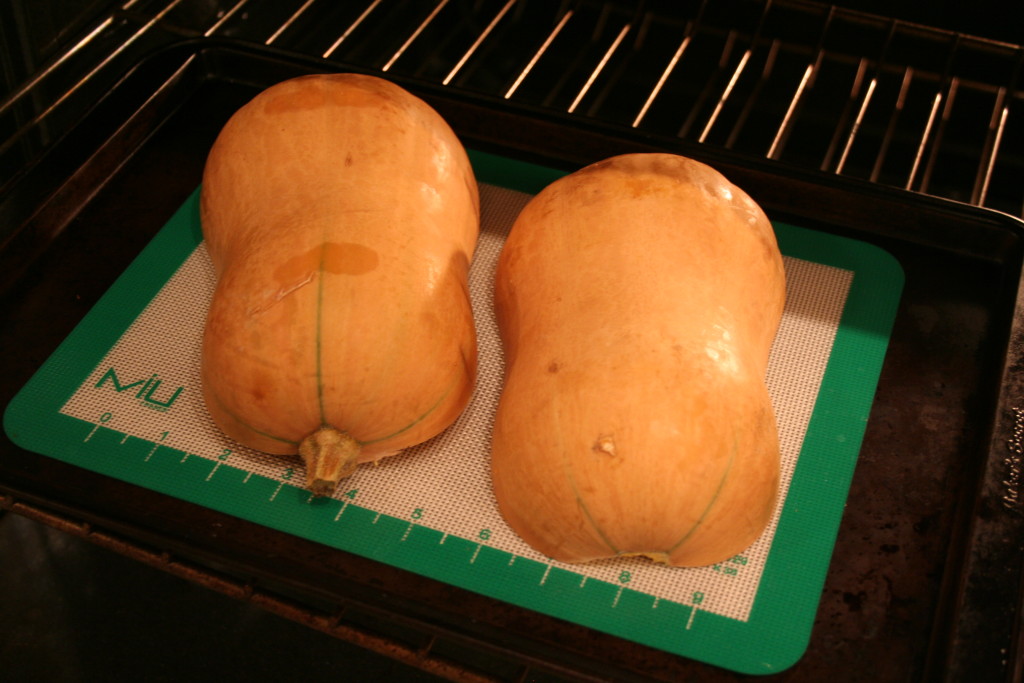
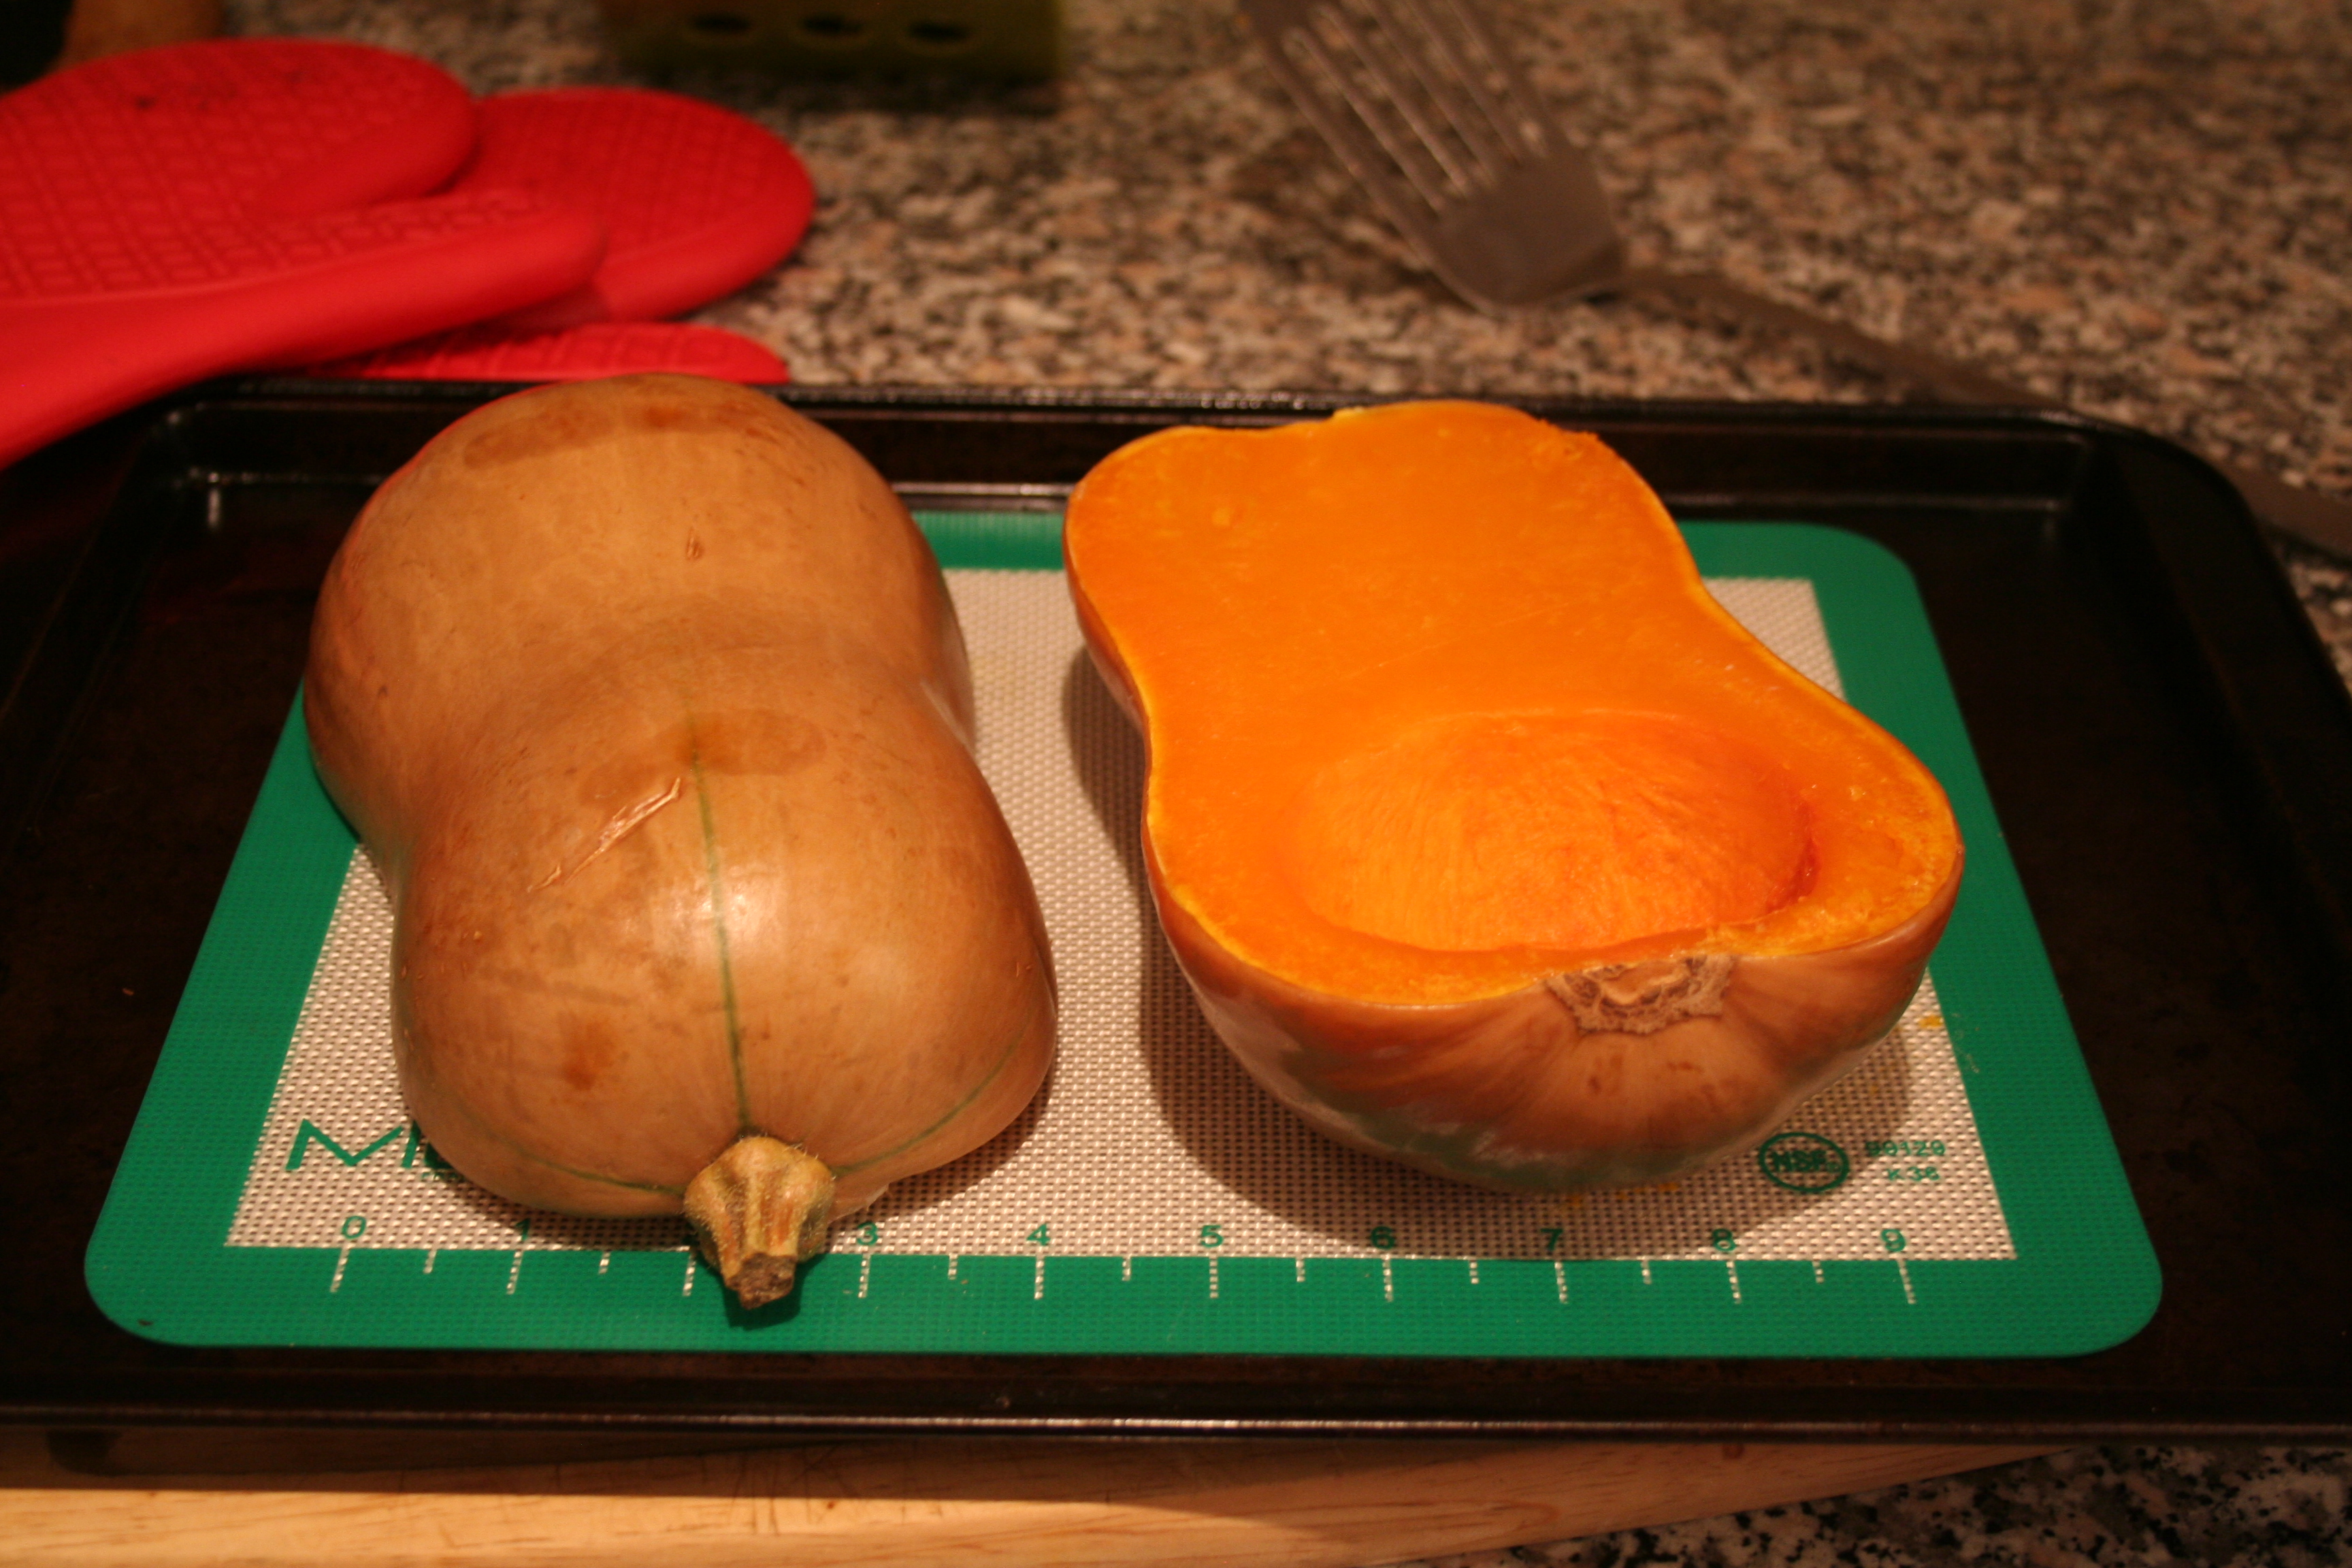
- Squash Tutorial
Cranberries & Gravy
Stuffing (bread-free)
Desserts/Treats
- No-Bake Pumpkin Pie
- Pumpkin Spice Creamer
- Apple Pie Tartlets
- Ginger Molasses Cookies
- Apple Cider Soda
- Sweet Potato Pecan Pie
- Pumpkin Bread Pudding
- Spiced & Spiked Slow Cooker Apple Cider
Leftovers
- Bone Broth (made with the turkey carcass!)

 Parties and social gatherings are more difficult for those of us who avoid specific foods for health reasons. It becomes significantly easier when you host, or if you are attending a pot luck, because you know that you will at least be able to eat what you make! The key is bringing something that not only you can eat, but that most of the other guests will enjoy as well. I can tell you from personal experience, when dealing with food allergies, you become way less picky about the things you can eat! I constantly have to remind my husband that while the