Tag Archives: bone broth

Fever: The Role in Immune Function, Benefits & Risks of Treatment, Natural Remedies

Fever
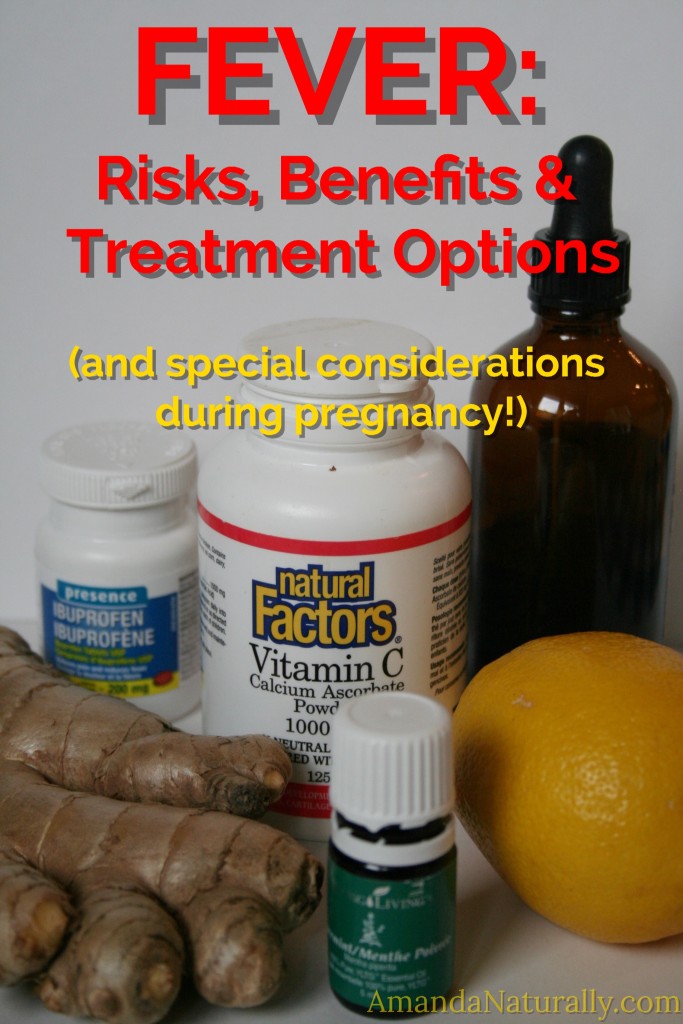
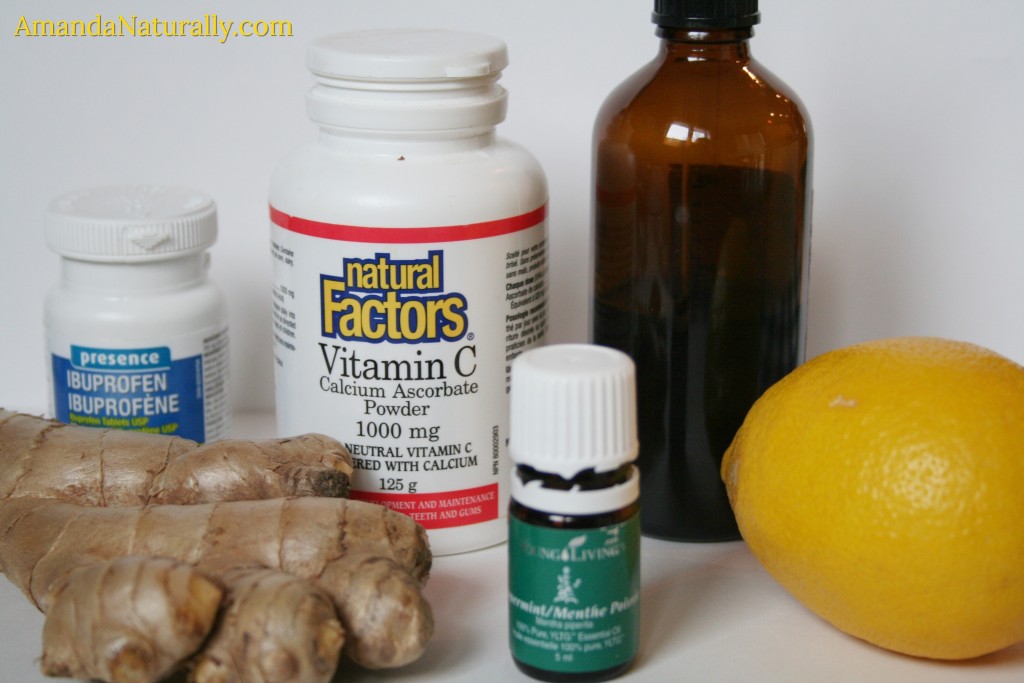
So I’ve been sick. Really sick. It came on as a slight cough last Tuesday – I thought it was residual from a cardio-intensive workout that morning. But by the evening it was still there. I immediately started hitting it with everything I had. Now normally my arsenal is pretty large, considering my hubby is a naturopath and we have a dispensary in our basement, lol. But considering the fact that I’m pregnant, most of the herbs we have on site are off-limits. So I stuck with a large dose of Vitamin C, some essential oils, and a plan to sleep in as late as possible the next morning.

And then the morning arrived. I felt ok. The cough had settled in for sure, but not too bad. By mid-morning my whole body hurt. Again I chocked it up to yesterdays workout, but the level of discomfort was not appropriate for that workout. That’s when I started realizing I was seriously sick. This wasn’t just a little cough. When I started feeling listless and realized I had laid in bed for an hour doing nothing (no TV, reading, podcasts – nada), I took my temperature: 

101.6F

Yowza that’s high (ish). And I’m pregnant. And the risk of injury to the baby with a chronically elevated temperature is real. I was able to bring it down a full degree within an hour, by implementing some classic natural anti-febrile techniques, which I’ll share with you below! But first, a bit on fevers…


NOTE: I am not a medical doctor. I am not making any medical recommendations and this is not medical advice. I am simply trying to provide some clear information on a common health occurrence. Please speak with your health care practitioner before making any changes to your health care routine.


What is a fever?

A fever is a natural rise in your body temperature, in response to an infection – either bacterial or viral. It is not a disease in itself, but a symptom of an underlying issue. So like all health issues, it’s important to address the underlying cause, instead of just suppressing the symptoms.

Why do we develop a fever?

It is believed that the elevation in temperature is actually a critical step in helping our bodies fight off infection. It seems to (a) activate our immune system by sending white blood cells and macrophages to the infection site, and (b) inhibit enzymes and other functions required for viral and bacterial replication. For example, it has been hypothesized that most bacteria can’t survive in temperatures above 101F and viruses, above 102F. 

In fact many cold-blooded animals, when inoculated with pathogens, will instinctively find ways to increase their body temperatures to feverish levels, by seeking out warmer environments. Fascinating eh?  (<– btw, clearly I’m Canadian, if you didn’t already know…)

Isn’t a fever dangerous?

Well yes, it can be. Uncontrolled, very high body temperatures can result in severe dehydration and possibly induce febrile seizure. Which is why you want to monitor it. But mostly, they’re just damn uncomfortable.

Now, when it comes to fever during pregnancy, there’s a little more to consider. Your baby is developing and that requires a specific temperature for everything to work properly. This is why your doctor told you not to use a hot tub or take hot baths. Prolonged, elevated body temperatures may impair important developmental processes, specifically in the brain.

Anti-Febrile Meds?

The conventional approach is to take an anti-febrile medication as soon as your temperature gets a little above normal. Ibuprofen (Advil), acetaminophen (Tylenol) and naproxen (Aleve) are the 3 recommended meds. Do they work? Oh hell yeah. Are there side effects? Definitely. So it becomes a relative risk-reward assessment situation.

NSAIDS (like Advil and Aleve) cause leaky gut. Period, end of story. If you have a history of health issues or an autoimmune condition, this is something to consider. Importantly during pregnancy, Ibuprofen is considered  level 4 risk, during the 3rd trimester. As in, there is significant evidence of it causing harm to the baby, specifically their heart.

Acetaminophen is the leading cause of acute liver failure in the USA. The metabolic byproduct of detoxifying acetaminophen is NAPQI, which is responsible for necrosis of the liver. While NAPQI does not cross the placental barrier, acetaminophen readily does. Which needs to be considered since a developing baby’s liver starts being responsible for its own detoxification at around 18 weeks.

Additionally, suppressing a fever has been shown to prolong the duration of the illness, which makes sense since you’re also suppressing your immune system from doing its job!

Natural Approaches to Reducing a Fever

So what did I do?

MONITOR: Most importantly I was monitoring my temperature every hour, making sure it didn’t get to a temperature that we (my husband, my health care provider and I) had decided would be our “time for serious action” temp. I also monitored every few hours at night.

WARMING SOCKS: This age-old home remedy is a favourite amongst crunchy mamas. You take a pair of thin cotton socks and soak them in cold tap water. Put them on your feet, and add a second pair of socks, preferably wool to keep the water in. When the socks warm up, rinse them in cold water again and repeat. The idea behind this hydrotherapy technique is by keeping the feet cold and wet, you create a sort of “heat exchange”. Your body increases circulation to your feet, dissipating heat in order to warm up the feet/socks.

ICE PACK: Place a cool ice pack at the base of the neck, where there is a high concentration of temperature receptors. This can help dictate the internal temperature of the body.

ESSENTIAL OILS: I’m new to the field of essential oils, but I’m quite enjoying learning how to use these additional tools. I hit up the Wellness Mama (she’s my go-to for natural remedies) and she recommended pure peppermint essential oil (I use Young Living brand) on the back of the neck and on the bottom of the feet (see above for why those locations). 

I did all 3 things and brought my temperature to 100.1 within an hour. 

BACK UP…MEDS: Considering the risk of a high fever and developmental issues regarding the baby, I had an Ibuprofen on stand by, just in case my temp got above the predetermined comfortable zone for us (I’m purposely not sharing, because that’s something for you to determine with your health care provider). I chose Ibuprofen because although I have a history of major gut issues and serious autoimmune risk, I am 18 weeks pregnant. Which is far enough out from my third trimester to decrease the risk of ibuprofen and heart defects, but definitely far enough in that I didn’t want my baby’s liver to take the hit of the acetaminophen. Luckily I didn’t have to use either, because the above tricks worked tremendously. 

Additional Support

There were a few other things I did to help my body recover from this (likely) flu as fast as possible. 

  1. Convalesce. I did nothing. Nada. Even though by day 3 I was so bored of TV, I rested, napped, and generally took it easy. Pushing through is a sure way to stay sick and get sicker. I’d rather take a few days off and get better, then push through and 2 weeks from now find out I have pneumonia and have to go on antibiotics.
  2. Bone broth. Like crazy. It helps keep the gut strong and regulates your immune system. I had soup multiple times a day. I also cooked white rice in broth, to get some calories in me. Find out how I store my bone broth to make it easy to use, even when you’re sick and have no energy for food prep! I added onions and garlic to my broth for an additional immune boost. I also added some gentle veggies like spinach.
  3. Vitamin C. There aren’t very many supplements that are considered safe during pregnancy. Again, I worked with my team and determined a few herbs that are generally recognized as safe during pregnancy, but mostly focused on the simple stuff. High doses of vitamin C at regular intervals can shorten the duration of an illness. Good rule of thumb with vitamin C – take to bowel tolerance. As in, when you start noticing loose stool, pull back on your dose!
  4. Ginger, lemon and raw honey tea. I took a few slices of ginger root, a ¼ lemon and about 2 cups of hot water. I let simmer for about 20 minutes on the stove top. Strain and add a spoonful of raw honey. Alternately, you can juice a whole whack of ginger and lemons, and store the potent elixir in the fridge, adding a few tbsp to a mug of hot water and a spoonful of raw honey. This is what we normally do, but I was by myself during this illness and didn’t want to deal with the mess of the juicer (normally my hubby would take care of that), and by the time he returned home, he was sick too. 
  5. Fluids. Water, tea (see above), bone broth, mineral water and kombucha (specifically homemade lemon/ginger booch) were on constant rotation. Fever causes dehydration so keep your fluid intake high! 


Conclusion

Fevers can be a scary situation, especially in young kids or during pregnancy. But understanding their benefit can help decrease the stress around them. Monitoring and implementing some solid, natural remedies – combined with immune support to help your body fight the cause of the infection – can help you recover quickly and decrease the potential need for risky pharmaceutical intervention. Keeping in mind, that drugs save lives so there is definitely a time and a place for their use!


Chicken “Noodle” Soup

Chicken "Noodle" Soup | gluten-free, grain-free, paleo | AIP & low-carb options | AmandaNaturally.comAnyone else love chicken noodle soup? I certainly do. It reminds me of when I was a kid and my mom would make it to make me feel better!

Unfortunately, most chicken noodle soups out of a box or can are full of junk. And for those of us who don’t tolerate gluten or grains, even the homemade kinds can be off limits.

So today I want to share with you a few tweaks to the standard chicken noodle soup recipe, that can make it allergen friendly and a super food! 

1. Use Bone Broth!

I can go on and on about the health benefits of bone broth…oh wait, I already have. Check out my post on why making bone broth is one of the best habits you can get into!

If you can’t (or won’t) make your own broth, or you run out, you can use boxed broth. Keep in mind though that boxed broth is purely for flavour and won’t have any health benefits. In fact, many contain hidden ingredients like gluten and nightshades, so if either of those foods are a problem for you, make sure to do your research and get a quality broth.

If you want bone broth, but you don’t have time to make it, either get yourself a pressure cooker (this is the one I have and LOVE) or buy it from one of my favourite local companies – Eat Savage.

2. Use a Noodle Alternative!

My favourite option are spaghetti squash (as shown in the recipe below) or plain white rice. You can use zucchini noodles (a spiralizer helps a ton during prep) but they don’t stand up over time, especially in the freezer, the way rice and spaghetti squash do. If you do want to use zoodles, I recommend making the soup without them, and a few minutes before you’re about to serve, or while you’re reheating it, throw them in.

Quick note re. spaghetti squash. It takes about 45 minutes or so to roast – see squash tutorial for tips and tricks. But it only takes 5 minutes in the Instant Pot – another reason I love this gadget. Simply slice in half, remove the seeds and place in the Instant Pot with 1 cup of water. Set to manual for 5 minutes and let it do its thing. Use the quick release method when the 5 minutes is done!

What do I think of gluten-free noodles? Well, anything that’s trying to be something that it’s not, isn’t something that belongs in the diet on a regular basis. Gluten-free products, dairy-free milks – they don’t have any health benefits, and they sometimes come with negative ones (refined starch, gut irritants, additives, thickeners etc.). So if you must use gluten-free noodles, make sure to get ones that are as simple as possible. My favourites are Korean sweet potato noodles (found at Asian markets) or plain white rice noodles (vermicelli). Watch out for gluten-free noodles that use corn, quinoa and brown rice if you’re sensitive to whole grains (like I am!).

3. Add in veggies!

Many chicken noodles soups are just that, chicken + noodles + (store-bought) broth. Some have a few carrots or onions, if you’re lucky. Buck the trend and fill it with veggies! Stick with classic soup veggies like carrots, onions and celery (just use a ton) or take it to the next level and throw in some kale! I love using kale in soups because it doesn’t get slimy like spinach does. If you’re feeling adventurous, try adding some seaweed for a super hit of minerals and some thyroid love.


Chicken “Noodle” Soup

So without further ado, I give you my recipe for chicken “noodle” soup. It’s based on the recipe my mom used to make when I was a kid… it’s just been amandanaturalized as she likes say! 


Chicken "Noodle" Soup
Serves 8
A twist on a classic favourite - packed with nutrient dense foods like bone broth and veggies. Gluten-free, grain-free, low-carb and AIP options!
Write a review
Print
Prep Time
15 min
Cook Time
45 min
Total Time
1 hr
Prep Time
15 min
Cook Time
45 min
Total Time
1 hr
Soup
  1. 2 tbsp olive oil (or other healthy fat - butter, ghee, lard, tallow, avocado oil)
  2. 2 onions, diced
  3. 2 cups carrots, chopped
  4. 2 cups celery, chopped
  5. 4-5 cloves garlic, minced
  6. 8-10 cups bone broth (or broth + water combo)
  7. 2 bay leaves
  8. 2 tbsp basil
  9. sea salt to taste
  10. 3 lbs chicken thighs, cubed (about 6 thighs)
  11. black pepper (optional)
  12. 1 head of kale, roughly chopped
"Noodle" Alternatives
  1. 1 spaghetti squash, cooked and shredded
  2. ¾ cup white rice (+ 1 extra cup water)
  3. 2 cups gluten-free noodles (preferably white rice vermicelli or sweet potato)
  4. zucchini noodles
Instructions
  1. Heat olive oil in a large pot, over medium heat.
  2. Sautee onions, celery and carrots for 10 minutes, stirring occasionally.
  3. Add in garlic, cook for 1 minute, stirring frequently.
  4. Add broth (and water if using), bay leaves, basil, sea salt and pepper. Bring to a boil.
  5. Once the soup is boiling, add in raw chicken cubes. Bring to a boil.
  6. Reduce heat and simmer for 30 minutes.
  7. Add chopped kale 5 minutes before serving.
Noodles
  1. Spaghetti squash noodles - add in 5 minutes before serving.
  2. White rice - add in 15 minutes before serving, with an extra cup of water.
  3. Gluten-free noodles - add in according to package instructions (2-10 minutes, depending on time)
  4. Zucchini noodles - add to bowl before serving soup. Only spiralize enough for each serving. Freeze/store soup without zoodles. Add raw zoodles each time before you reheat!
Tips
  1. Raw chicken is easiest to cube when it is still partially frozen.
  2. Boneless, skinless chicken thighs are easiest to manage, but a little more expensive than bone-in, skin-on. Chicken breasts work as well, but aren't as tender in the soup.
  3. You can add the raw chicken directly to the soup! As long as it cooks at a boil/simmer for 15 minutes or so. I know it seems risky, but it's totally safe!
  4. This recipes freezes really well - especially if you use the white rice or spaghetti squash option for noodles.
Amanda Naturally http://www.amandanaturally.com/

Instant Pot

Instant Pot | Favourite Kitchen Gadget | AmandaNaturally.comI’ve had a lot of people recently ask me how I keep bone broth on hand all of the time. This is a totally fair question because in order to get a really nutrient-rich, gelatinous bone broth it needs to cook for a long time. We’re talking 24 hours on the stove top, or 2-4 days in the slow cooker. So how do I do it? Well, I got another gadget. It’s called…

The Instant Pot!

DISCLAIMER: this is not sponsored in anyway. If you click on any links, I may receive a small commission to support my blogging activities, but it does not in any way impact the price of the item, or my opinions on the product. These are my opinions and mine alone! I just want to inform my fellow foodies of fun new gadgets they might enjoy!


The Instant Pot

About a year and a half ago I started seeing people in the real food blogosphere posting about this new gadget on instagram. I didn’t really think I needed another gadget, until I heard that it makes bone broth in only 2 hours. I was sold. However, I’m not one to splurge on a big ticket item, so I waited and asked for one for my birthday. Luckily my in-laws are awesome and they made my day by gifting me one!

The 7-in-1

The setting I use for super speedy bone broth, is the pressure cooker setting. I’ve never used a pressure cooker before, and neither did my mom. It doesn’t seem to be a very popular kitchen utensil in the western world – however it is hugely popular throughout Asia and countries that utilize tougher cuts of meat. Prior to the Instant Pot, all I could picture was a pressure cooker exploding in my kitchen – which terrified me. However, the Instant Pot is an electric pressure cooker, with pretty much every fail-safe possible to prevent any user error. I have felt extremely confident using it, from the second time onwards! I now use it for making hard boiled eggs (see below), quick stews, homemade yogurt and cooking whole root veggies – fast! It’s probably the most used item in my kitchen right now.

Now, I got the Instant Pot for the pressure cooker / bone broth awesomeness. However, once I was able to play around with it, I learned about all of the other functions!

  1. pressure cooker
  2. slow cooker
  3. rice cooker
  4. saute/browning
  5. yogurt maker
  6. steamer
  7. warmer

Here are my favourite settings:

Saute / Browning Mode

This allows me to brown meat in the bottom of the pot, before either pressure cooking OR slow cooking. While not a huge deal, it does save on dishes by not needing to brown in a separate pan.

Warmer

This is one of my favourite settings. You can cook something on pressure mode for 45 minutes in the middle of the day (or morning, or at bedtime), and as soon as the 45 minutes are up, it will switch over to slow cooker mode, on low. So you don’t have to be in the kitchen an hour before you want dinner prepared. You can throw everything in the pot in the morning, pressure cook it, and let it stay on warming all day.

Steamer

All I can say is – steamed whole sweet potatoes take 15 minutes! Plus time to build up pressure, but again – you can throw them in, press steam and leave them. No need to monitor the oven for 1-2 hours when roasting. This is especially awesome when I want to make a recipe for things like sweet potato biscuits, that calls for steamed, roasted or pureed sweet potato.

Yogurt Maker

Since I don’t tolerate dairy, and the store-bought coconut “yogurts” are full of junk that really bug my gut (guar gum etc), my only option is to make my own. This is something I had always been interested in doing, but never dove into. Once I had this great gadget, I jumped in head first and boy was it a success! If you tolerate cow dairy, or goat dairy, here are a great set of directions for DIYing it. However, if you don’t tolerate milk (like me), full-fat coconut milk can make an awesome yogurt alternative! It’s actually a way simpler recipe, because you don’t need to pasteurize the milk first. See directions below.

Homemade Coconut Milk Yogurt

1. Heat 4 cups of full-fat coconut milk (I prefer the Aroy D brand) in a pot, to 110F. Use a candy thermometer, or an electronic meat thermometer ( <– another favourite kitchen gadget). As soon as the temperature hits 110F, pull it off the heat.

2. Immediately whisk in ½ cup of a previous batch of yogurt (you can use dairy if tolerated, store-bought or your previous batch) or 2 packets of Vegan Yogurt Culture (I love the Cultures for Health product, although it does have a bit of rice starch in it – something to note if you’re sensitive or following the AIP protocol). Apparently you can use 2 or 3 probiotic capsules, but I haven’t tried this. (UPDATE: a friend told me she uses ¼ tsp of probiotic powder, or 2-3 capsules, and 1-2 tbsp maple syrup)

3. Whisk in 2 tsp grassfed gelatin. Without this, it won’t thicken. You will still have a yummy, tangy coconut milk, but it will definitely be milk, not yogurt. Apparently you can use agar agar to keep it vegan, but I haven’t tried this since I’m always looking for extra ways to get in gelatin!

4. Pour into jars, or a glass bowl (that fits in the pot), and place in the bottom of the Instant Pot. Secure the lid, press the “yogurt” button, adjust the time to 12 hours and walk away. (NOTE: don’t put the yogurt directly in the Instant Pot. Since it is stainless steel, mine retains a slight hint of what was previously cooked – usually broth. And trust me, broth-flavoured coconut yogurt is not good.)

5. 12 hours later, remove from Instant Pot and store in fridge for a few hours to let set. 

NOTE: if you don’t like really tangy yogurt, start checking the flavour around 8 hours.


Favourite Recipes using the Instant Pot

Bone Broth – in only 2 hours!

  • Fill pot with bones.
  • Add in some aromatics (onion ends, smashed garlic) and some bonus nutrients (egg shells, sea weed).
  • Add water until bones are just covered.
  • Add 1 tbsp apple cider vinegar.
  • Close pot, make sure pressure valve is set to closed and press “Manual”, adjusting the time to 120 minutes.
  • Use slow release method so it doesn’t spray up through the pressure valve!

Hard Boiled Eggs (fool proof, easy to peel – even if truly farm-fresh). This is hands down my favourite way to make HB eggs – nothing else compares!

  • Place as many eggs as you want, on a steamer or the trivet.
  • Pour 1 cup of water into the bottom of the pot. 
  • Close the lid, make sure the pressure valve is closed.
  • Press “manual” and set for 5 minutes. Let it do its thing. 
  • As soon as it beeps, use the quick release method and dunk the eggs in an ice bath. Once chilled, store in the fridge. (UPDATE: As of May 2016 I no longer do the ice bath. As soon as the eggs are done, back into the carton and in the fridge they go!)

Other Egg Recipes

Baked Sweet Potatoes – you don’t need to wrap in tin foil before, but it will help if serving individually.

Squash – this is great for steamed squash (for soups) or spaghetti squash. However, the squash won’t have that caramelized, roasted taste. So if that’s what you’re going for, use my Squash Tutorial.

  • Slice squash in half, remove the seeds.
  • Place trivet in the bottom of the Instant Pot. Add 1 cup of water.
  • Place squash on top of trivet.
  • Close lid and make sure pressure valve is closed. Set to “Manual” for 5 minutes (for spaghetti, acorn… for a large butternut, you might need to do 7 minutes).
  • Use the “Quick Release” method when the 5 minutes is up!

Instant Stew You can follow these directions, or you can do what I do and put the stewing beef on the bottom, add onions, garlic, quartered potatoes, carrot chunks, a can of tomatoes, 1-2 cups bone broth (cover the food with liquid), sea salt, pepper, bay leaf, oregano. Press “beef/stew” and go.

Nom Nom Paleo (an incredible cook and foodie) is also obsessed with the Instant Pot, and has converted dozens of her slow cooker recipes. Definitely check her out!

Instant Pot Website – hundreds of resources!

Tips and Lessons Learned

  1. Unlike the slow cooker, this loses liquid instead of creating it. So make sure there is enough liquid! 
  2. Time to reach pressure needs to be accounted for. Quick things like eggs take 10 minutes to reach pressure, and then 5 minutes to cook. Sweet potatoes only take 5 minutes. However, larger volumes (like stew or broth) can take up to 20 minutes to reach pressure. If lots of frozen items are going in (like when I make broth), it can take 30+ minutes to reach pressure. Make sure to factor this in!
  3. The quick release valve releases a lot of steam that can burn you if you’re not careful. I always throw a dish towel over it before turning it to release.
  4. If you fill up the pot too far, you can’t use the quick release. It will shoot liquid out of it. Not ideal.
  5. You can only use your previous coconut milk yogurt to inoculate your new batch about 2 or 3 times before the bacterial concentration drops too low. There’s very little sugar in coconut milk, so nothing to feed it once it uses up all the rice starch! You could probably add some rice/potato starch, or cane sugar to further stretch your starter culture, but I haven’t tried this yet.
Copyright 2014 Amanda Naturally | Design by The Nectar Collective