 Let’s try and think about the perfect food for supporting your joints. It would have to contain the exact nutrients that your body needs to build your joint tissue, right? So it would need to contain protein, but not just any protein. The exact ratio of amino acids (protein building blocks) for joint tissue synthesis. Your body is capable of creating most of the animo acids it needs from a few basic amino acids, but why add the extra step? It is significantly less efficient to demand the body to convert one nutrient into another, than to provide that nutrient directly (take note, this rule applies to plant-based forms of other key nutrients like omega-3’s and vitamin A as well). Additionally, it requires a healthy body, replete with nutrients to do this step. So for this scenario, let’s skip the middle man and go right to the source – a food with the ideal profile of amino acids. This super food would also require the minerals the body uses to make the scaffolding that joint tissue is built on. Now, where in the heck could we find this incredible food that will help us build up our joints….
In animal JOINTS!
I know I know, it sounds crazy, and a little gross, to just go ahead and scarf down some joints (although that’s what our great-grandparents used to do). That’s where broth comes in to the story. When you make broth with bones that contain joints and connective tissue (think oxtail, a whole bird carcass, ribs, necks, chicken feet etc.) the joint tissue breaks down into gelatin. As well, if you cook the broth for long enough, the bones start to break down, saturating your broth with the perfect minerals required for bone and joint synthesis. Your broth has now become an incredible source of nutrients – the exact nutrients your body needs to build, re-build or heal your joints.
Let’s take this one step further…
What is joint tissue? It is more broadly known as connective tissue, which is mainly composed of collagen. One area this connective tissue just happens to be located is where the ends of two bones meet, i.e. a joint. Now, connective tissue is not only found in the joints. It literally provides the framework that all of our cells are built on. For example, collagen twists around itself and provides the framework on which minerals are deposited to form bones. No connective tissue? Your body will start to disintegrate. This includes not only joints, but organs systems, bones, skin, brain, and arteries/veins.
Homemade broth supports every single cell, tissue, organ and system in your body.
Holy crap that’s incredible! The simple act of reusing bones from previous meals, can actually catapult your health to the next level. Regular consumption of homemade broth has been crucial to my heath journey. I consume it at least a few times a week on a general basis, but if anything pops up, I go broth crazy! For example, say I get “gluten-bombed” or “dairy-bombed”, or maybe I’m experiencing elevated stress levels. Or if either myself or my husband gets sick, or even if my joints are a little sore from being too hard on them at the gym. Any of these situations call for a major increase in broth consumption!
Interested in learning more…?
If not, skip below to the instructions for making broth. Otherwise, check out this summary of all the incredible things that collagen and its building blocks do. (For the complete story, visit this article by The Paleo Mom)
Connective Tissue
- form cartilage in joints
- form extracellular matrix that is framework for all cells to organize into tissues and organs
- heal open wounds
- heal tiny tears in blood vessels due to inflammation
- heal damage to tissues from infection
Glycine (the star amino acid found in collagen)
- inhibit the immune system (in a good way! it down regulates an inappropriate response, such as with an autoimmune condition)
- reduce inflammatory cell production
- required for the synthesis of DNA, RNA and other proteins (ie. the blue print for how our entire body works)
- improve digestion by regulating bile and gastric acid production and secretion (crucial for digesting fat and turning on all digestive processes)
- required for building glutathione, a crucial antioxidant in the body
- stabilize blood sugar levels by preventing conversion of protein to glucose by the liver (a.k.a. gluconeogenesis)
- increase creatine and HGH, resulting in improved muscle growth and repair
- support a healthy nervous system, specifically eliciting a calming effect
- precursor to serine, a neurotransmitter which is important for memory, positivity and stress reduction
More Benefits of Glycine (from this amazing podcast by The Paleo Mom and Paleo Parents)
- precursor to other amino acids
- strong impact on the production of glucagon, a hormone required for controlling energy and staying full between meals
- regulate metabolism
- reduce effects of stress on our brain chemistry
- inhibit macrophage activation and inflammatory cells such as neutrophils and monocytes (which can be overactive in chronic illness)
- inhibit t-cell activation, which means it helps regulate the adaptive immune system
Proline (runner up amino acid)
- assist blood vessels get rid of plaque build up
- assist body utilize proteins for new muscle cells
How to Make Bone Broth
Ingredients
- bones (grassfed, pastured or organic)

- apple cider vinegar
- filtered water
- sea salt
- a few root veggies and onions
- plus any additional ingredients for flavour and health benefits (see below)
Equipment
- slow cooker (alternatively you can use a stock pot or a pressure cooker)
- colander
- mason jars (I often reuse nut butter and salsa jars)
- canning funnel (I waited WAY to long to buy one of these. So much unnecessary spillage in my broth-making past!)
Step 1: Accumulate Bones
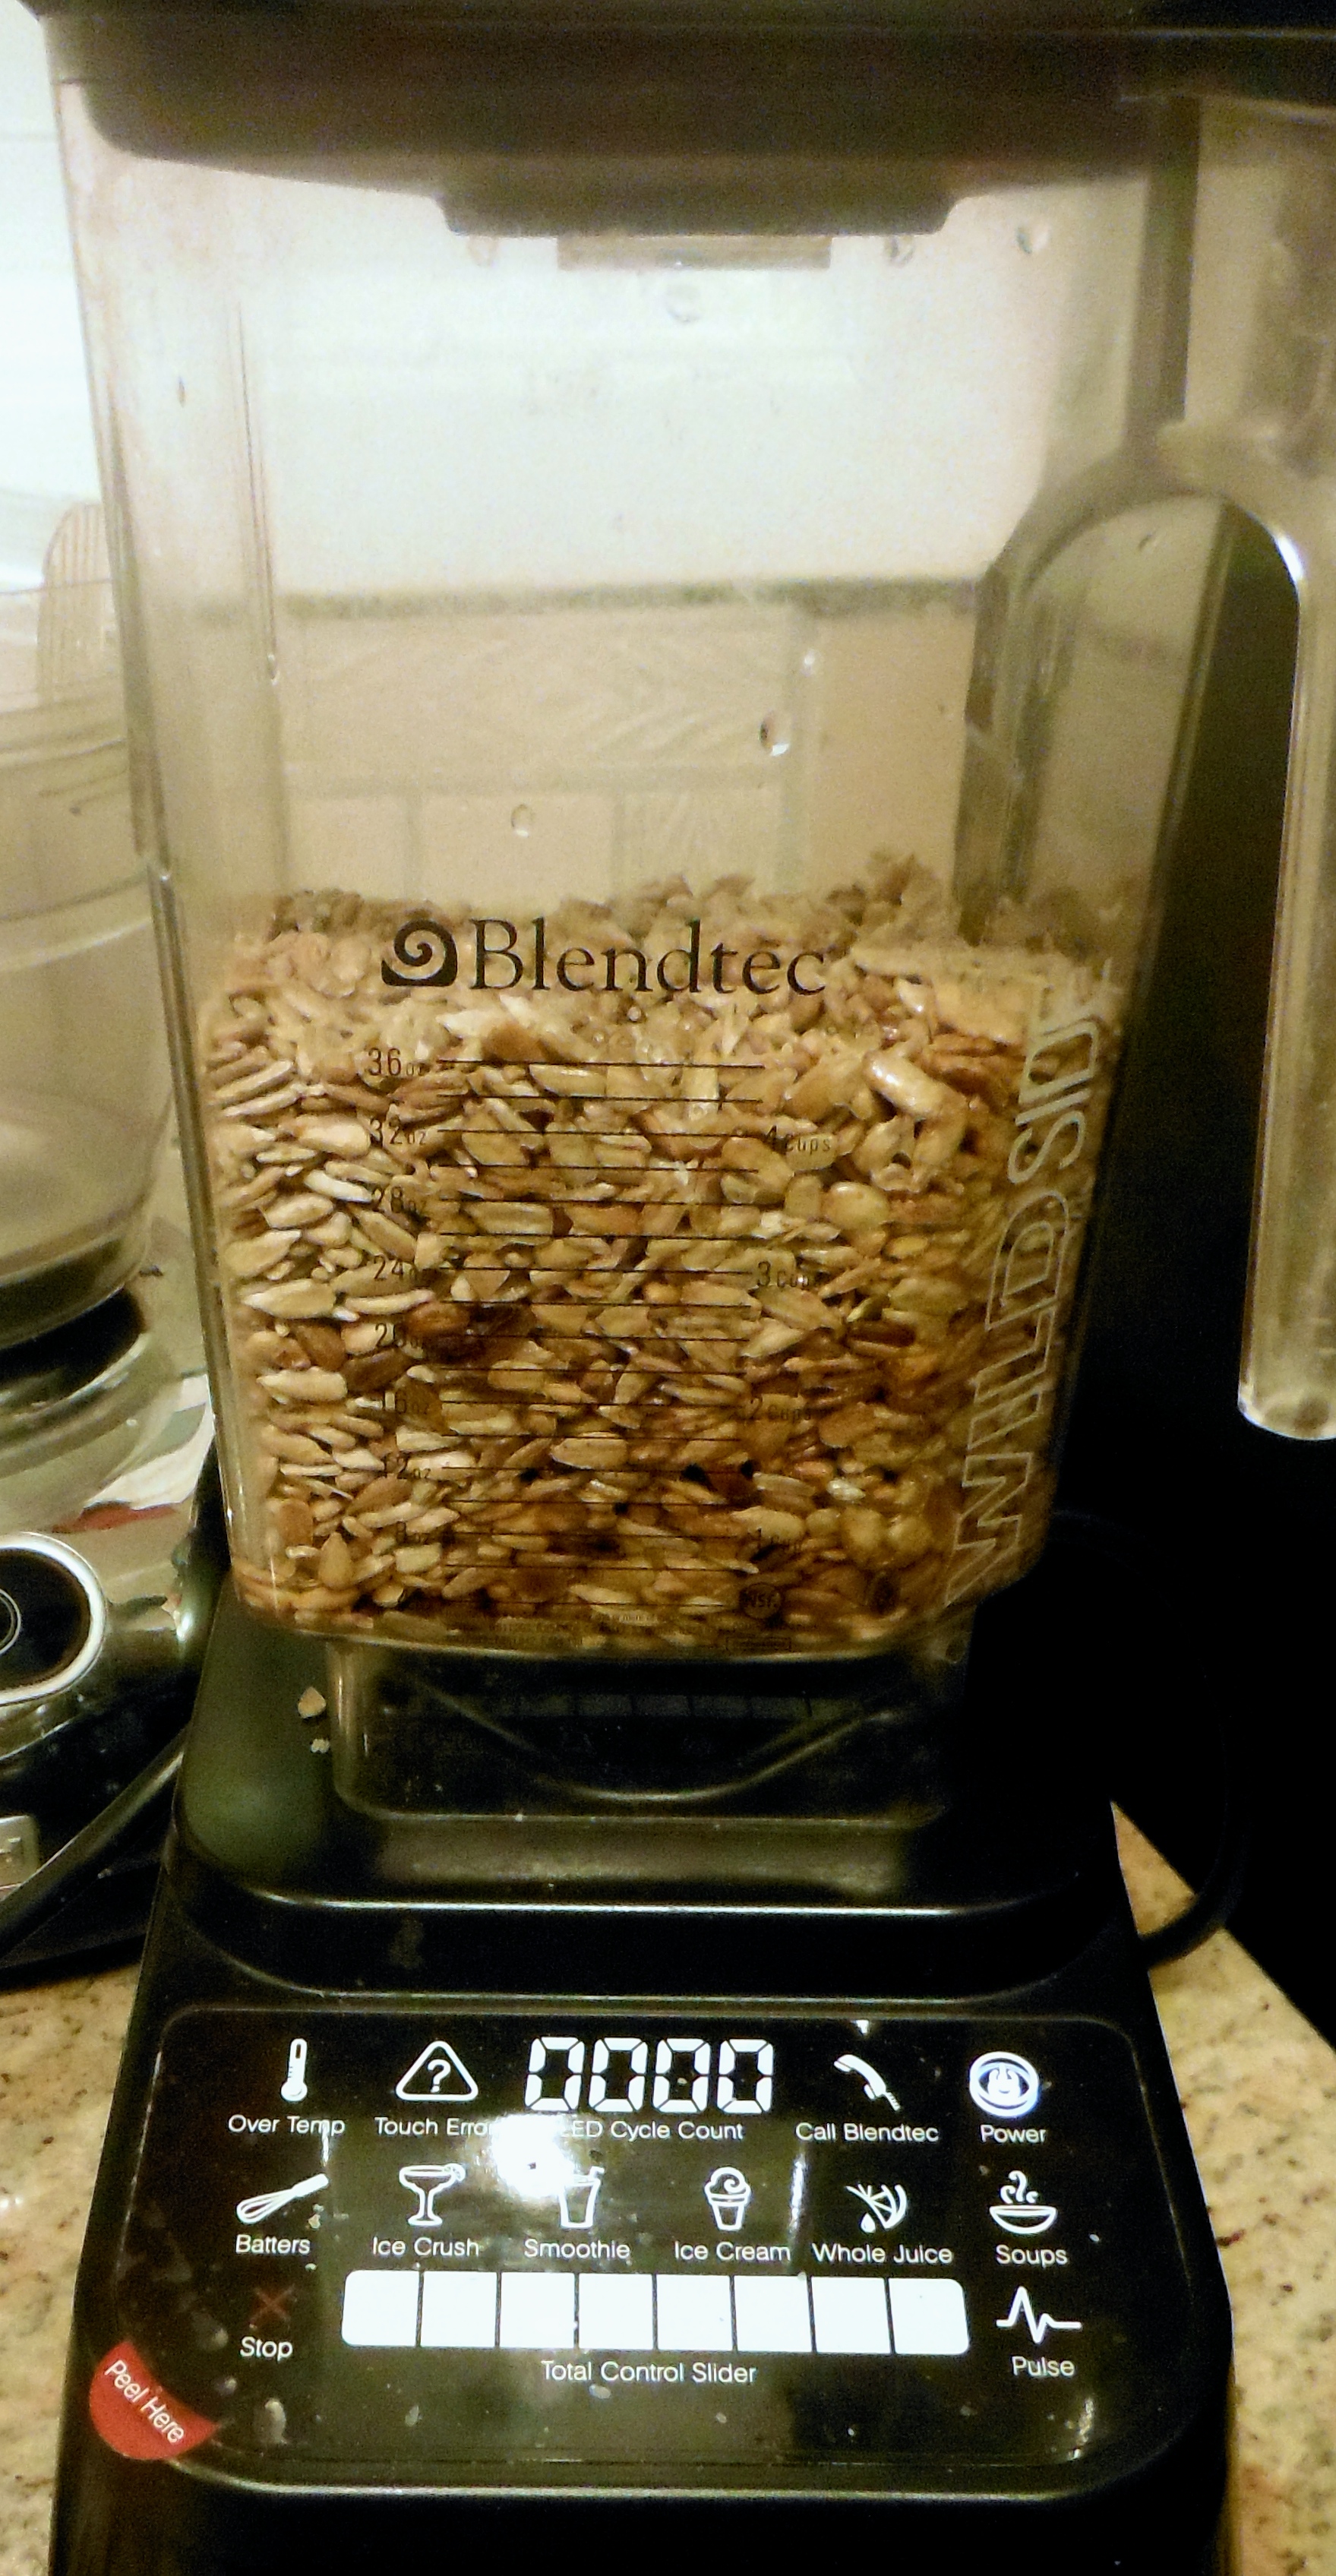
 Save any bones from meat that you eat in a ziploc in the freezer. It goes a lot faster if you have a whole carcass of a chicken/turkey/duck but I don’t cook those that often, so I accumulate bones over a few weeks. Some people separate their bones into different bags (pork, poultry, beef), but I honestly don’t worry about that. I find the flavour of the broth delicious with them mixed. My freezer bag usually consists of chicken thighs, pork chops, ribs, beef shank and less frequent appearances by oxtail and chicken wings. One of my favourite parts about this is it’s free! And by using the animal products multiple times, it saves money, significantly reduces waste and respects the life of the animal.
Step 2: Make Broth
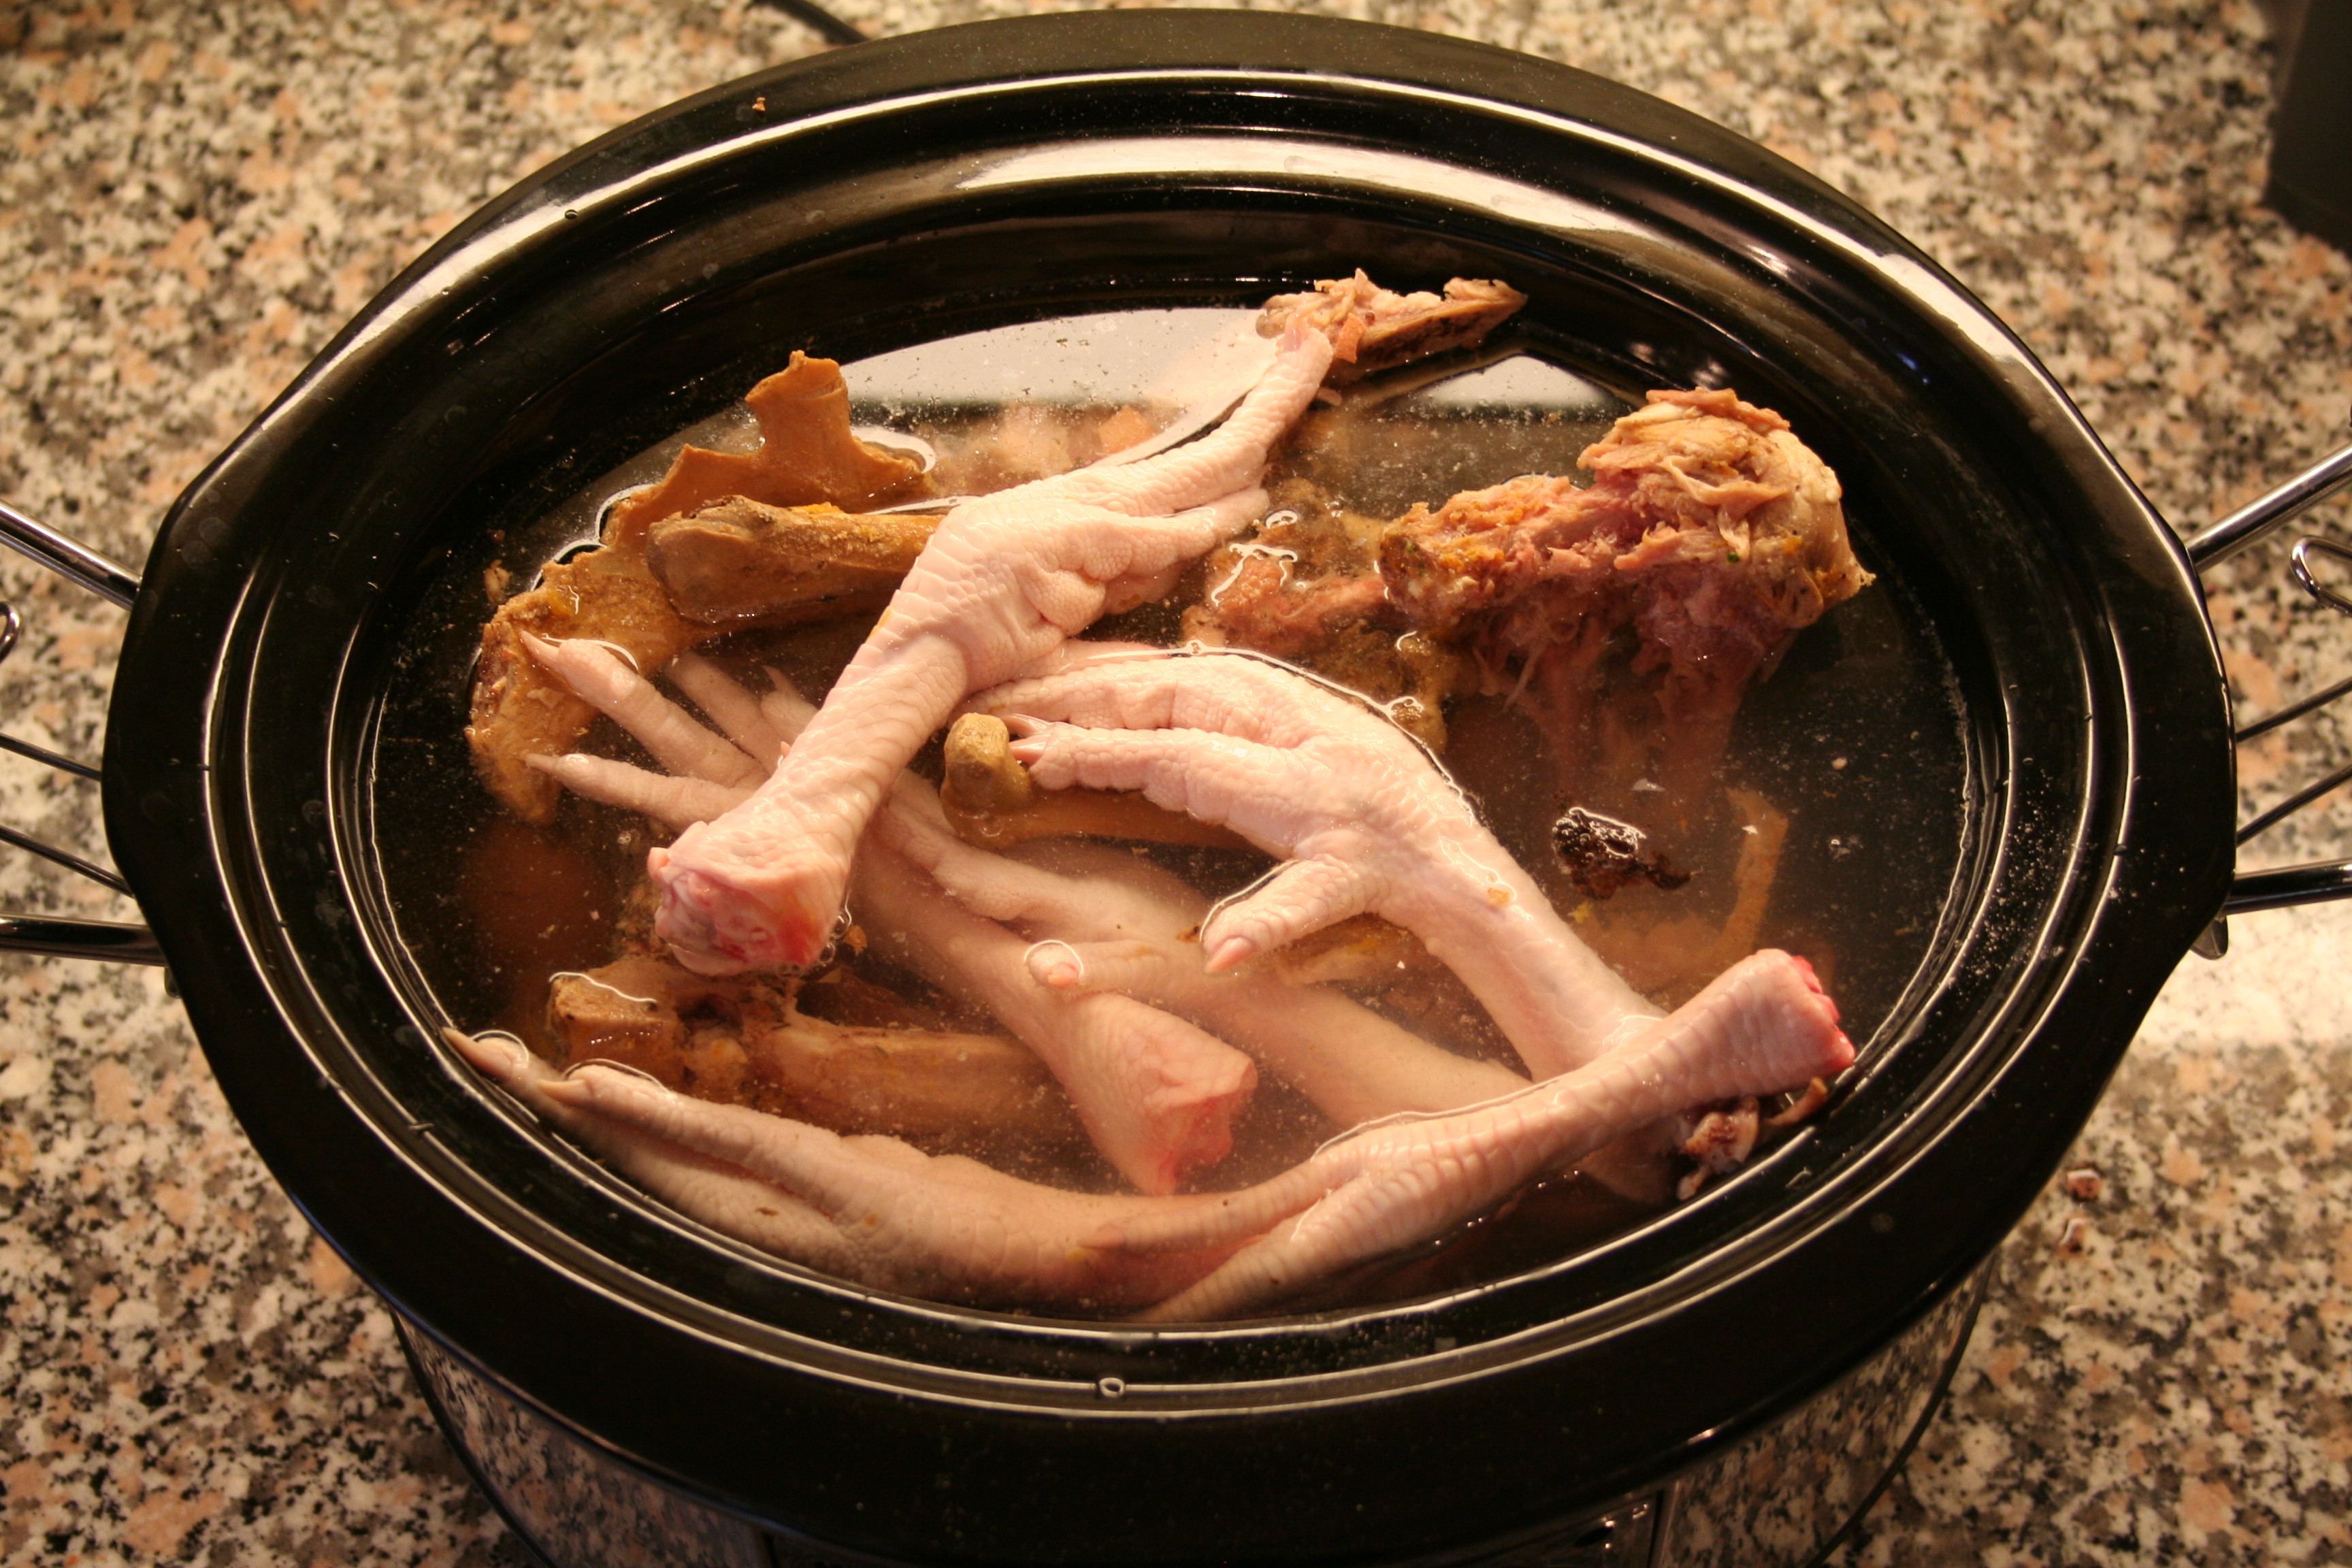
Once you have accumulated a few cups of bones, dump them into your slow cooker with a few tbsp of apple cider vinegar and a few pinches of sea salt. Cover the bones with filtered water and set on low for as long as your slow cooker lets you! Ideally for a minimum of 24 hours – the longer the better! Mine only lets me go 12 hours, so I end up resetting it 2-4 additional times. (NOTE: I now make Bone Broth in my Instant Pot and it takes me 2 hours).
Step 3: Add in Flavour
In the final 4-8 hours, add in some veggies for flavour. (If you’re using a pressure cooker, throw the veggies in at the beginning). You don’t want to add them before now because they will turn bitter and ruin the flavour of your broth. You can add in sweet potato, onions, garlic, herbs, spices, peppercorns – get creative! I usually keep a second ziploc bag in my freezer and store things like carrot tips, onion ends, celery bottoms, squash peels etc that I accumulate from cooking. Then I just dump the bag in! (If you can’t tell, I’m all about using the heck out of my foods! I spend money on great quality ingredients, so I’m going to make sure I max out the nutrition!)
Step 4: Strain and Store
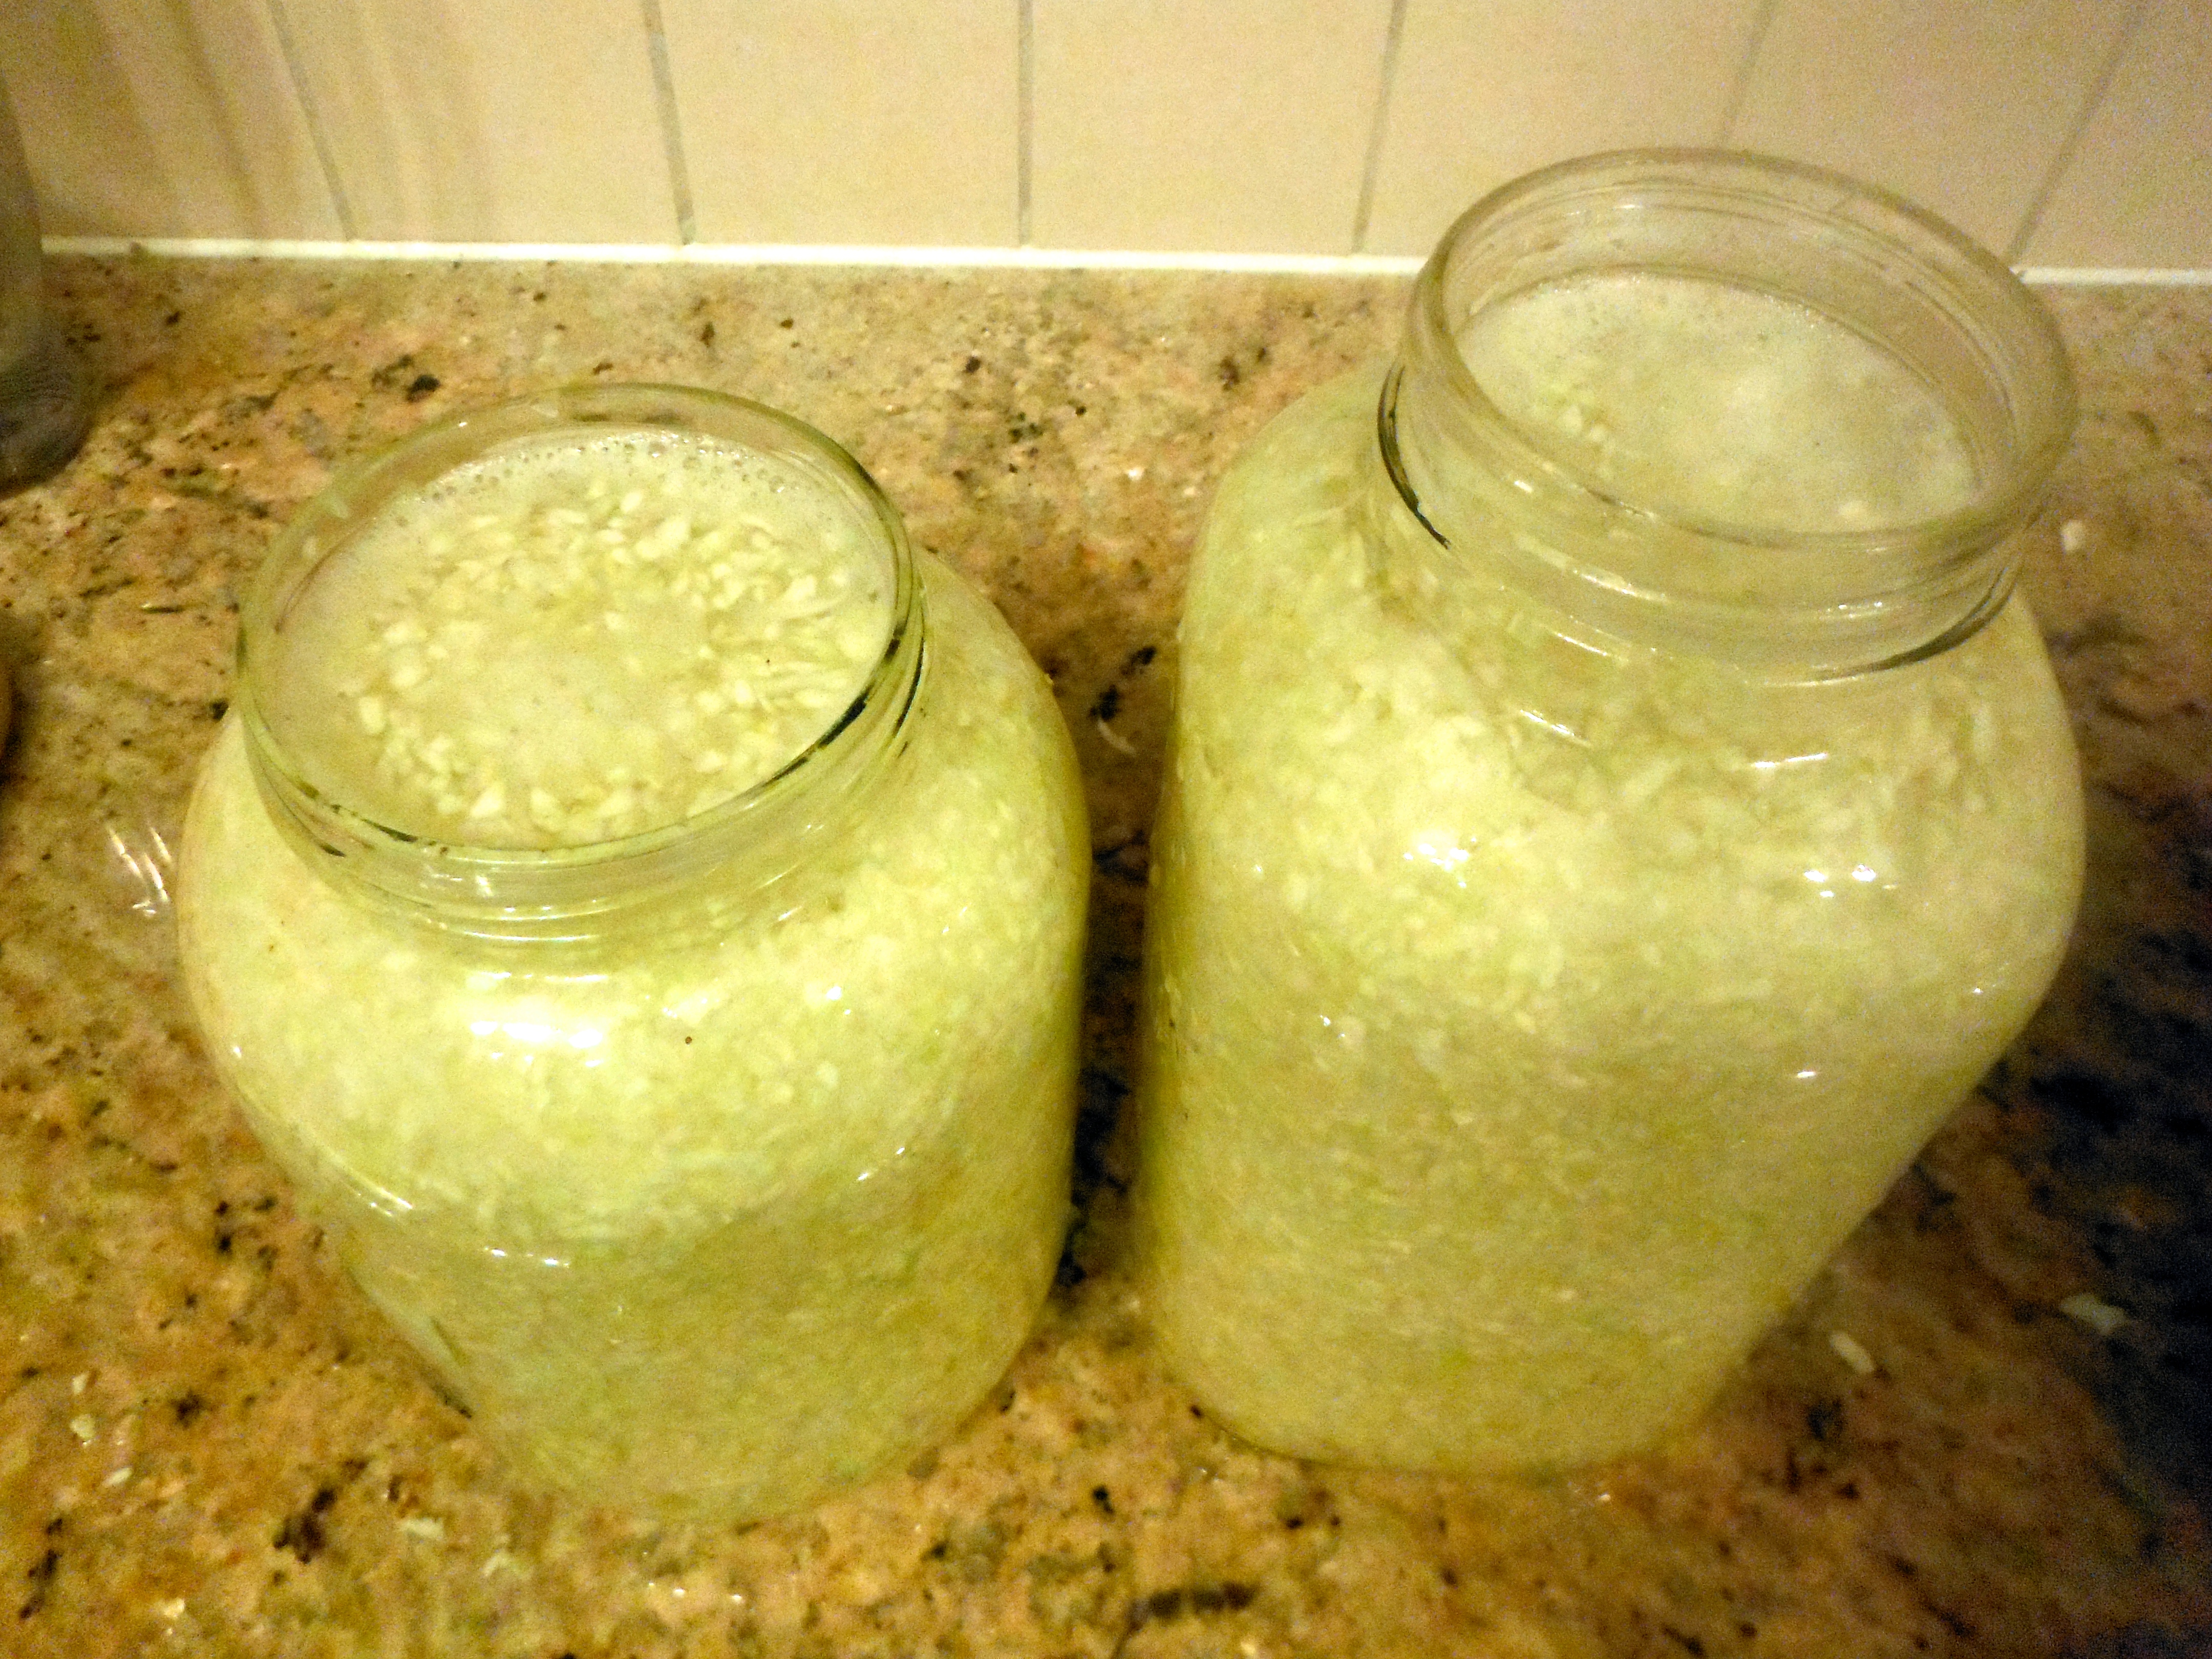
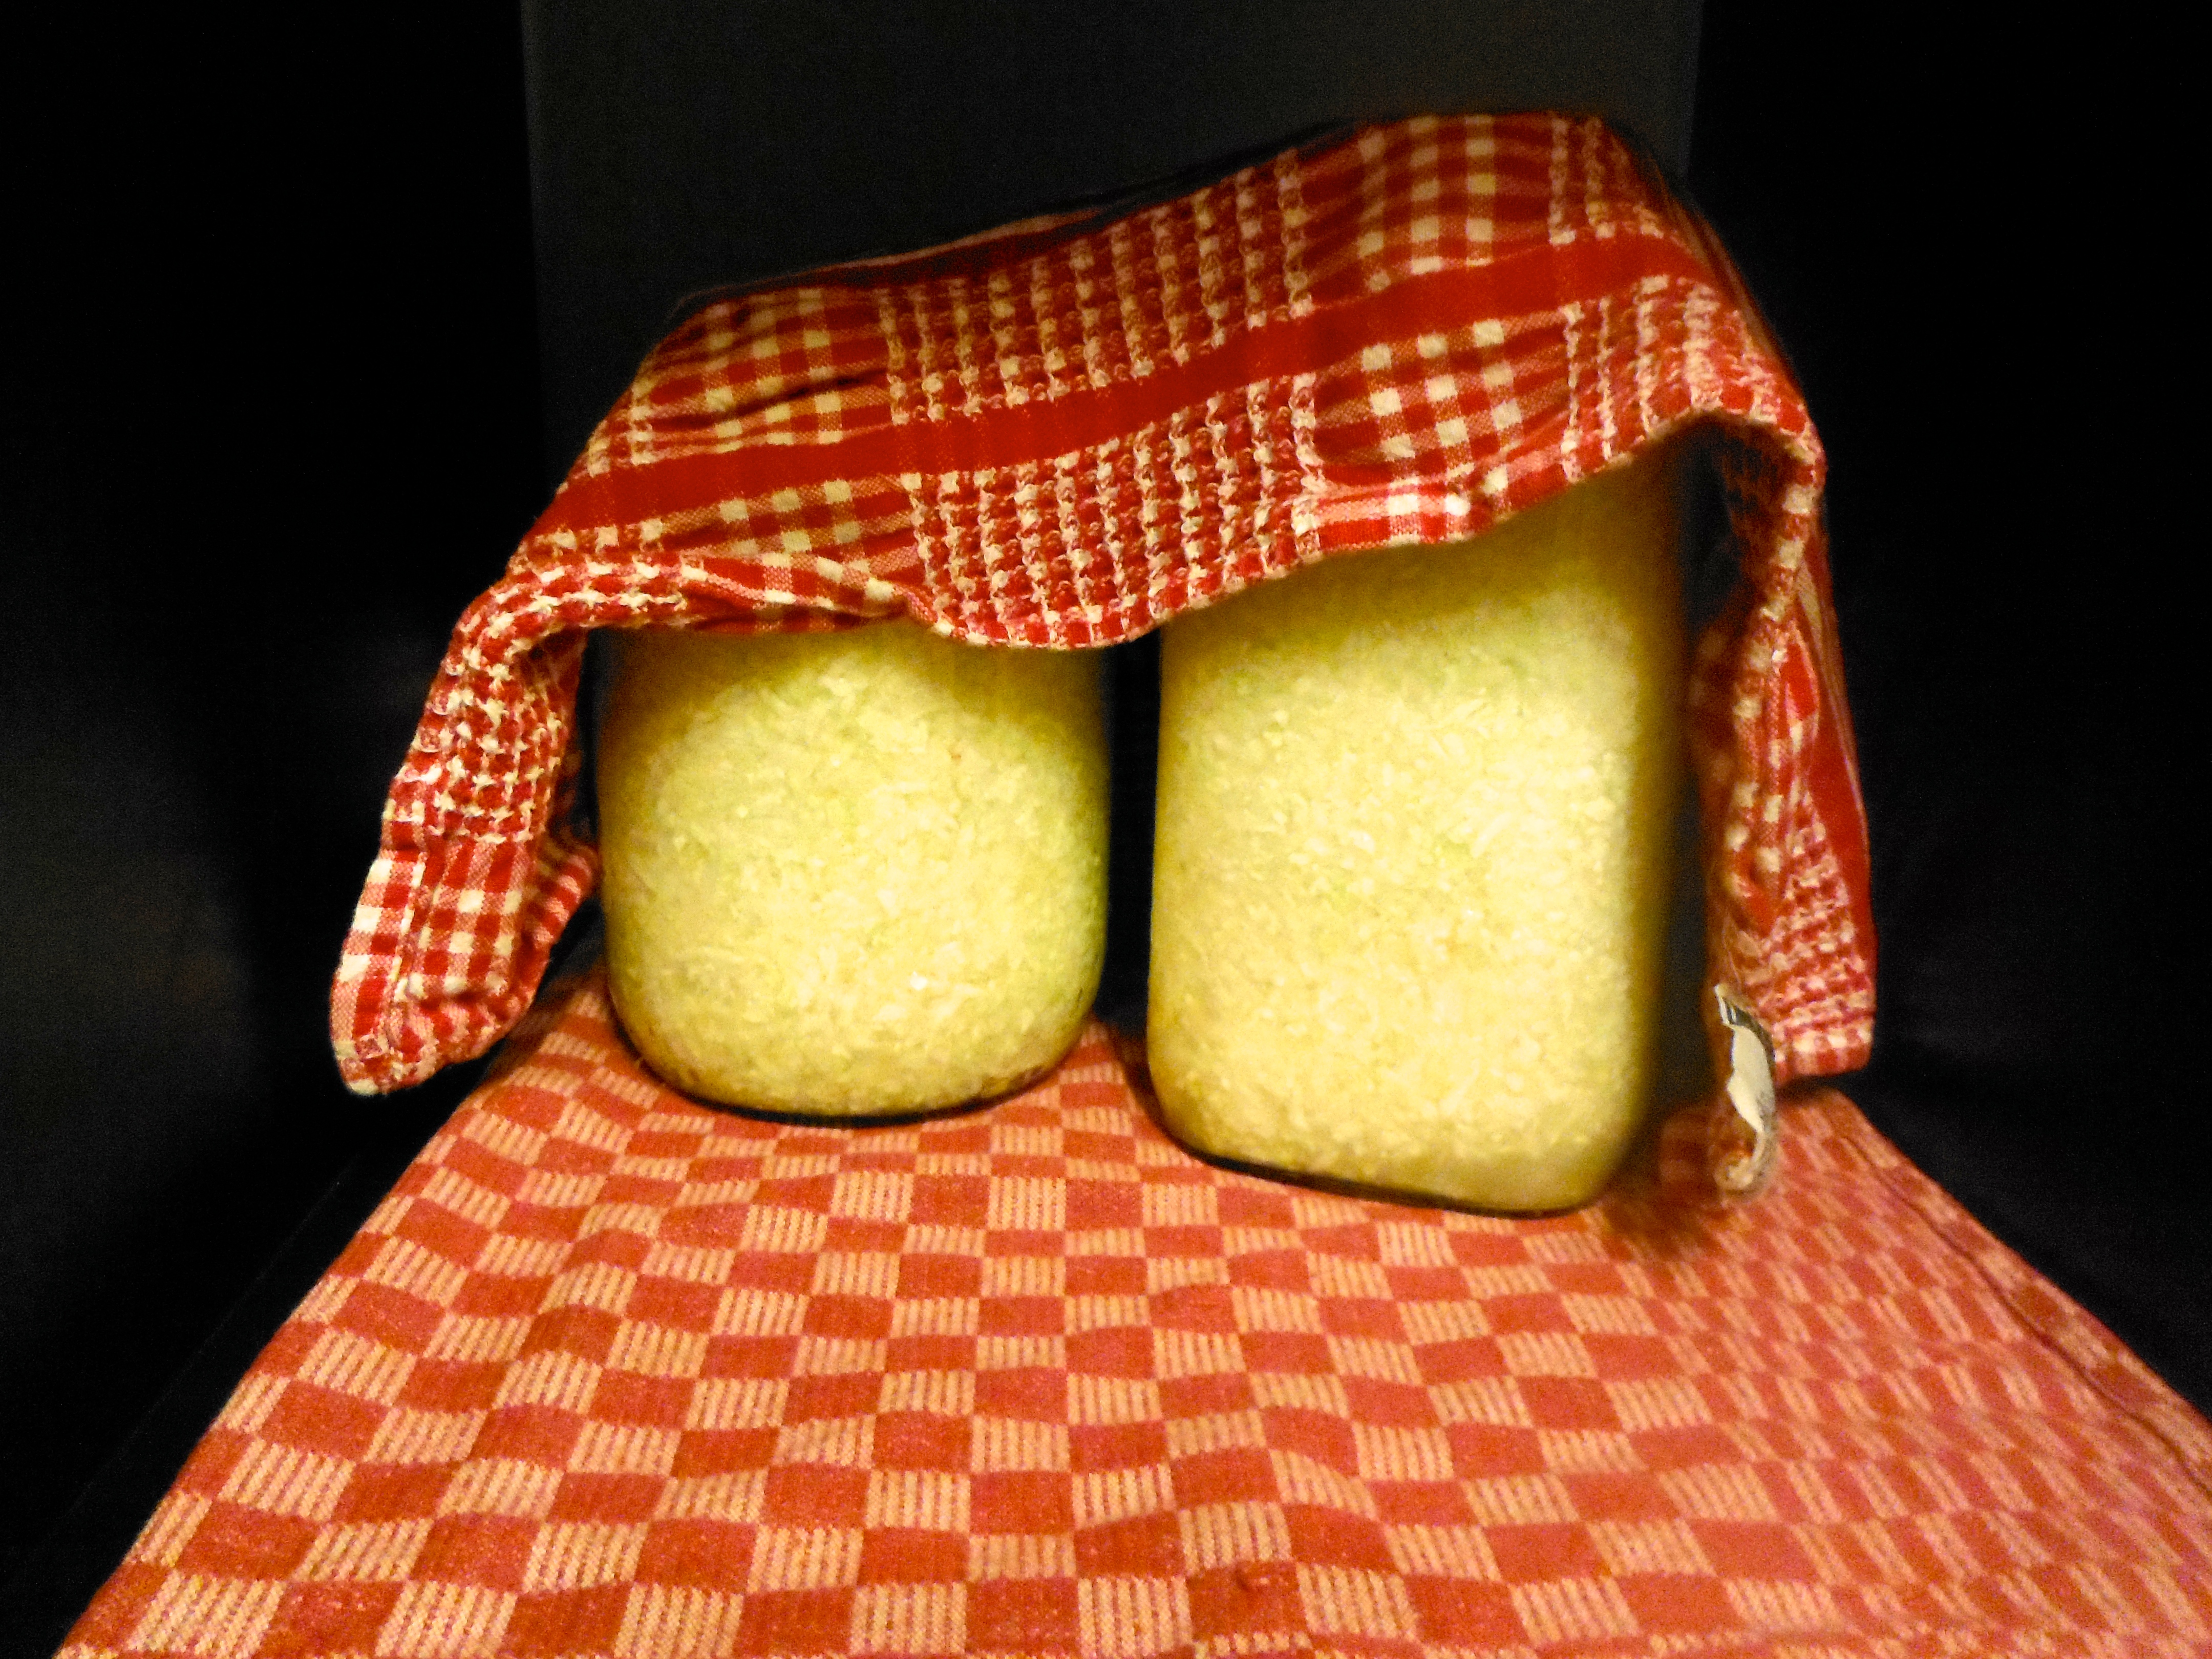
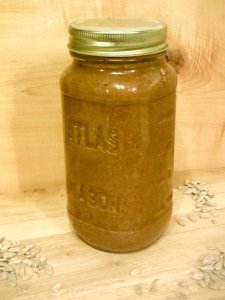
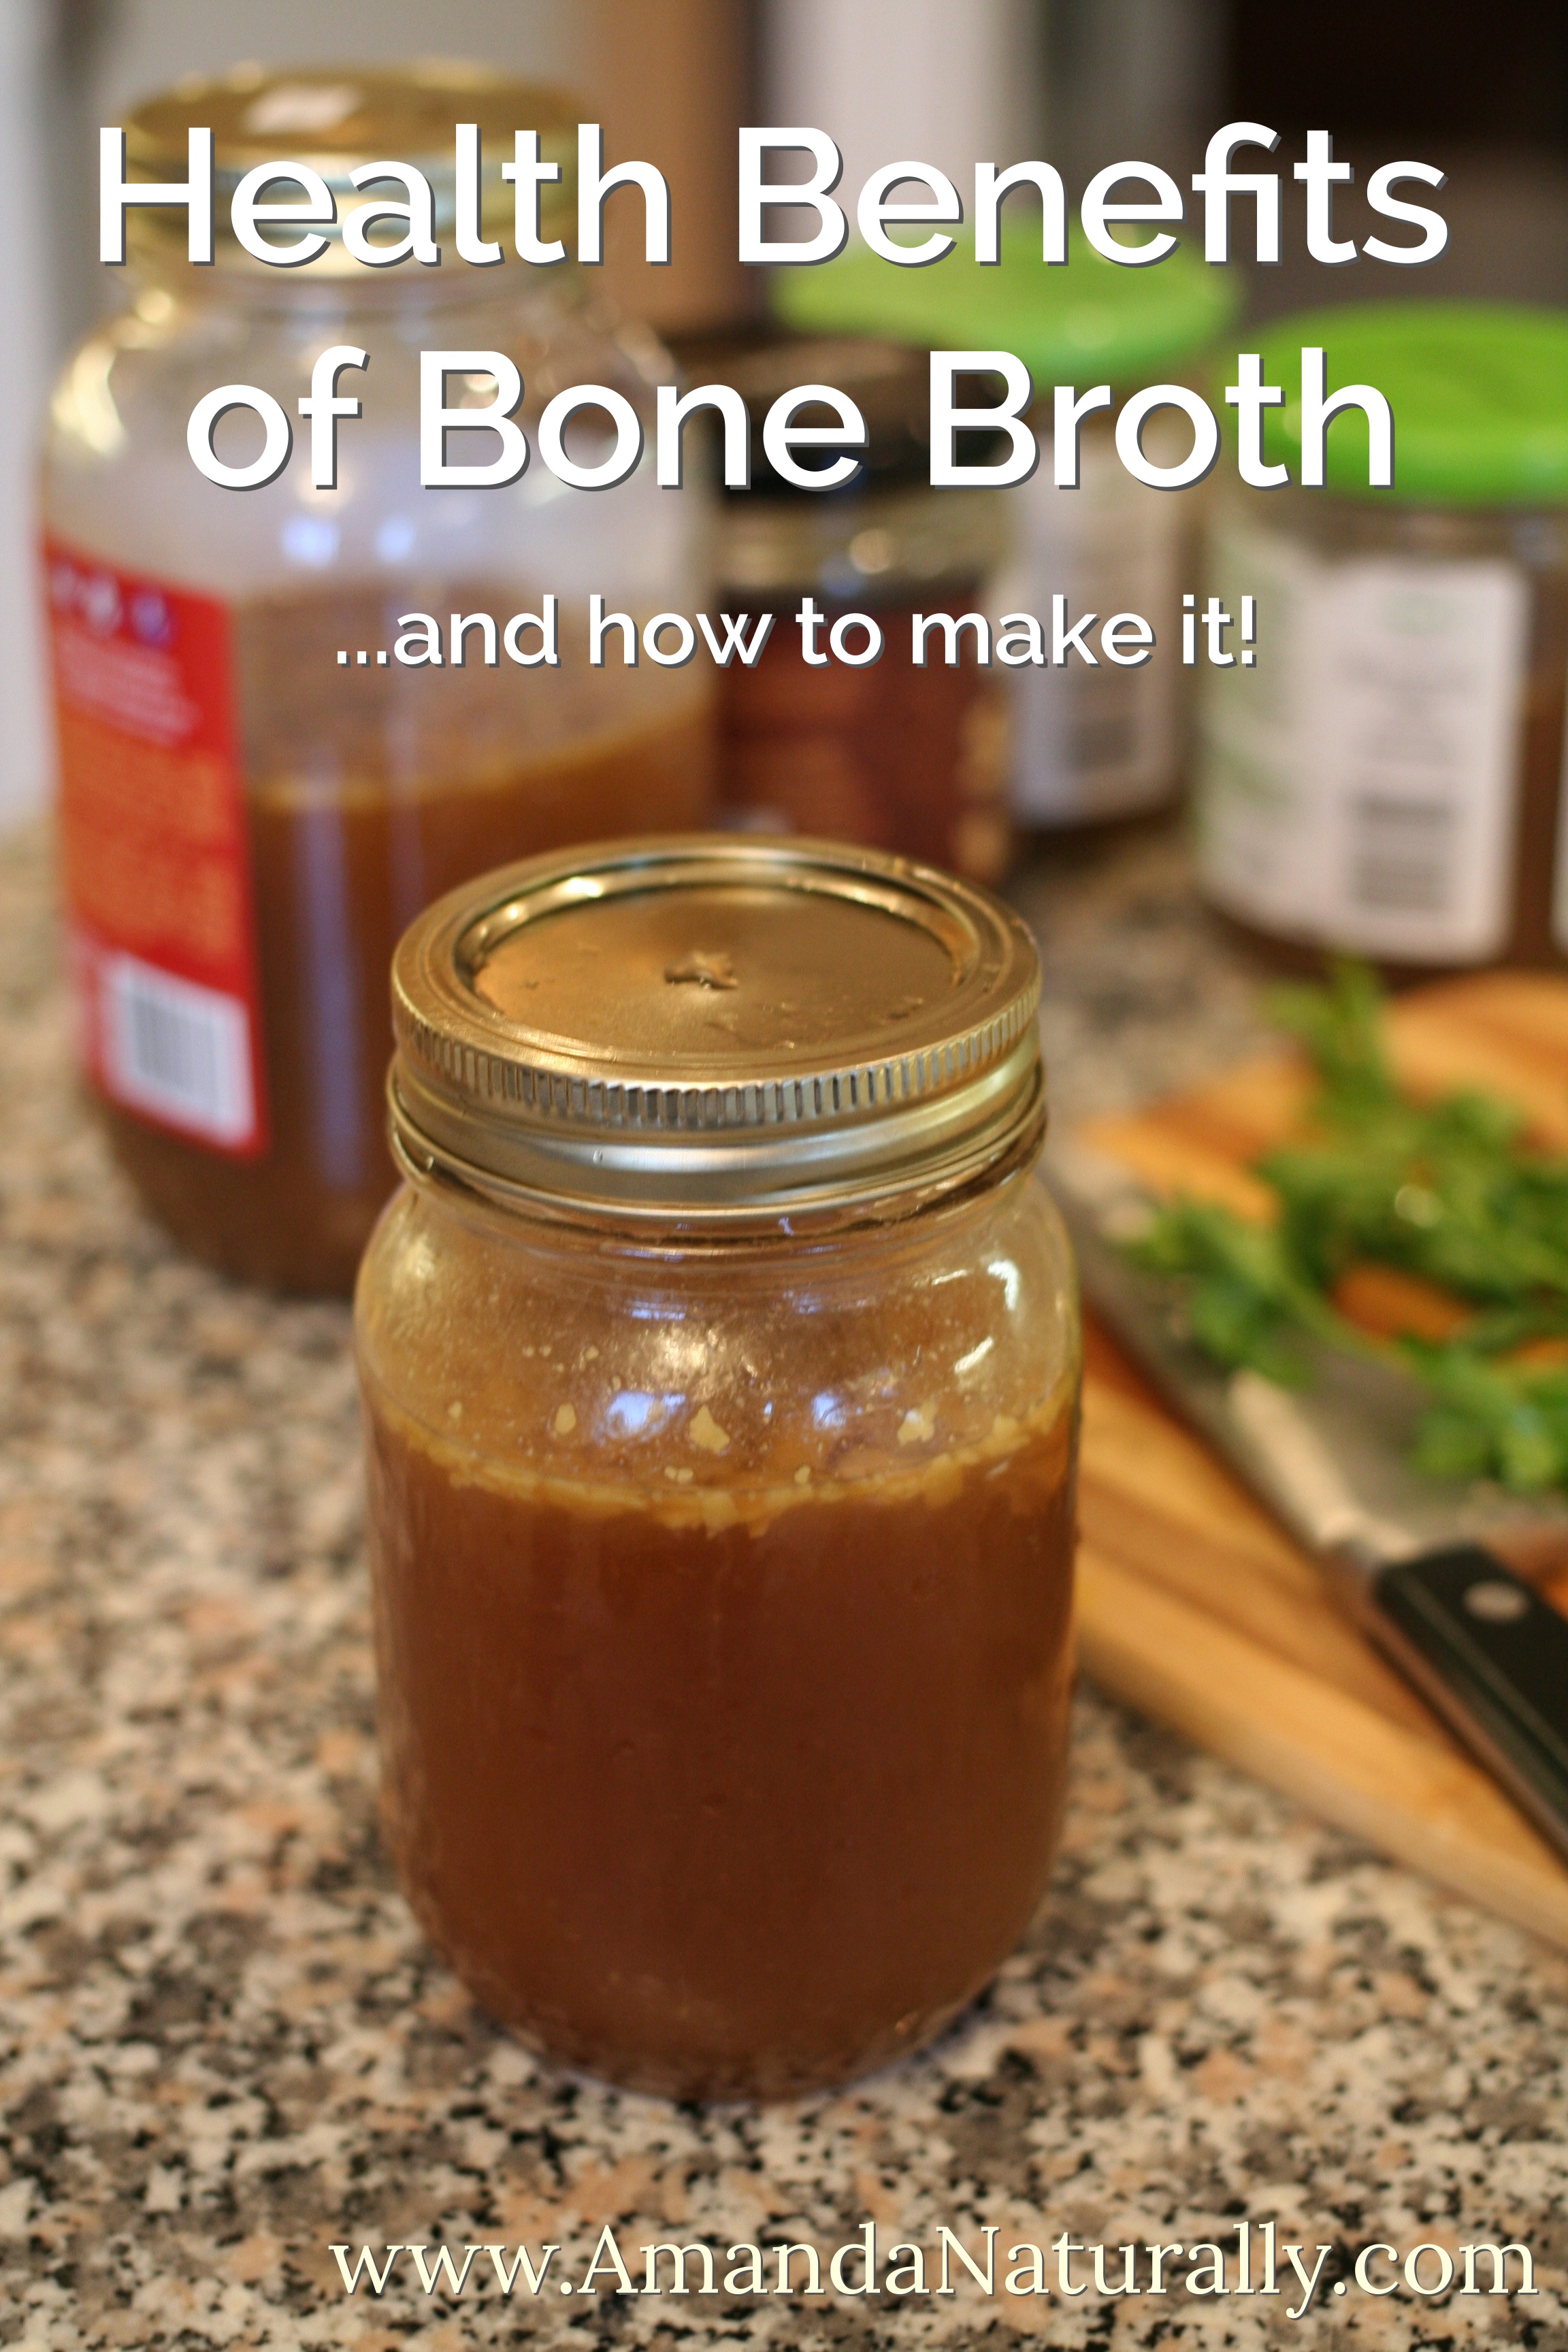
After about 24 hours (or more!), simply strain the broth, cool, store in glass containers and freeze for later use! I usually strain into a large bowl and chill before pouring into individual jars. At this point, the fat will solidify on the top of the broth. If you are using conventional bones, skim off the fat and discard it. If you’re using grassfed bones you have 2 options! Keep the fat on to add nutrients and a creamy texture to soups, stews, sauces etc. (this is what I do), or skim it off and store it in the fridge to cook with later.

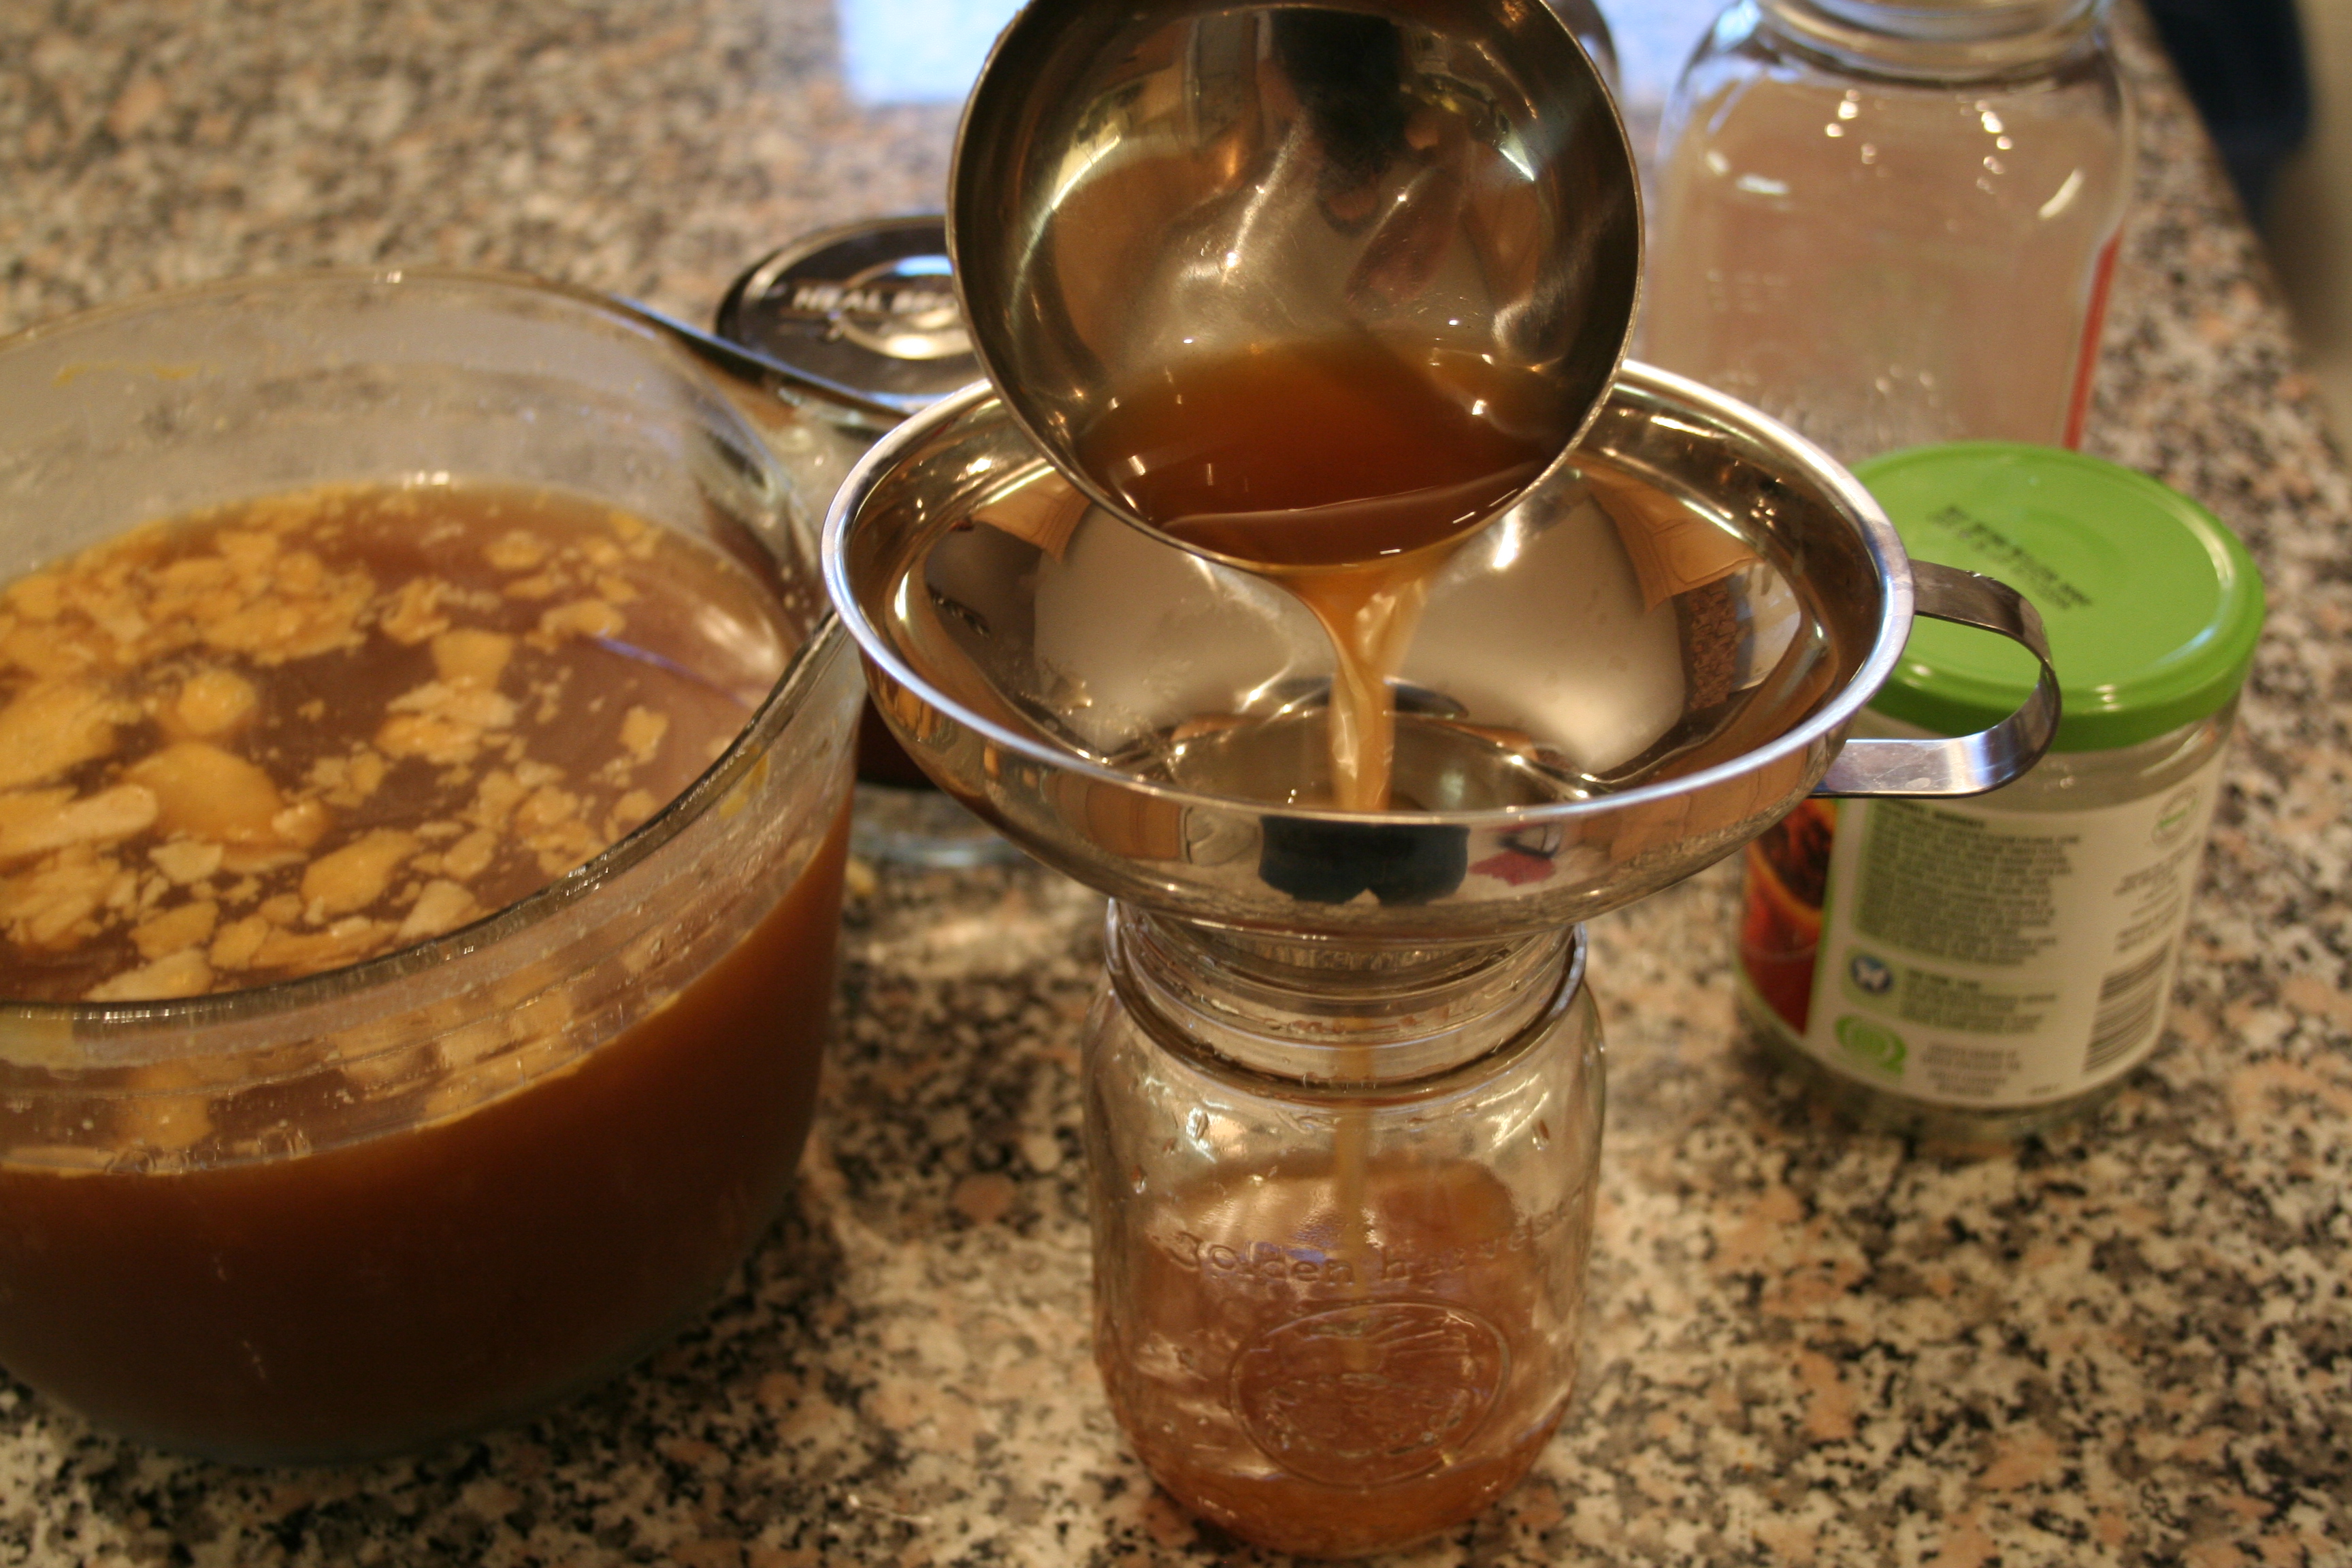
Ideally when the broth chills, it will gel. This means the collagen has broken down into gelatin and infused the liquid. As soon as you heat it again, it will turn to liquid. If your broth does not gel – that’s okay!! Mine doesn’t always gel because I don’t always have bones with lots of joints. While the gelatin is one of the main reasons to consume broth, the mineral content is equally as important. When I strain the broth, the bones actually crumble apart. That means all of the incredible minerals found in bones (calcium, magnesium, phosphorus, as well as some sodium and potassium) are now in the liquid. Hello superfood!

Adding in Superfoods
Broth is a superfood on its own, but I often add in additional ingredients to jack up the nutrition even further.
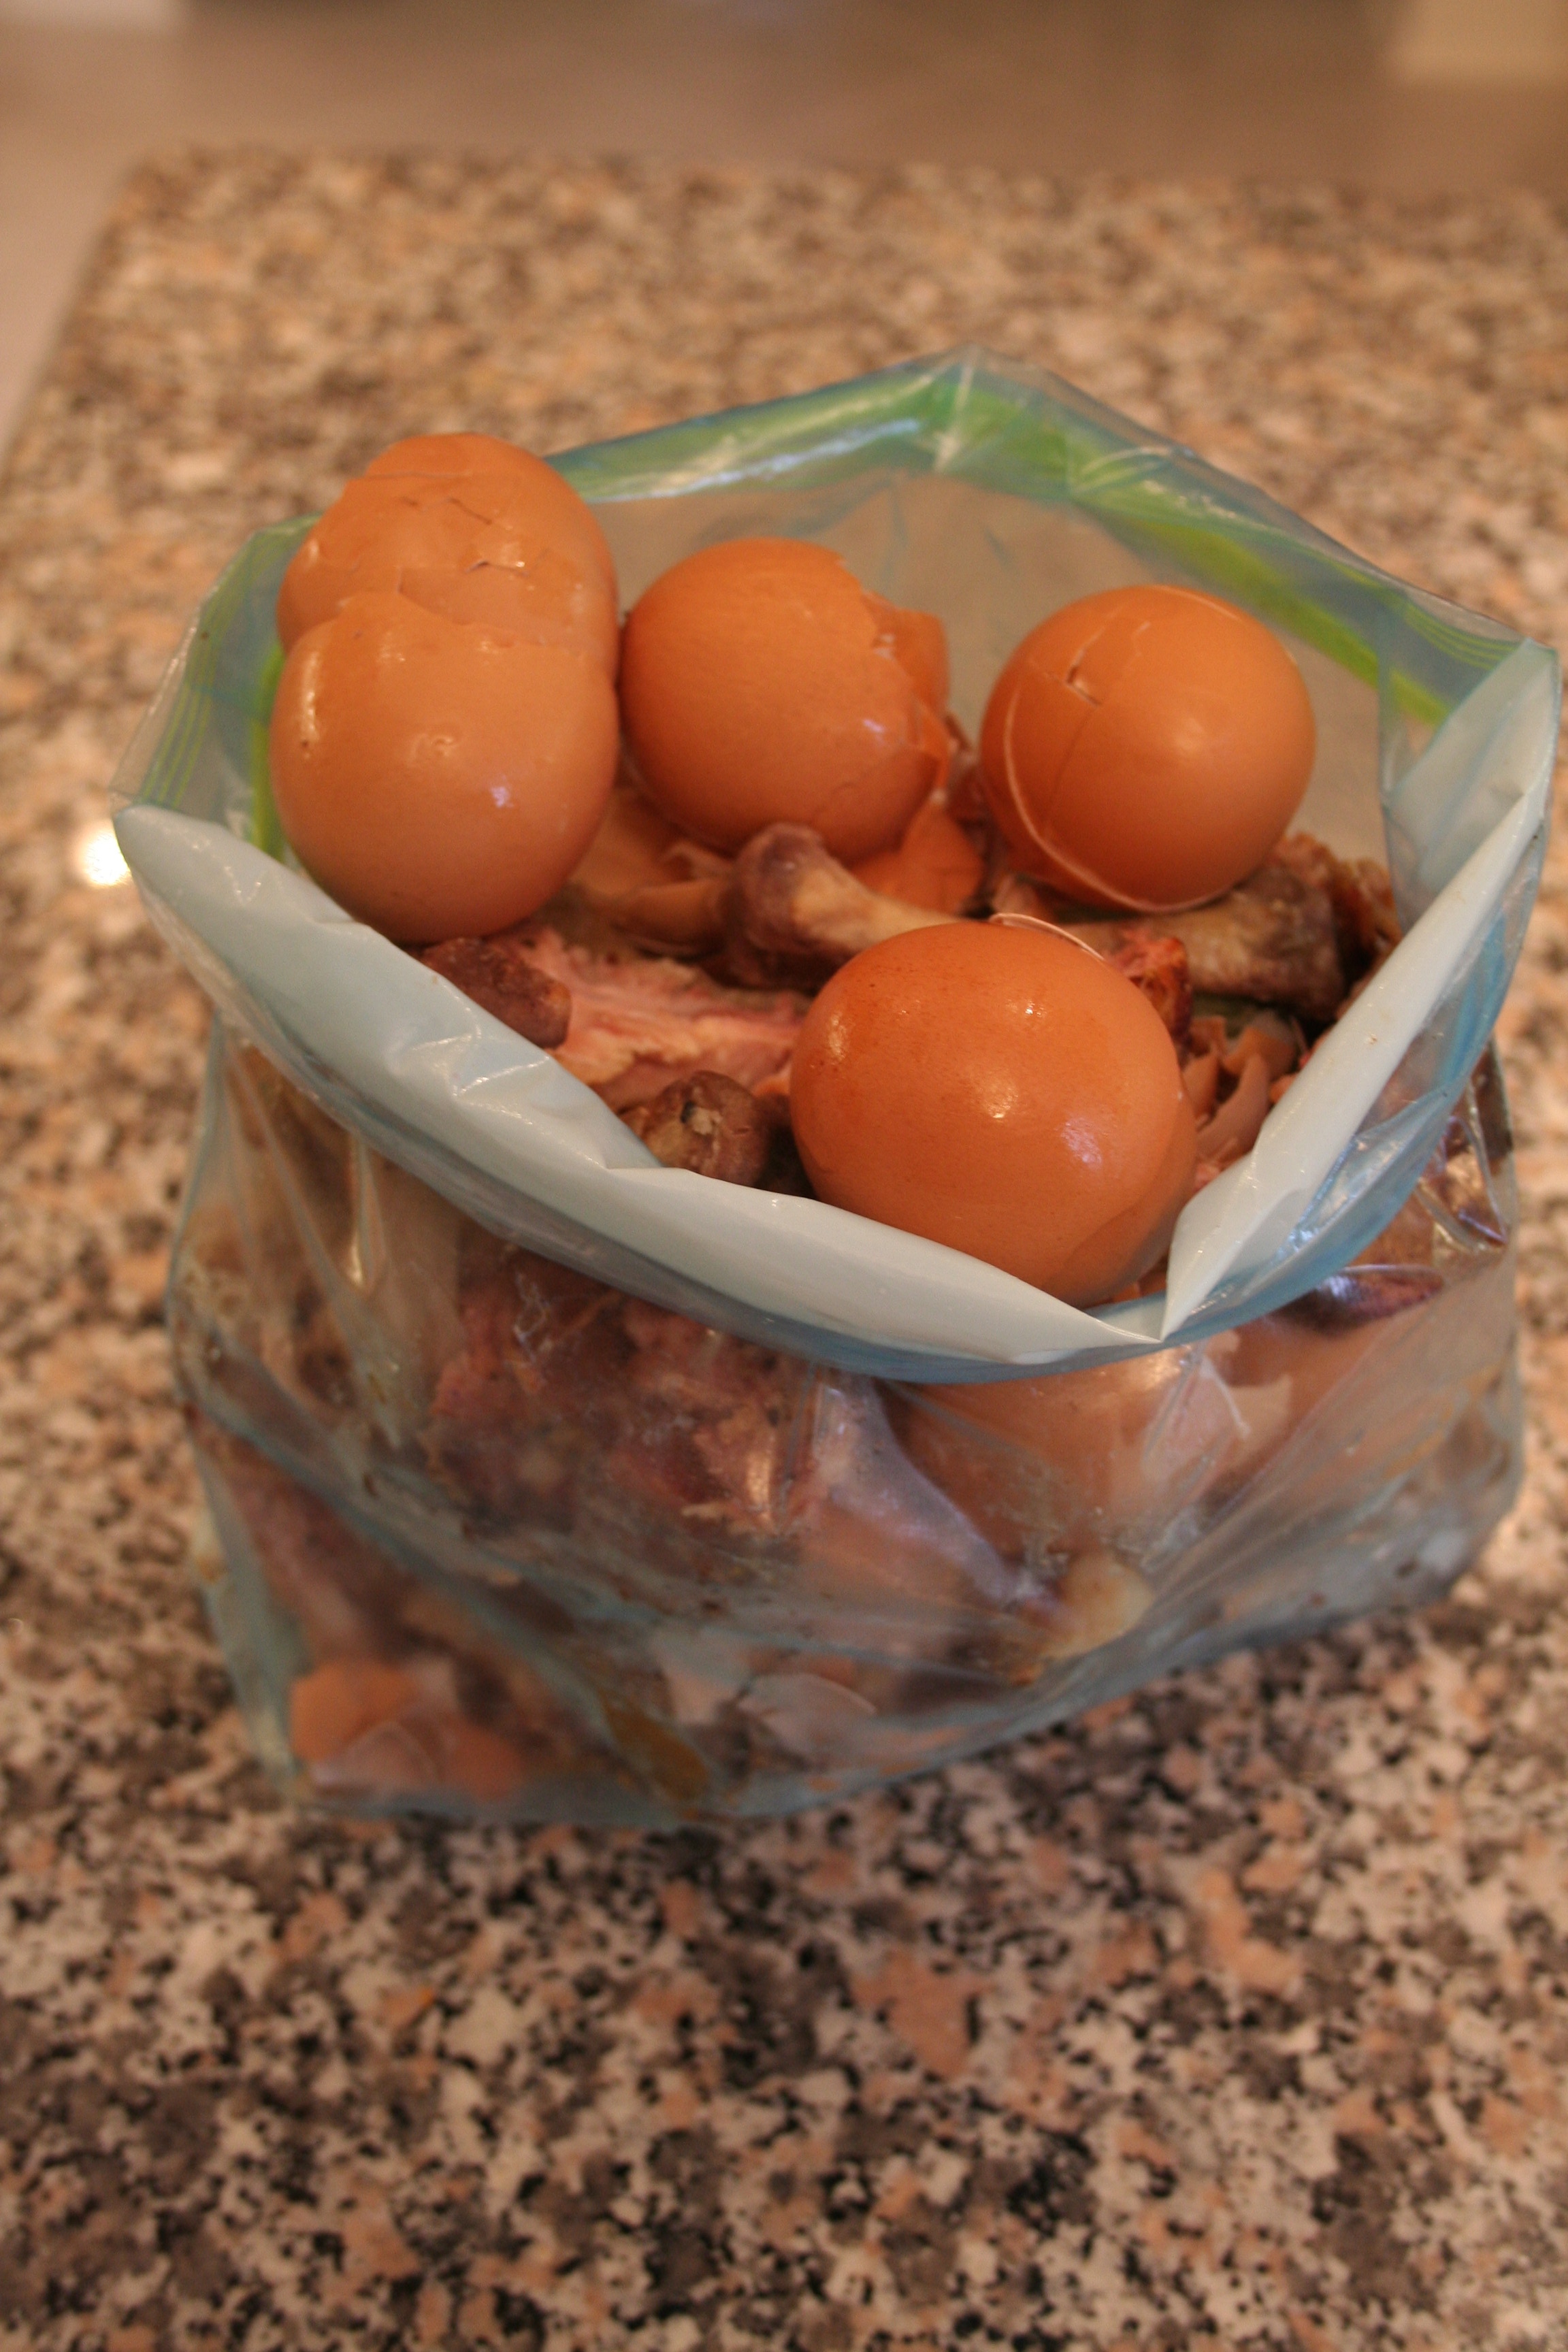
 Egg shells – even more calcium
- Sea weed – great source of iodine, as well as other minerals such as calcium, magnesium, potassium, sodium, iron, chromium and copper, as well as numerous trace minerals. Sea greens can also contain omega-3 fatty acids EPA and DHA (the animal form!), B vitamins and the fat soluble vitamins A, D E and K
- Spices – healing spices such as ginger and garlic, anti-inflammatory spices such as turmeric
- Chicken feet – incredibly inexpensive and pure connective tissue! I get mine from my butcher for about a dollar, and they are already prepared for use. If you find them and they’re still yellow, check out these detailed instructions for preparing chicken feet.
Using Broth Regularly
I keep a jar of broth ready to go in the fridge all the time, so I have it whenever I need it for a quick recipe. Here are some easy ways to use broth regularly:
Sauces/Gravies: After cooking meat, remove it from the pan and set aside to rest for a few minutes, covered. Toss some garlic into the same pan, let cook for 1 minute and deglaze with some broth. Voila, instant glaze!
Mashed Veggies: instead of mashing your potatoes (or sweet taters, or autumn root veggie mash) with butter and milk, use broth! But by all means, keep the butter, especially if you tolerate it well and it’s grassfed. (I’ll just sit over here jealous and enjoy my broth…)
Stir Fry: add some broth to your stir fried veggies to tie it all together and create a delicious sauce. Add coconut seasoning, or gluten-free tamari for flavour.
Soup: obviously! This includes stew and curry!
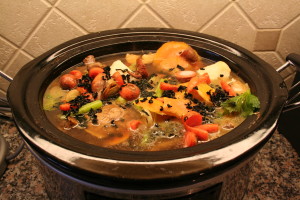
Slowcooker: when you have nothing planned for dinner and you know you’re going to be home late, do this in the morning! Pour half a cup of broth in the slow cooker. Add some meat that has been liberally seasoned with sea salt and black pepper. Cook on low til you get home. Done! Have a few extra minutes in the morning? Chop up some root veggies (carrots, potato, sweet potato) and add on top. Keep it super simple! I have literally just done broth, seasoned chicken thighs and carrot chunks. It turns out beautifully!
Amanda’s Mug of Goodness: the way I consume broth on a regular basis is by following this recipe: ½ cup broth + ½ cup water + 1 tbsp Aroy D yellow curry paste + pinch of sea salt. Quickly bring to a simmer on the stove, whisk to combine. Stir in ¼ cup Aroy D coconut milk. Heat through. Pour into a mug and enjoy! I regularly have this for breakfast, especially if my GI tract is feeling irritated. It’s one of my favourite snacks as well. I have found it to be incredibly useful if I get any ridiculous cravings for sugar/starches as well – totally kills the craving!
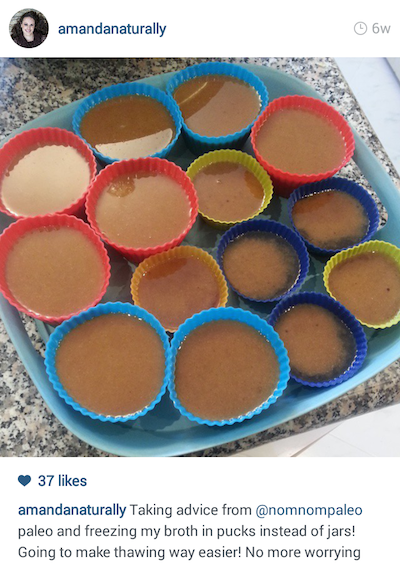
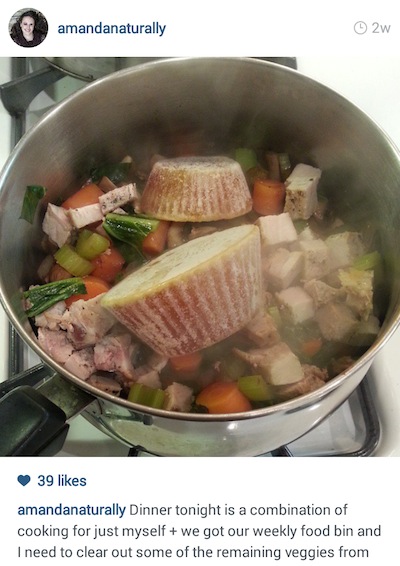
UPDATE (Feb 28/15): My new favourite way to store broth is in pucks, as recommended by Michelle at Nom Nom Paleo. Instead of freezing in glass jars, use silicon muffin cups. When they’re frozen pop out and store in a ziploc bag in the freezer. No more waiting for broth to thaw! Simply throw a puck into the pot and you’re good to go!