 Buying real meat, from happy healthy animals, is really important to me and it is something that we encourage clients to move towards. “Happy healthy animals” have been allowed to graze on pasture, eat the food they’re meat to eat (cattle = grass, poultry and pork = grass, bugs, weeds, scraps etc), are free of unnecessary antibiotics, free from hormones and other drugs used to fatten them up, and allowed to “express their pig-ness or cow-ness” as Joel Salatin from Polyface Farms would say.
From an ethical standpoint, it’s a no-brainer. Animals should be treated with respect throughout their entire lives, including the way it is ended. They should not be raised in factories. It is a despicable practice.
From an environmental standpoint, it’s also a no-brainer. Diana Rodgers explains it beautifully in her book The Homegrown Paleo, which I’ll summarize quickly here.
- In a healthy, sustainable farm, herbivore animals require very little inputs in terms of water, chemicals, heavy machinery, fertilizers, pesticides etc.
- Pasture animals are integral because they thrive on areas of land that cannot be used for vegetable (or grain) production.
- It’s not possible to have a healthy vegetable farm, without any contribution from animals. Decomposing animal parts (all parts!) are critical for returning life-giving nutrients like bacteria, calcium and nitrogen to the earth.
From a nutritional perspective, grass-fed and pastured meat blows conventional meat out of the water (side note: why is inhumane, factory farming called “conventional” and natural, traditional way of farming forced to have another name??). It is more nutrient-dense (ie. contains more vitamin and minerals per calorie) and the fat profile of the animal become incredibly healthy! The fat shifts from inflammatory (high in omega-6’s) and full of the junk the animal was exposed to during its life, to anti-inflammatory (higher in omega-3’s) and full of fat-soluble vitamins such as Vitamin A and D.
This is all fine and dandy, except for 2 things. Finding grass-fed/pastured meat can be challenging and when you do, it is often substantially more expensive. One of the best ways to reduce the cost of real meat is to buy an entire cow/pig. Go in with your family or a few friends and purchase a half a cow, or a whole hog. It does require an investment up front, but you will end up saving big time in the long run.
If this is not an option for you, then my biggest piece of advice is to get familiar with the cheaper cuts of meat. When I order from our butcher, these cuts make up the majority of my order:
- medium ground beef
- ground pork
- pork sausages
- breakfast sausages
- chicken thighs
- chicken drums
- beef brisket
- pork shoulder
- chicken livers
- beef heart
- chicken feet
- and….BEEF SHANKS!
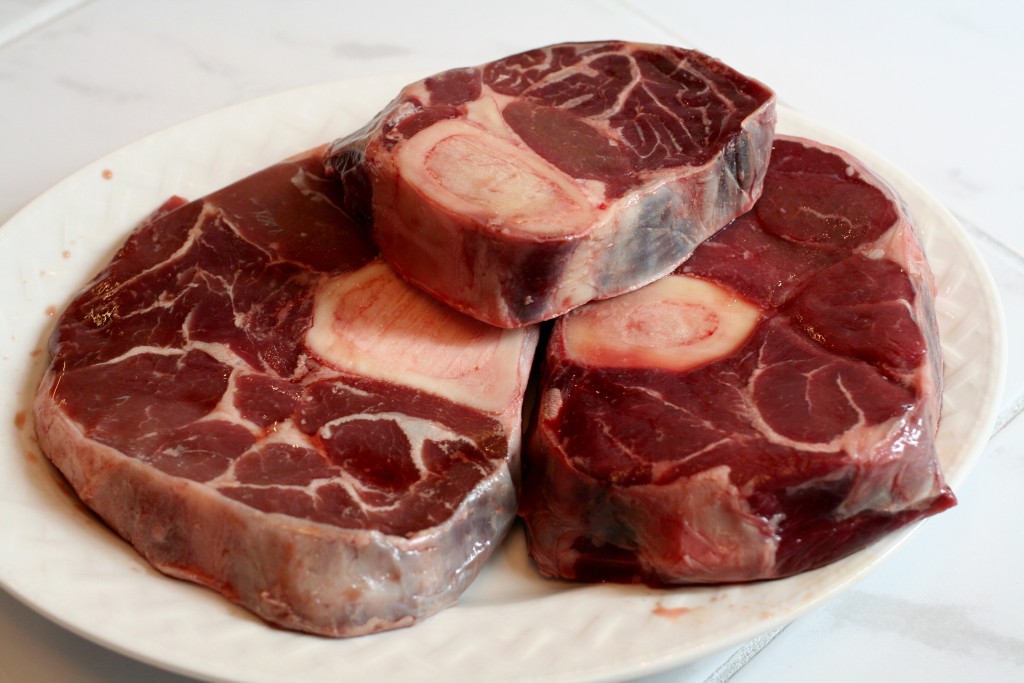
Beef shanks are one of my favourite cuts of beef – in fact, any recipe that calls for stewing beef, I use beef shanks instead now. The shank is a cross section of the leg of an animal. It is really high in connective tissue (read about the amazing health benefits here) and it is on the bone, so it is a perfect cut for cooking low and slow. Braising, stewing and slow-cooking are the way to go with these bad boys. And the longer the better!
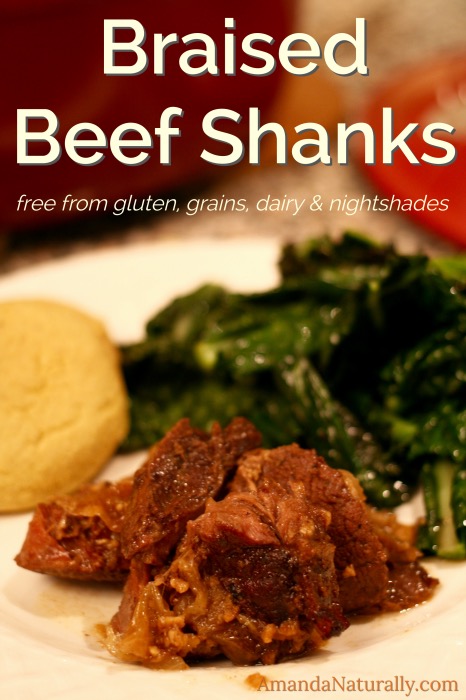
Braised Beef Shanks
Ingredients
- Beef shanks
- Sea salt (black pepper optional)
- Cooking fat (tallow, lard, bacon grease, butter, ghee, coconut oil)
- 2-3 onions, diced
- garlic cloves, diced
- bone broth
- bay leaf
Directions
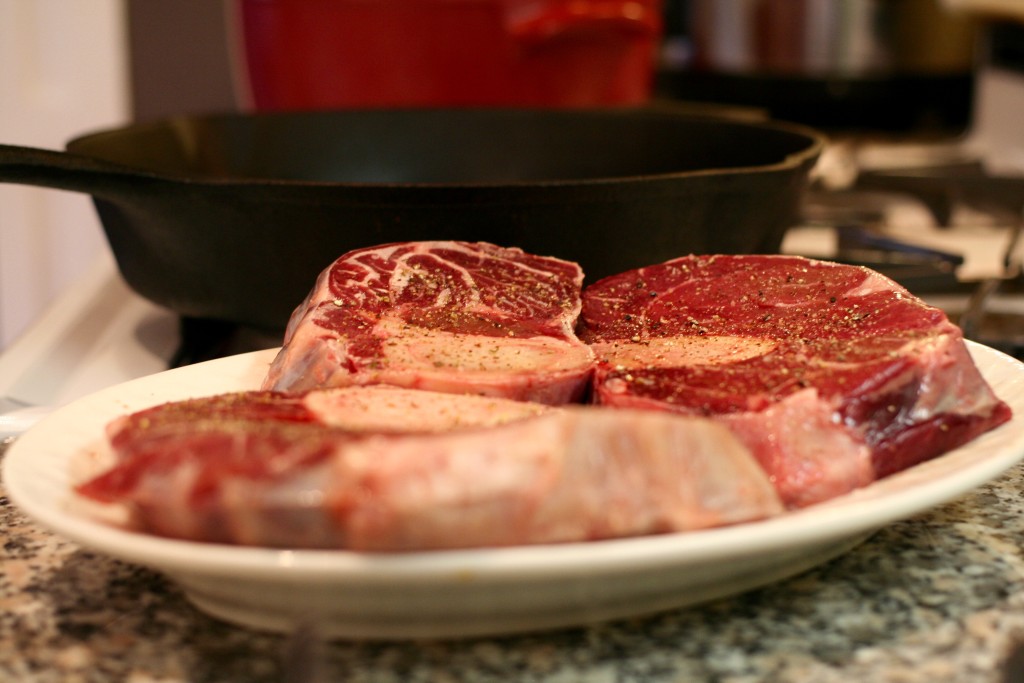
Bring beef shanks to room temperature, by letting them sit on the counter for 20-30 minutes.
Preheat the oven to 350F. Season the shanks with sea salt, and if desired, black pepper.
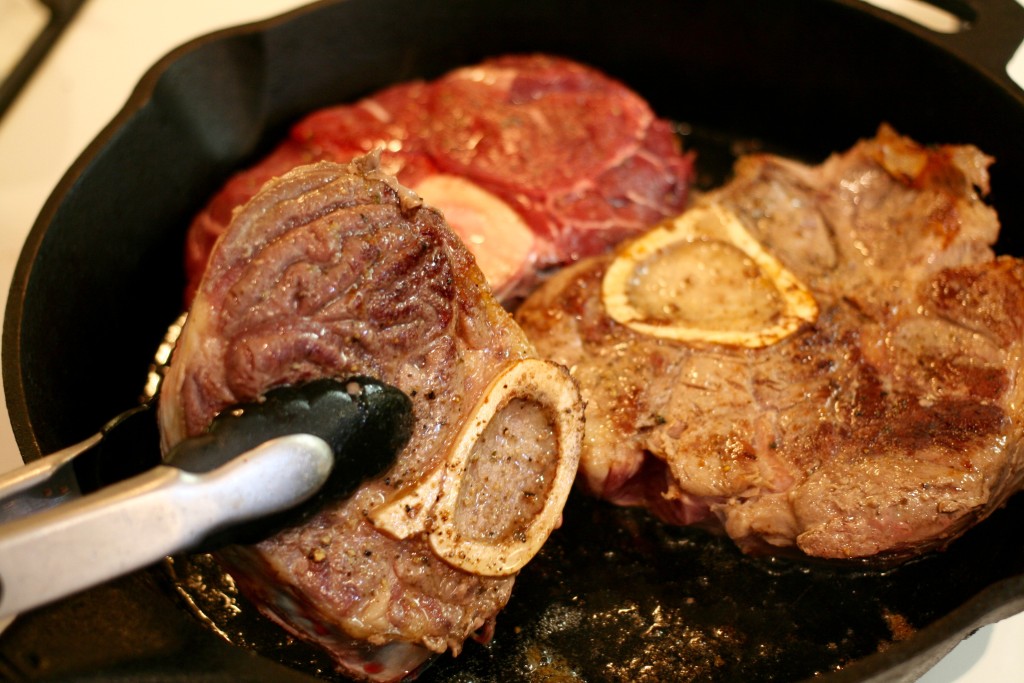
In a large pan over medium high heat, add fat sear the beef shanks until they are beautifully browned on both sides. TIP: let the meat brown for a minimum of 3 minutes before checking it!
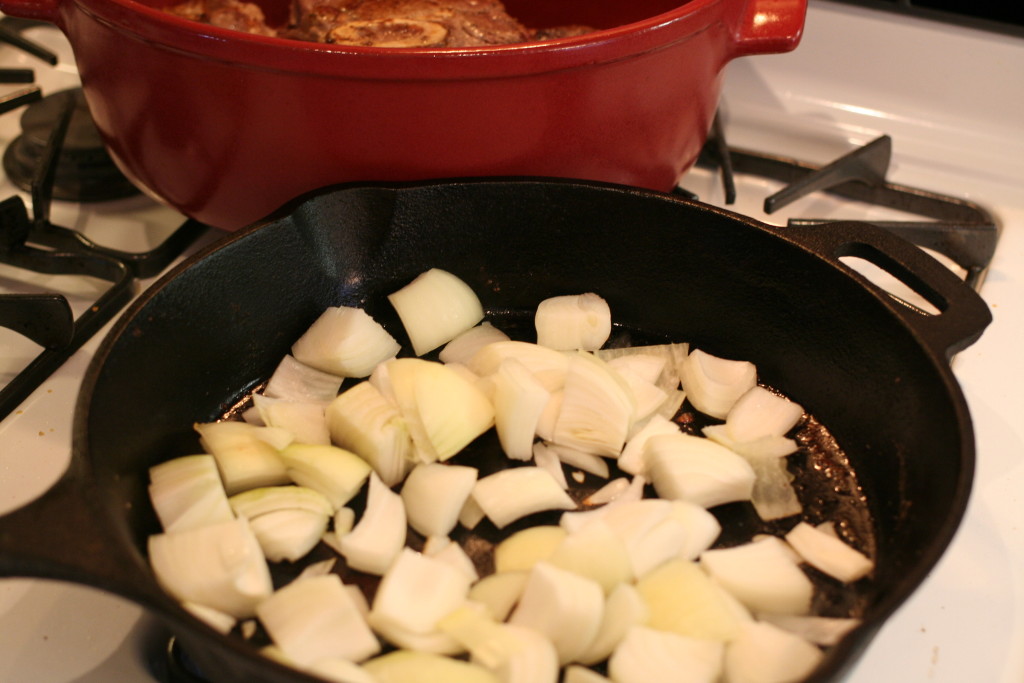
Meanwhile, dice some onions.
When your beef has been seared, place it in a dutch oven or casserole dish.
Immediately sauté the onions in the pan you just seared the beef in. If you need to, add some more fat. When the onions are translucent, approximately 5-7 minutes, spoon them on top of the beef shanks.
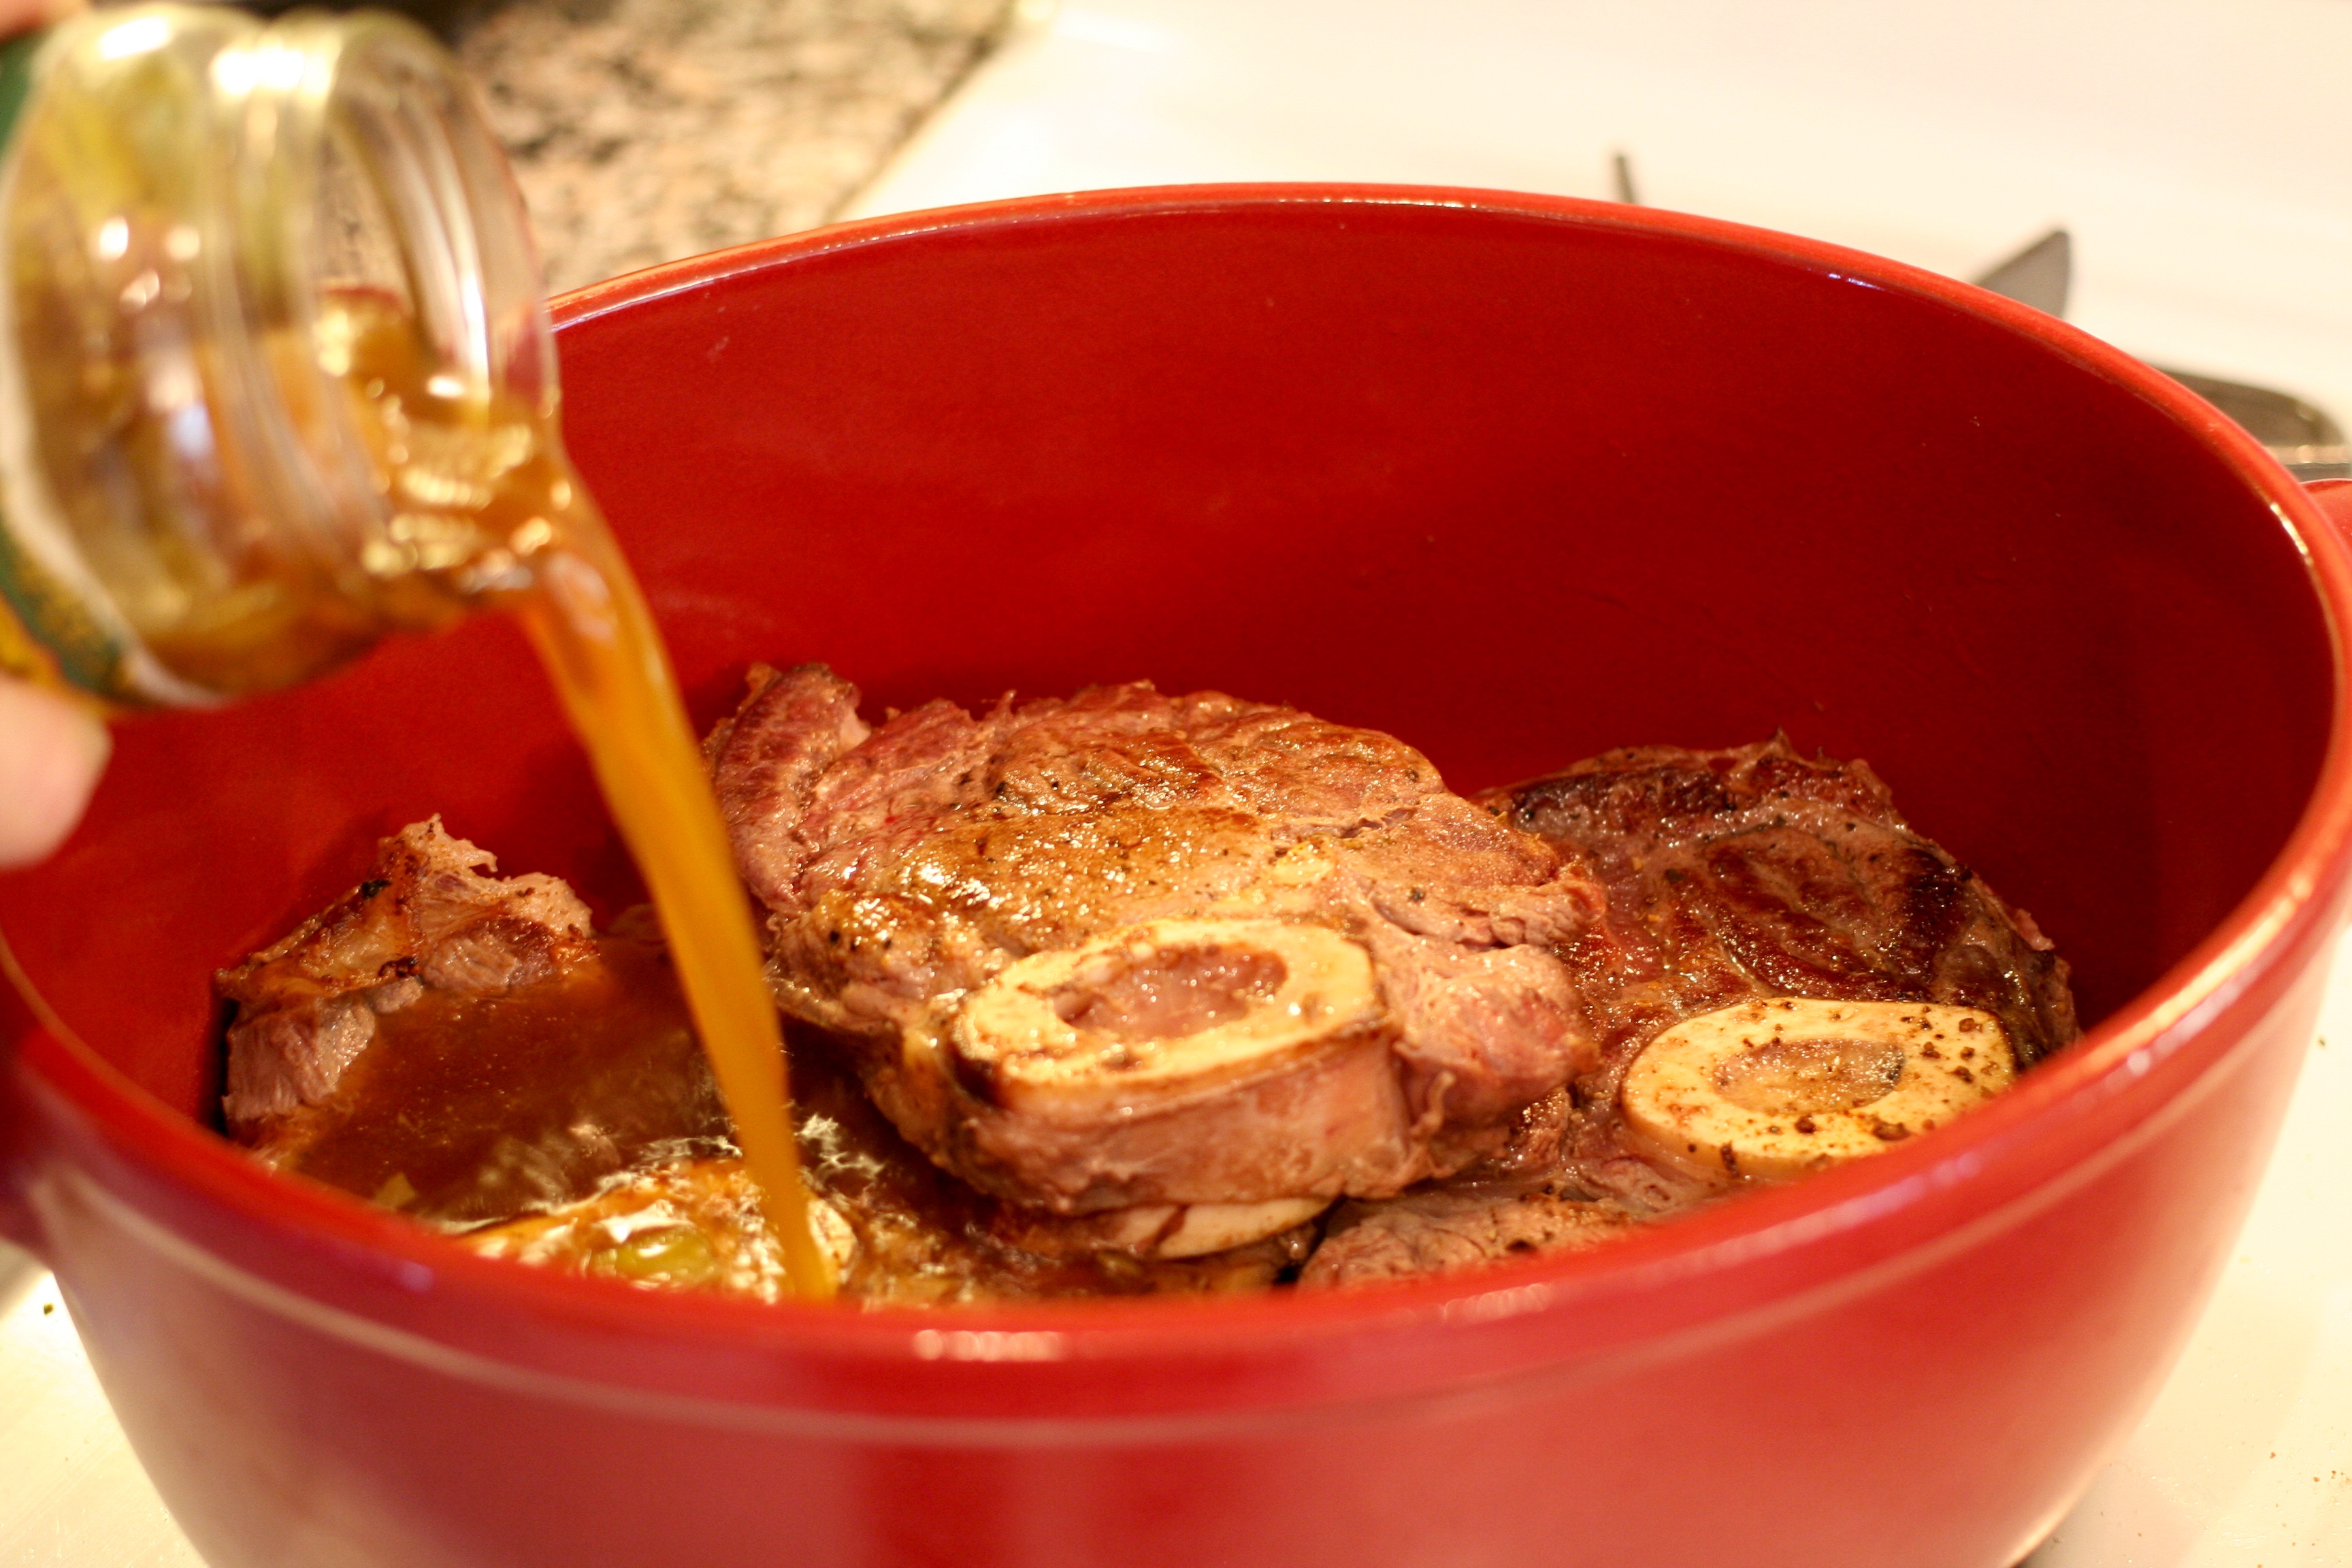
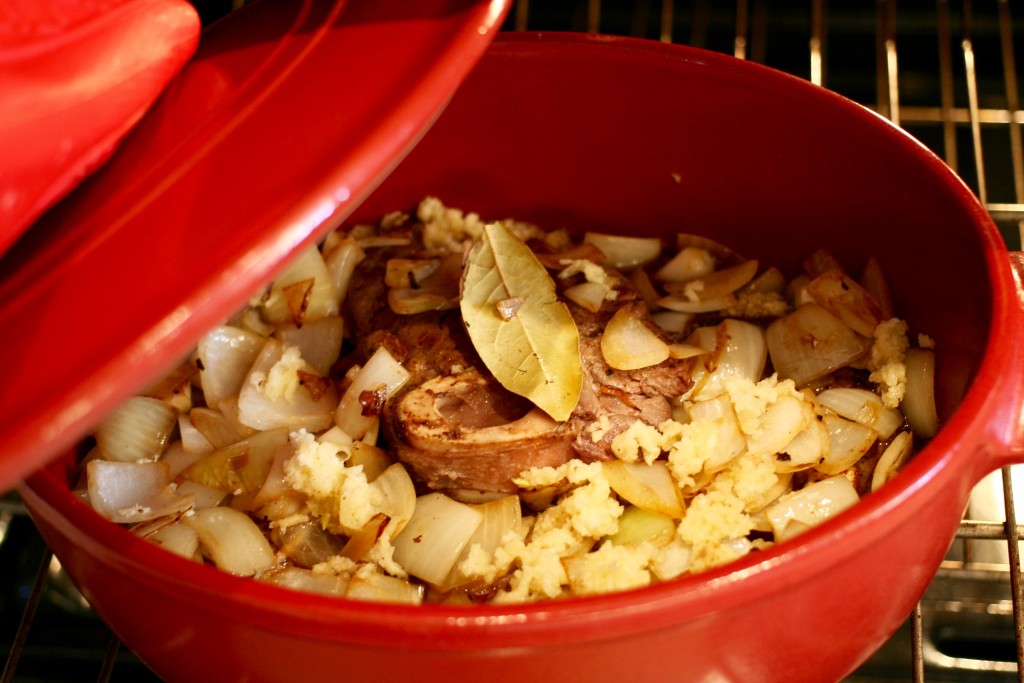
Add garlic (if you like garlic, use a whole head!), bay leaf and enough broth to come about ¾ of the way up the sides of the beef.
Cover and cook for a minimum of 2 hours, ideally 3 or more.
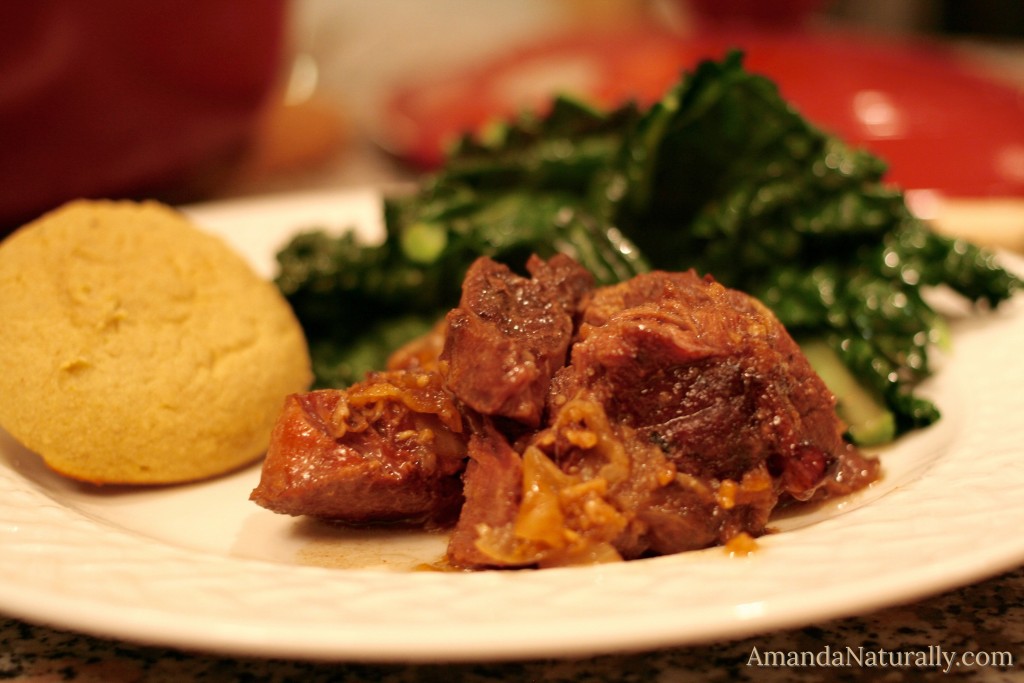
Serve with sautéed greens and plantain biscuits for sopping up the yummy broth and onions!
Notes
This can also be done in a slow cooker! Follow the same steps and place in your slow cooker for 8-12 hours.
This is my super basic recipe for braising beef shanks. Please get creative with this recipe! Add red wine instead of broth, or jack up the spices to create your own spin! But when in doubt, keep it simple and let the quality of the meat speak for itself! Enjoy!
- beef shanks
- sea salt (black pepper optional)
- 1-2 tbsp cooking fat (tallow, lard, bacon grease, butter, ghee, coconut oil)
- 2-3 onions, diced
- garlic cloves, diced
- bone broth
- bay leaf
- Bring beef shanks to room temperature, by letting them sit on the counter for 20-30 minutes.
- Preheat the oven to 350F.
- Season the shanks with sea salt, and if desired, black pepper.
- In a large pan over medium high heat, add fat sear the beef shanks until they are beautifully browned on both sides. Make sure to let the meat brown for a minimum of 3 minutes before checking it!
- Meanwhile, dice some onions.
- When your beef has been seared, place it in a dutch oven or casserole dish.
- Sauté the onions in the pan you just seared the beef in. If you need to, add some more fat.
- When the onions are translucent, approximately 5-7 minutes, spoon them on top of the beef shanks.
- Add garlic (if you like garlic, use a whole head!), bay leaf and enough broth to the dish to come about ¾ of the way up the sides of the beef.
- Cover and cook for a minimum of 2 hours, ideally 3 or more.
- This can also be done in a slow cooker! Follow the same steps and place in your slow cooker for 8-12 hours.
- This is my super basic recipe for braising beef shanks. Please get creative with this recipe! Add red wine instead of broth, or jack up the spices to create your own spin!
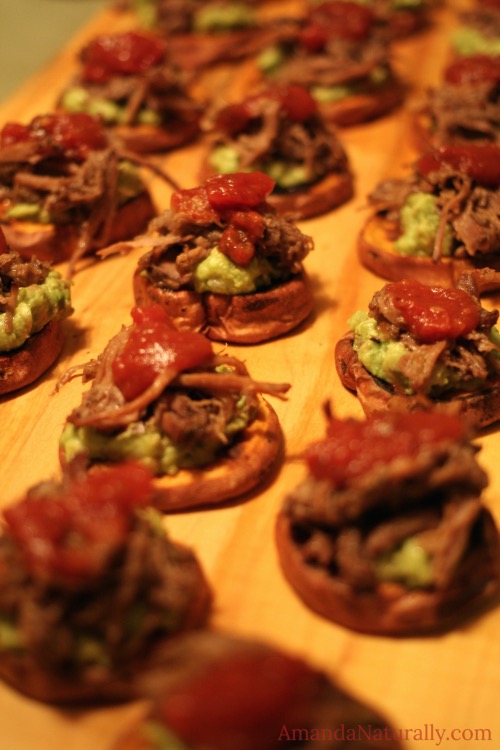
 Parties and social gatherings are more difficult for those of us who avoid specific foods for health reasons. It becomes significantly easier when you host, or if you are attending a pot luck, because you know that you will at least be able to eat what you make! The key is bringing something that not only you can eat, but that most of the other guests will enjoy as well. I can tell you from personal experience, when dealing with food allergies, you become way less picky about the things you can eat! I constantly have to remind my husband that while the
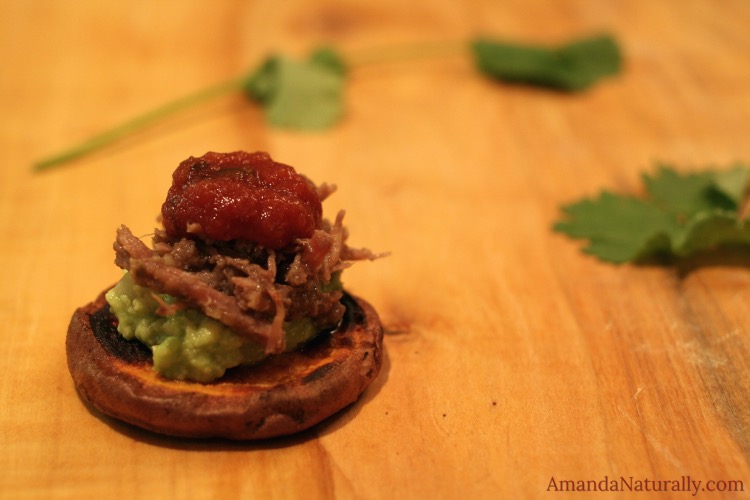
 One of my goals with this blog is to present simple, nourishing food. To show anyone who may stumble across this little piece of the blogosphere that it is easy to make food that tastes amazing, is budget-friendly, and is healing to your body, whether you are the picture of health, or dealing with a serious health crisis.