Tag Archives: nutrition

Green Mango Smoothie

Green Mango Smoothie | AmandaNaturally.comI’m going to be honest with you, I’ve never been a big smoothie fan. When I started down my health journey, I had a smoothie every morning for breakfast for about 2 years, then hit a wall and haven’t enjoyed them in years. However, so many people love them, and they are a great healthy option for fast and on-the-go meals, so I’ve always kept them in my arsenal when working with clients.

Recently, smoothies have totally been my jam. This is for a few reasons:

  1. It’s summer, crazy hot and I am 7 months pregnant
  2. My stomach is small so a liquid breakfast allows me to get in more nutrition right now
  3. I have a lot of appointments so I often come back from the gym, have a half hour turn around and am out the door to the chiro or midwives. Or I’m seeing clients of my own. So even though I’m not a big fan of eating on the go (it’s important to relax in order to digest friends!), taking a smoothie in the car has been a life saver some mornings.
  4. It’s hot. I’m hot. Smoothies are cold and therefore taste AMAZING. For breakfast, lunch or dinner. Did I mention I’m hot? (#pregancyproblems)

If you haven’t read my detailed post on How To Build a Healthy Smoothie – go read it now! It also has a recipe for a chocolate smoothie – which is great for moving kids (or adults) over to a real food breakfast when they’re used to sugar-filled ones. 

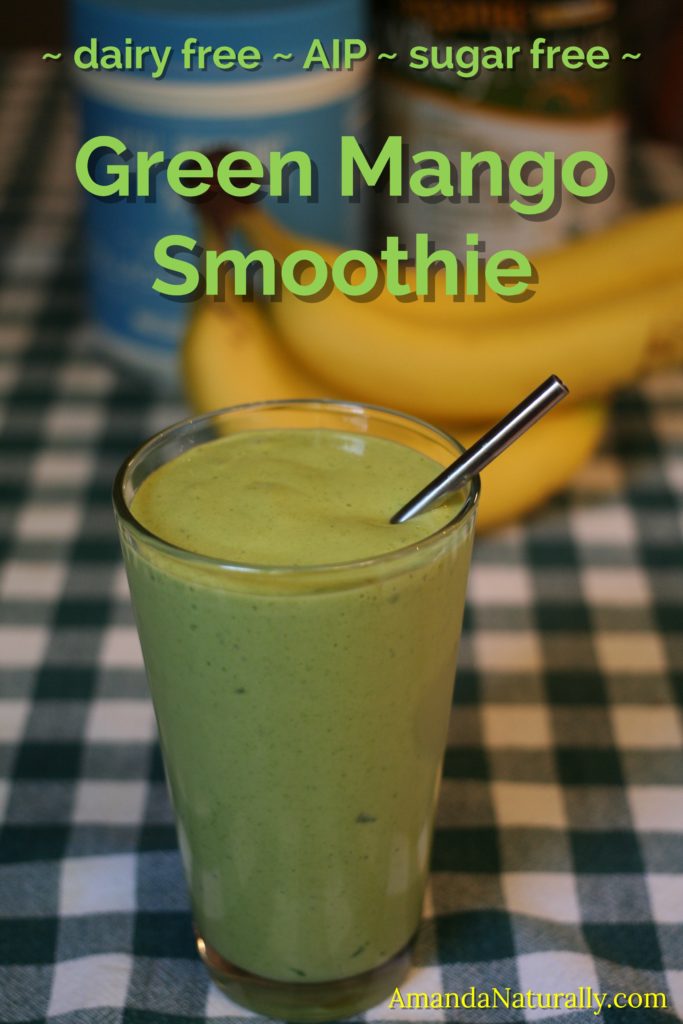
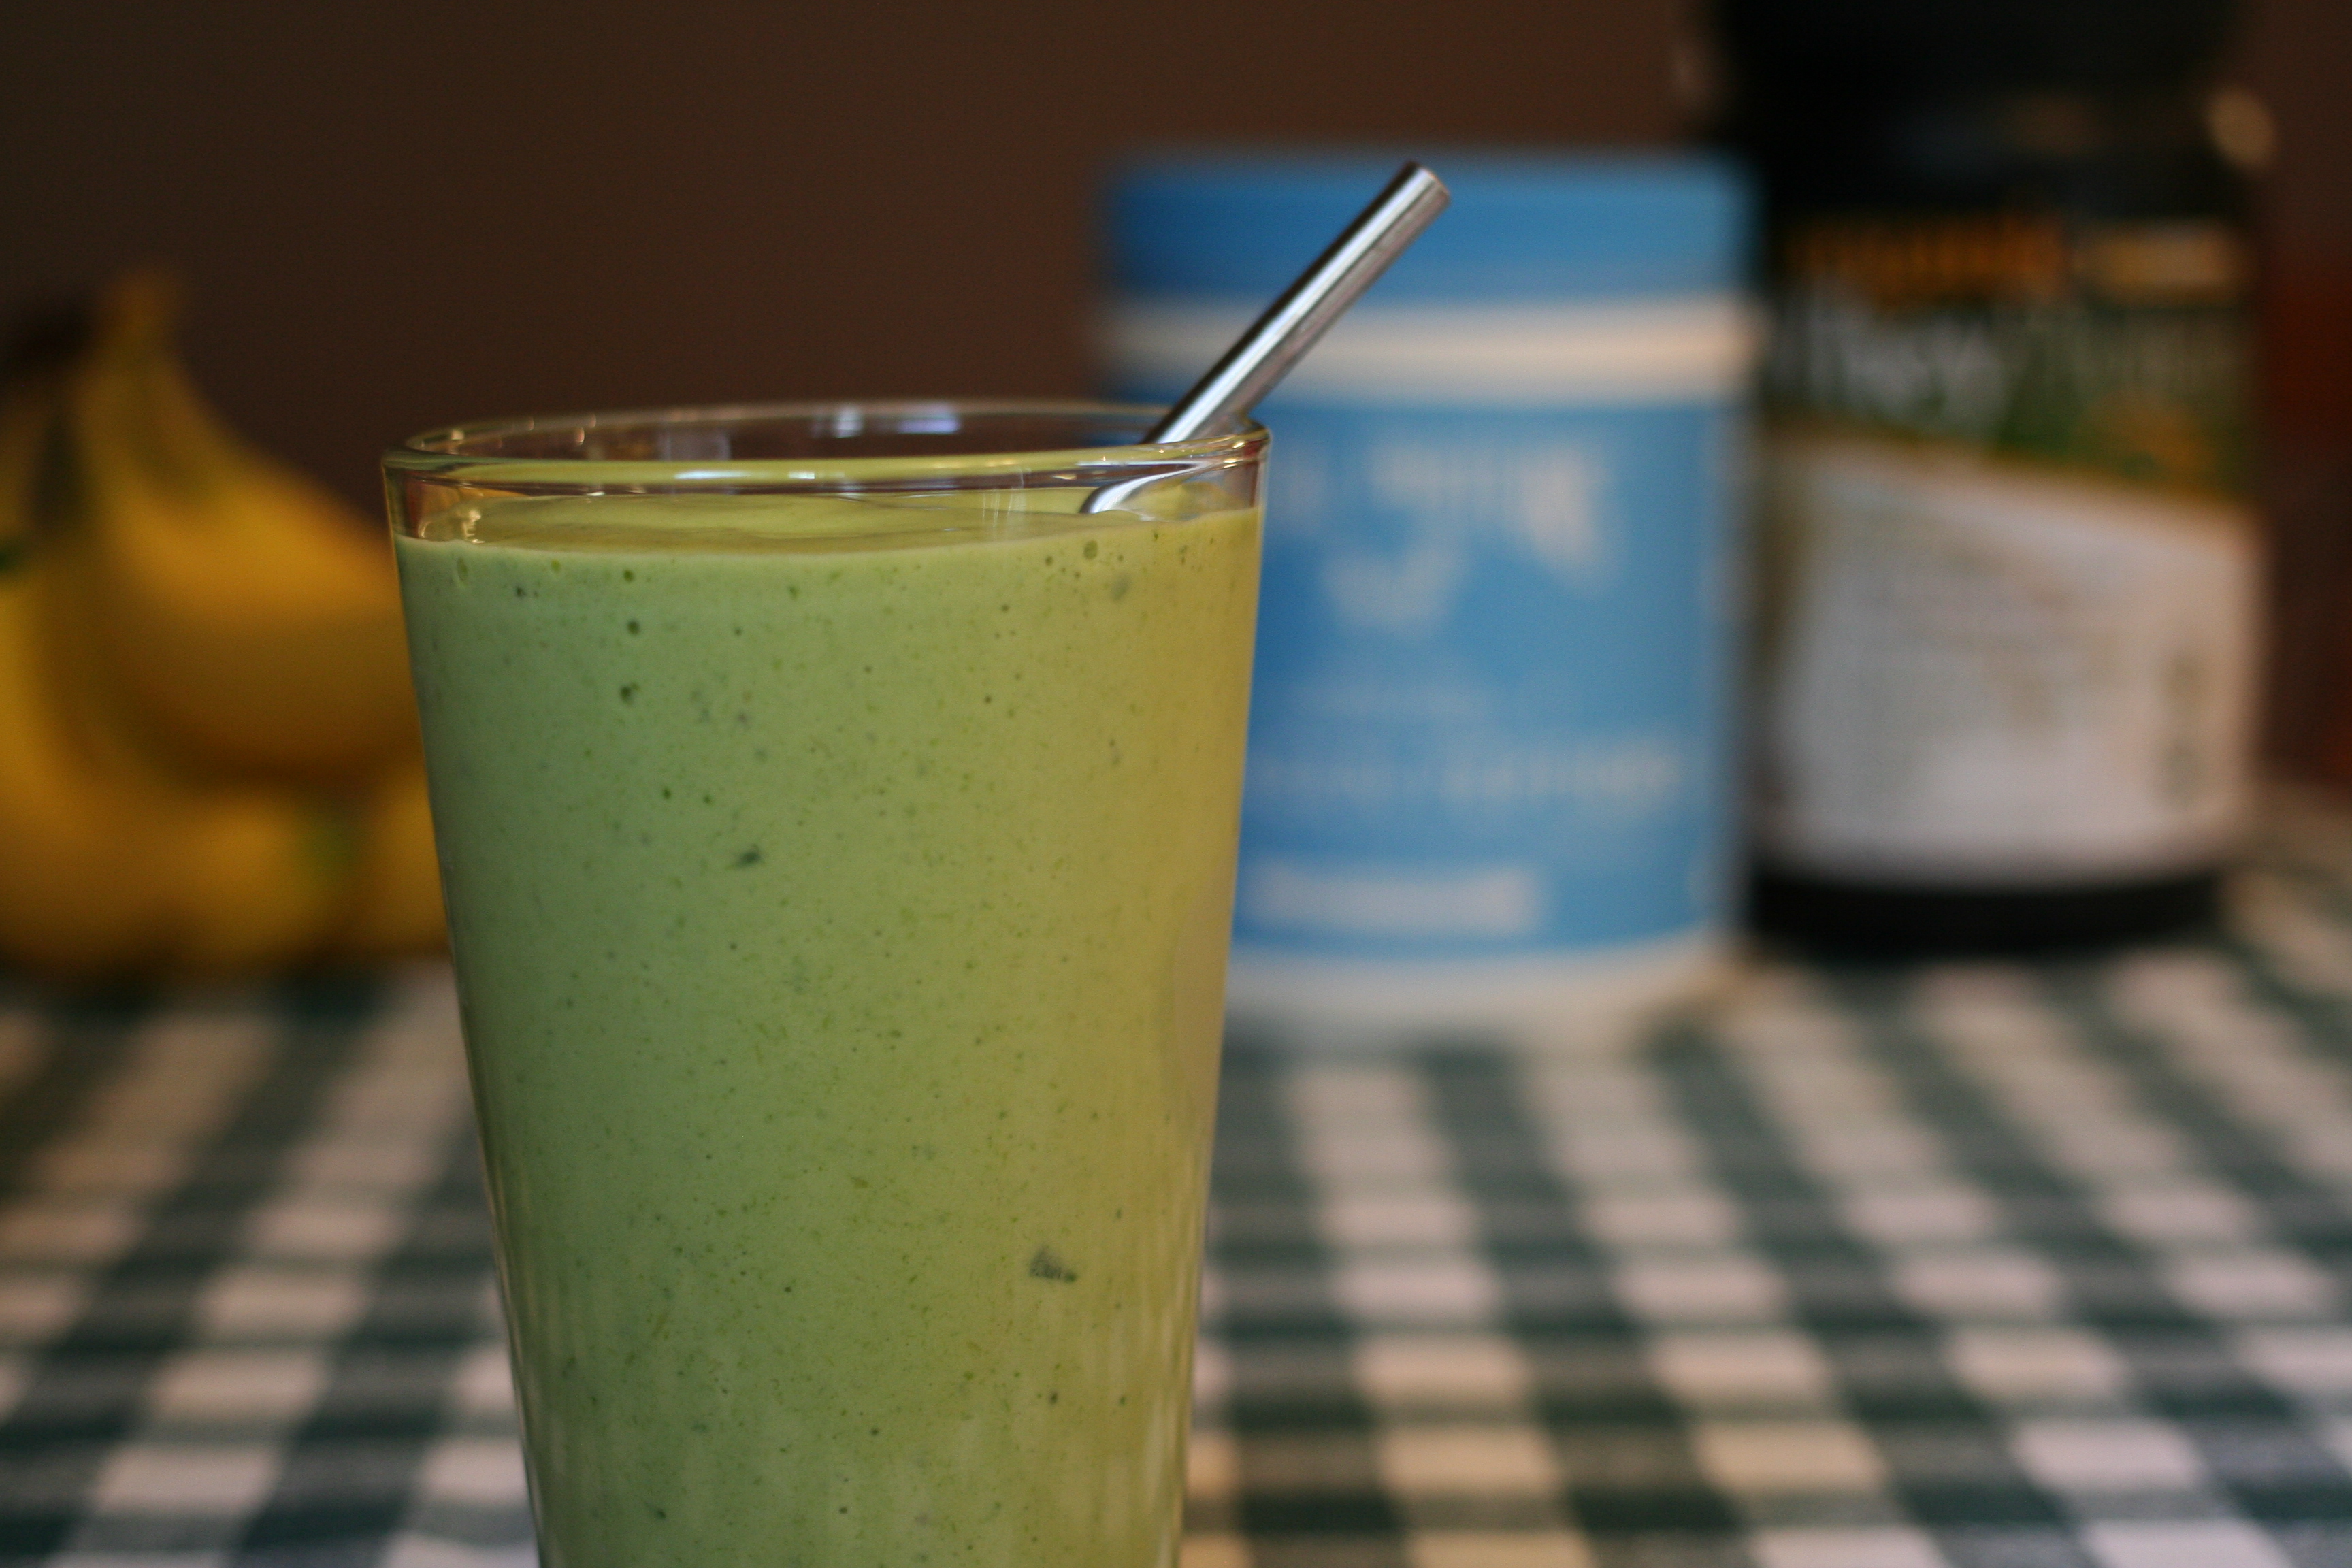
This recipe for my Green Mango Smoothie has been my go-to this summer. The tropical flavour combination is so delicious, and it’s a great opportunity to get some extra veggies in, as well as collagen protein (one of the amazing nutrients found in bone broth, that is critical for bone/connective tissue development – key for pregnancy, and healing in general)! Not to mention protein when my stomach is feeling small, haha.


Choosing a Protein Powder

This can be a bit of a learning process to find your favourite. Here are some of my suggestions:

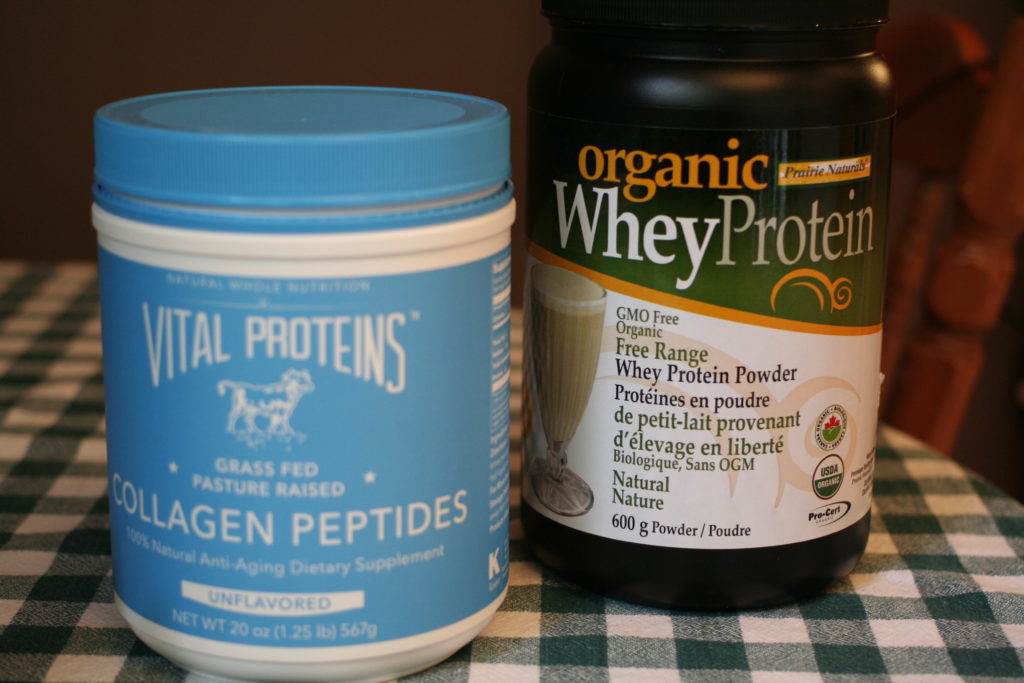
  1. Collagen Peptides by Vital Proteins – hands down my favourite. No flavour, incredibly good for your entire body (gut, joints, bones, skin, hair, nails – pretty much everything.). It’s often available on Amazon.ca but as of pressing publish on this post (July 14/16), it’s out of stock right now. Alternatively, Great Lakes Gelatin Collagen Hydrolysate is a good option and can sometimes be found at health food stores like Healthy Planet. 
    1. safe on the autoimmune protocol
    2. great for kids
    3. not a complete protein, so not a good post-workout option (at least not on its own), but great as part of a balanced diet that includes whole protein sources like meat, fish and eggs.
  2. Organic, Grassfed or New Zealand Whey – the most bioavailable, easy to use protein, BUT made from dairy. So if you do not tolerate dairy, this is not an option for you. If you do tolerate whey protein, getting a plain, high quality protein is your best bet. My favourite brand is Prairie Naturals because it’s much more local than New Zealand whey, but nutritionally they are on par.
    1. SIDE NOTE: it took me 5 years of strict dairy-free and epic amounts of gut healing before I was able to reintroduce whey protein.
  3. Hemp Protein – I like the Manitoba Harvest brand because they use coconut sugar to sweeten, instead of stevia like most other natural brands (which can be a gut irritant for some). It’s a little grainy, so I often recommend using a half dose in combination with a scoop of collagen.
  4. Pumpkin Seed Protein – the only brand I have seen is Omega Alpha. It’s similar to hemp in that it’s grainy, but it has no other ingredients.
  5. Brown Rice Protein – this is my least favourite, personally, because it tastes like sand to me. But it’s my husband’s favourite. He thinks it’s less grainy than hemp or pumpkin, and doesn’t tolerate whey. His go-to is the Prairie Naturals brand (full-disclosure, he formulates products for them, so has a slight bias towards the company. But he also works for them because he loves their products and values as a company!)

Things to avoid in protein powders:Green Mango Smoothie | AmandaNaturally.com

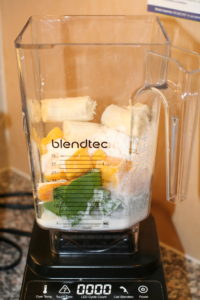
  • aspartame, sucralose and acesulfame-potassium (all artificial sweeteners)
  • artificial flavours
  • colours
  • pea protein, a common component of most plant-based/vegan protein powders (very cheap, incredibly hard on the gut)
  • soy protein (unless it’s organic, it’s guaranteed to be GMO and covered in RoundUp, not to mention soy can be very estrogenic, which can be useful under the direction of a practitioner, just don’t go it alone)

Green Mango Smoothie

Green Mango Smoothie
Serves 1
Healthy, nutrient dense and tastes like the tropics!
Write a review
Print
Prep Time
5 min
Total Time
5 min
Prep Time
5 min
Total Time
5 min
Ingredients
  1. 1 cup frozen mango pieces
  2. 1 small banana (or ½ a ripe avocado)
  3. 1 handful of spinach
  4. ¼ cup full-fat canned coconut milk (preferred brand: Aroy D)
  5. ½ tsp vanilla extract (omit for strict AIP)
  6. pinch of sea salt
  7. ½ - ¾ cup water (depending on desired thickness)
  8. 1 serving of protein (approximately 15-25g)
Instructions
  1. Combine all ingredients in a blender.
  2. Blend until the spinach is thoroughly broken down.
  3. Enjoy!
Protein Powder Options
  1. MY FAV: 1 scoop Vital Proteins collagen + 1 scoop Prairie Natrurals whey or Manitoba Harvest hemp
  2. AIP: only use collagen (1-2 scoops)
  3. POST-WO: whey, hemp or brown rice
Amanda Naturally http://www.amandanaturally.com/

My Second Trimester

Welcome to the second instalment of my personal experiences during my pregnancy. If you haven’t read the first part (and if you want to!) check it out here.

My second trimester was a lot less eventful. I got through the minor symptoms that I was experiencing in my first trimester – namely pretty serious fatigue, and occasional nausea popping up if I wasn’t on point with my food. As most other women say, the second trimester was the smoothest and I felt most like myself! By 16 weeks I didn’t even feel pregnant anymore – except for my slight baby bump!

Major Trends / Lessons Learned in my 2nd Trimester

Nutrients – still my major focus. Lots of collagen (smoothies, jello), bone broth, salmon, veggies, liver, egg yolks and ferments (like kombucha and sauerkraut).

Major Appetite in the Morning – I used to get up, have a coffee and go to the gym. In my first trimester, I ate a banana pre-crossfit, but that was no longer sufficient as of 14 weeks. I needed something quick, mostly carbs with some protein, that I could easily eat before the gym. So I stalked up on some clean sandwich meat (duBreton ham) and a clean gluten-free bread (from Cup of Tea Bakery), and I started having a ham-sandwich (and sometimes a banana too!) before the gym in the morning. While this isn’t the most nutrient dense snack, my body tolerates it really well, it allows me to exercise first thing, and it wasn’t actually replacing another nutrient-dense meal. This snack is in addition to my 3 nutrient-dense meals.

Staying Hydrated – The one thing I desperately crave is water, and it can come on out of nowhere. So I never leave the house without a large bottle of water. With summer approaching and the temperature starting to creep up, I felt like I was drinking tons of water, but not actually absorbing any. So I started adding lemon and a pinch of sea salt, to add electrolytes and enhance absorption. I also started drinking mineral water with lime occasionally. I also just decided to go with it and drink lots of water when I needed it!

Longer Breaks between Meals – by 16 weeks I felt back to myself, and was able to go back to my standard 4-6 hours between meals. As long as I had that early morning snack, 3 squares for the rest of the day worked great. This started to change as I approached my 3rd trimester and my stomach volume started to shrink (see end of post)!

Blood Glucose Testing – because my diet is quite dialled in (I pretty much eat the way I recommend to diabetics), and I haven’t been indulging in junk during this pregnancy, I know my body will not respond well to the glucose load they give you. Not to mention the fact that it’s corn syrup + orange food dye – both of which I avoid like the plague. So I chose to opt out of the standard blood sugar testing, with total support from my midwives and my family doctor. That being said, I was not irresponsible and stopped thinking about it altogether. I did 2 things instead (1) I did a blood test for my HbA1C, a really good indicator of how your body handles your glucose load and (2) around the 26 week mark, I checked my blood sugars using a finger prick test (available at your pharmacy) a few times. What’s right for you? Well that’s for you to decide with your health care provider. However, you do have options. If your diet isn’t optimal for managing blood sugar (high in grains, flour-based foods, sugar etc. or needing to eat every 2-3 hours) or if you have a risk for gestational diabetes, you definitely want to make sure your blood sugars are in check. You can usually do a typical blood glucose test with your doc, but ask for a cleaner sugar-load (like dates, bananas or even honey) so see if your doc will go with that. Alternatively, finger-prick tests are a great option!

Increased Appetite Overall – this is likely compounded by the fact that I workout 3-4 days/week still. So when I feel the need to eat more, I do. I just keep it real, whole foods. Most of the 2nd trimester I just ate more at each meal – I was often eating more than my husband! 

Gaining Weight – I did not worry whatsoever about gaining weight. My number one goal was to make sure I was providing my body with enough nutrients to allow a new human to be built (holy jeez that’s a crazy thought, still!) but also with enough fuel to support the energy demands of both building a baby, but also living an active life and crossfitting 3-4x/week. Interestingly, I didn’t gain a pound until after 20 weeks, even though I was consuming more than my 6’4″ husband!! I listened to my body and when I was hungry, I ate. I just made it (mostly) real, whole foods.

Crossfit – The beginning of my 2nd trimester I was still rocking along. I did the crossfit open (and got my first chest to bar pull ups!) at 12 weeks pregnant, and even PRd some lifts! The one thing I always did was keep my breath rate in check, cause if I was panting, baby wasn’t getting oxygen. This was hard at the beginning because I felt like myself, but knew I needed to keep my intensity level down – particularly challenging for a competitive individual like myself! Luckily, as my belly started to grow, it became much easier to handle 🙂 By about 22 weeks I was no longer able to do olympic lifting, and while many pregnant women continue doing snatches and cleans with a belly, it seemed very counterintuitive to me. The whole focus of olympic lifting is to keep the bar as close to your torso as possible, which takes so much practice. To change form for a few months, and have the bar go out and around the belly, not only increases risk of injury, but undoes all of the hard work I’ve put in so far. So instead, I switched to dumbbell cleans/snatches, KB swings, or technique work on parts of the lifts (like pulls, jerks or snatch balances). Outside of that, I didn’t have to change too much!

Heat Tolerance – well this was shocking. I used to be able to work out in 35 degree weather, no problem. But now, sitting outside in the shade for 15+ minutes in that kinda heat left me seriously nauseated. I’m having to be really careful about staying cool.

Energy Levels Overall – as of 26 weeks I started experiencing shortness of breath (which makes sense if you know what happens to your internal organs during pregnancy). I’m also quite a bit bigger so moving a little slower. As always, I’m listening to my body and resting when I need to – even if that means taking a nap when there’s something else I need/want to be doing, skipping a work out (which I don’t love doing) or opting out of social events that I know will be draining. 


Transition to 3rd Trimester (26 weeks on…)

My stomach volume clearly started shrinking around 25/26 weeks (check out this video to see what happens to your internal organs during pregnancy!) and it is definitely impacting how I have to eat. I can no longer eat a large meal, and cruise on that for 4-6 hours (which is what I recommend in my practice – best for blood sugar regulation, gut health, being able to use both carbs and fat as fuel, and preventing “hanger”). Due to my uterus/baby squishing my stomach, eating a large meal results in serious discomfort – not reflux, but tons of pressure. Clearly there’s no room! So I’m now onto 3 small meals + 2-3 larger snacks throughout the day. For example:

Pre-workout: ham sandwich (2 slices clean ham + 2 pieces GF bread)

Breakfast: 2 eggs + greens + ½ cup potatoes OR green mango smoothie 

Lunch: leftovers (usually 3-4oz meat, veggies, starch) OR eggs (if smoothie for breakfast) OR can of fish + salad + ½ bag plantain chips

Snack: small smoothie (blueberries, cherries, water, collagen) OR apple + organic PB OR banana muffin with coconut oil/ghee OR liver pate + apple slices OR plain, full-fat goat yogurt + collagen + blueberries

Dinner: 3 oz meat or fish + veggies + starch (fried plantains, white rice cooked in bone broth, potatoes, sweet potatoes or sweet potato noodles)

Snack: fruit OR banana muffin OR organic cherries with coconut milk OR ½ ham sandwich

Orange Jello

Orange Jello | DIY, dye-free, sugar-free | real food, paleo, AIP | AmandaNaturally.comIt was 35 degrees here on the weekend (for my friends south of the border, that’s 95F) and while that’s just gorgeous for most people, being 6 months pregnant made it a little tough to handle! So I spent the weekend enjoying lots of cold food like salads, hard boiled eggs, smoothies and JELLO!! 

Why jello? Two main reasons.

  1. I’m obsessed with cold fruit, and jello is a fun way to add variety. But more importantly…
  2. Gelatin. I’ve gone on and on about the health benefits of gelatin – you can find them in my blog posts on bone broth, healing leaky gut, watermelon jello and chocolate smoothies. Pretty much it’s amazing for gut and joint health, but also anywhere that there’s connective tissue – including skin, nails and hair (bonus!). I’m especially obsessed with it right now, cause I’m building brand new connective tissue for my kiddo, so making sure I get in lots of building blocks during my pregnancy. Extra awesome about this recipe is the vitamin C content from the oranges – connective tissue also requires vitamin C to be created, so this is a double whammy!

Orange Jello

Tips

  1. Use real fruit, not juice. If you don’t want to juice oranges like I did, choose a different fruit and throw in your blender. I have a recipe for watermelon jello that does exactly that! Juice is barely better than pop, even the organic stuff found at health food stores. Keep it real folks.
  2.  As always, I prefer grassfed animal products. My go-to brand of gelatin is Vital Proteins Beef Gelatin (we actually important it from the US), and it is often available on Amazon.ca, but right now it is on serious back order. Great Lakes Brand is a solid alternative. Your standard grocery store gelatin would work just fine as well.
  3. Don’t use grocery store jello. The food dyes and corn syrup (or worse, artificial sweeteners) are pure toxins. It takes a few seconds to blend/juice some fruit and then it’s actually good for you!
Orange Jello
A healthy alternative to the store-bought junk! Dye-free, sugar-free, gut-healing and filled with vitamin C!
Write a review
Print
Prep Time
10 min
Cook Time
2 hr
Prep Time
10 min
Cook Time
2 hr
Ingredients
  1. 4 cups orange juice (I used 3lbs of oranges, which I juiced the old fashioned way. It resulted in 2.5 cups of juice, which I topped up with water to achieve 4 cups total liquid.)
  2. 4 tbsp gelatin (Vital Proteins is my favourite product, followed by Great Lakes Brand)
  3. maple syrup, to taste (optional, I didn't use any)
Instructions
  1. Juice your oranges and add water to achieve 4 cups. Taste and add maple syrup if necessary.
  2. Pour half (2 cups) into a small saucepan and heat over medium. Do not boil!
  3. Meanwhile, add 4 tbsp of gelatin to the remaining 2 cups of liquid in a bowl or measuring cup. Let bloom for about 5 minutes.
  4. Once the liquid in the saucepan is very warm (but not boiling), stir in the gelatin/liquid combo and remove from heat.
  5. Whisk to combine well. If necessary, use an immersion blender to blend completely.
  6. Pour into an 8x8 glass pan, silicon chocolate moulds or silicon ice cube trays.
  7. Refrigerate for 2+ hours.
Notes
  1. If you only end up with 3.5 cups of liquid, use 3.5 tbsp gelatin - just keep the ratio the same!
  2. Add other flavours like lemon, lime, or grapefruit
  3. If you like stuff in your jello, add some orange wedges or berries after pouring into moulds/pan
Amanda Naturally http://www.amandanaturally.com/
Copyright 2014 Amanda Naturally | Design by The Nectar Collective