Tag Archives: low carb

Bacon and Apple Braised Cabbage

Bacon & Apple Braised Cabbage | AmandaNaturally.comCabbage isn’t many people’s first choice of veggie. It has a bad reputation that it simply doesn’t deserve! Cause you know what? It’s one of my favourites and I’m not a notorious eat what most normal people don’t like person. I have learned that if you cook food properly, it can taste amazing. Case in point – cabbage and brussels sprouts. When I ask clients what their dislikes are, the overwhelming majority responds “brussels sprouts” (which btw are the same family as cabbage – they’re pretty much just baby cabbages). To which I respond, “have you ever had it cooked any other way than boiled?”

<< silence >>

Exactly. I wouldn’t want to eat that $h*t boiled either! So trust me when I say that as long as you cook it right, cabbage and brussels sprouts can be amazingly delicious!

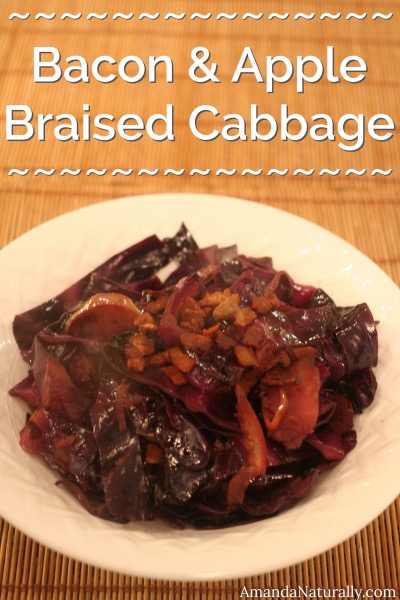
I love cabbage in slaw form, but hands down my favourite way to eat it is braised, or more specifically as Bacon and Apple Braised Cabbage. It turns deliciously sweet as the onions and apples get caramelized! My favourite dishes to pair braised cabbage with are pork chops, sausages or roast chicken. 

One of the best parts about cabbage is it’s super inexpensive, local, easy to find organic (and reasonably priced!) and it makes a huge amount. The leftovers seem to get better as they sit in the fridge, and they reheat amazingly well. I love the leftovers because they pair so wonderfully with breakfast! (anyone who works with me knows I am always trying to get people to eat veggies at breakfast!) Scramble up a few eggs, cook up a few extra pieces of bacon, side of apple braised cabbage – boom. Incredibly healthy breakfast.

Speaking of healthy, I’m just going to remind you the incredible health benefits of cabbage (I listed these over in my Simple Coleslaw recipe, but it can’t hurt to be reminded!).

Cabbage, along with other cruciferous veggies (kale, chard, collards, brussel sprouts, broccoli, cauliflower, bok choy), are nutritional powerhouses. Here are some of their health benefits:

  • very high in the sulfurous compound, glucosinolate, which is metabolized by the body into potent antioxidants isothiocyanate and thiocyanate.
  • isothiocyanates have also been shown to be effective in protecting against cancer, specifically breastcoloncervical and prostate.
  • help the body excrete excess estrogens (this is particularly helpful for someone coming off of birth control, or anyone who has estrogen dominance. Also a good idea for everyone, because many of the chemicals we are exposed to daily, from plastics to fragrances to pesticides, are xeno-estrogens, which means they mimic estrogen in our body) (additional source)
  • contains sulforaphane which may reduce hypertension and improve kidney function
  • packed with nutrients – vitamins, minerals, phytonutrients, fibre
  • contains indole-3-carbinol which supports phase 2 liver detoxificationphase 1 is also supported via the sulforaphane content. This balance is important because many “liver supporters” only up regulate phase I. Phase 1 often turns chemicals into more toxic substrates, before phase 2 neutralizes them. Only supporting phase 1 liver detox can result in nasty symptoms. (Note: supporting phase 1 and 2 liver detoxification is real detox, not juice-cleansing, cayenne shooters, no protein “detox” – that’s a load of crap.)
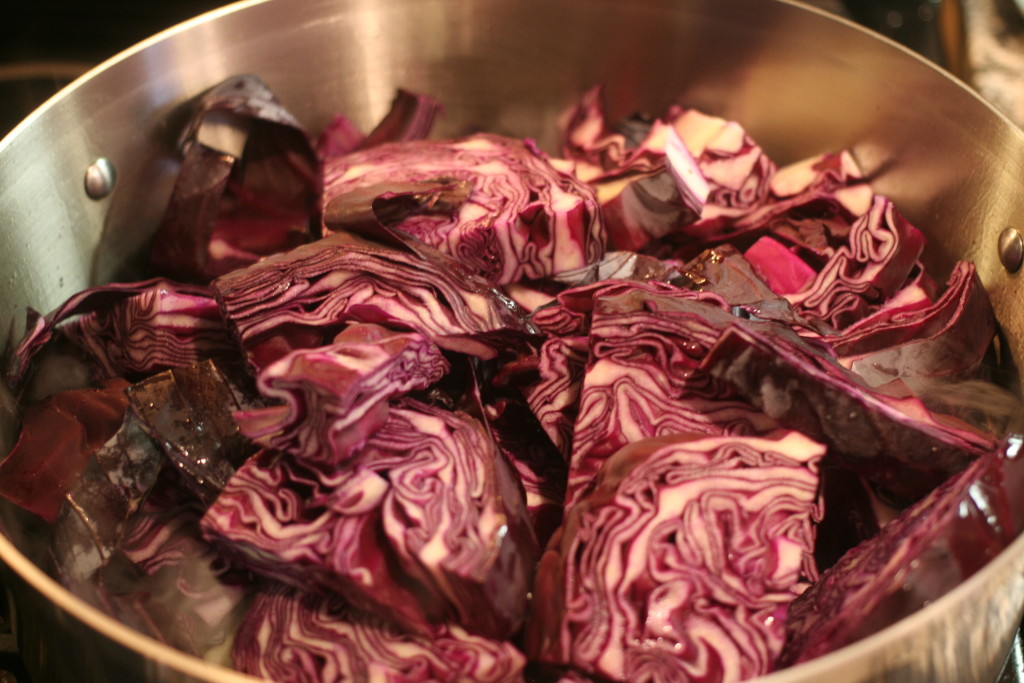
Cabbage Prep

Never prepared cabbage before? Here’s how I do it for braising:

1. Remove the outer few layers of the cabbage.

2. Chop the thick end off.

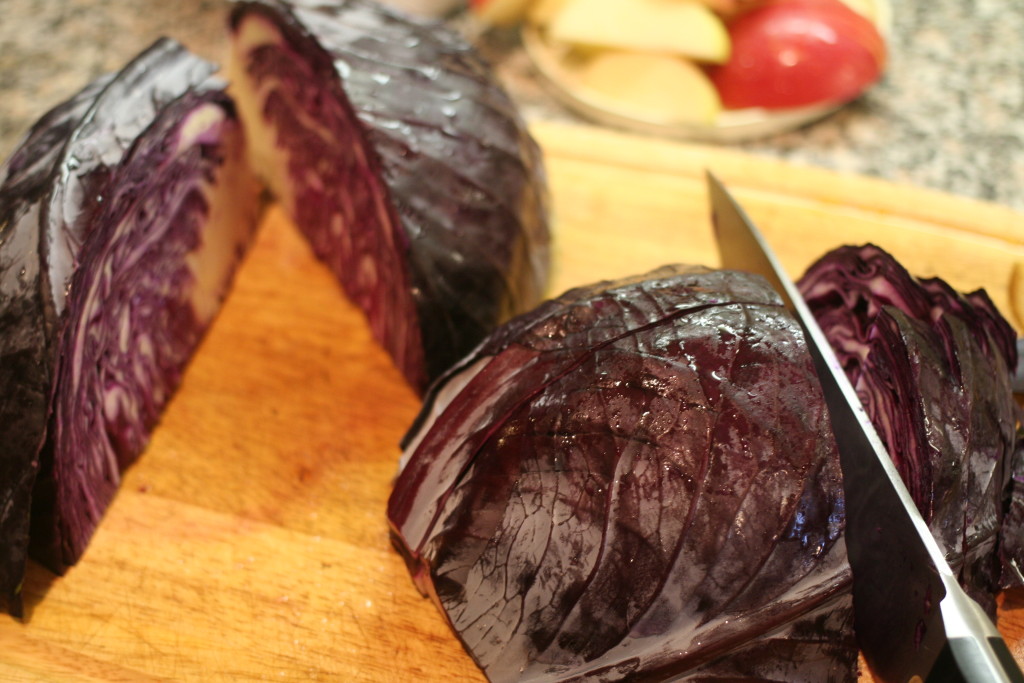
3. Cut into quarters. If the core is really dense, slice out a bit of it and discard. (I didn’t have to for this cabbage)
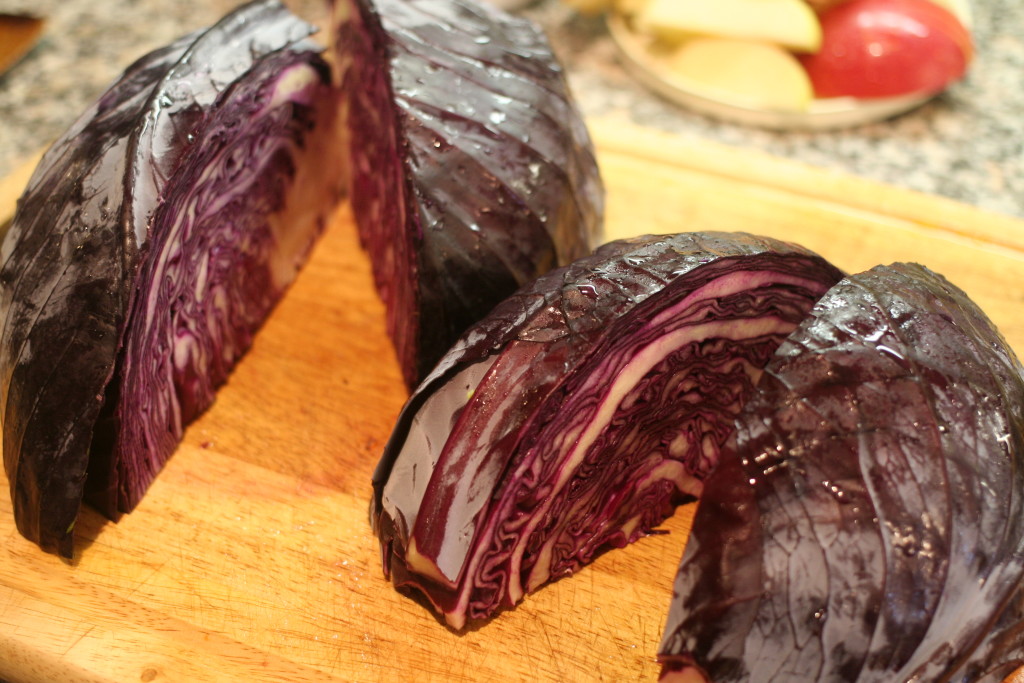
4. Roughly slice.

Bacon and Apple Braised Cabbage
A trusted recipe for making cabbage actually taste delicious!
Write a review
Print
Prep Time
5 min
Cook Time
45 min
Total Time
50 min
Prep Time
5 min
Cook Time
45 min
Total Time
50 min
Ingredients
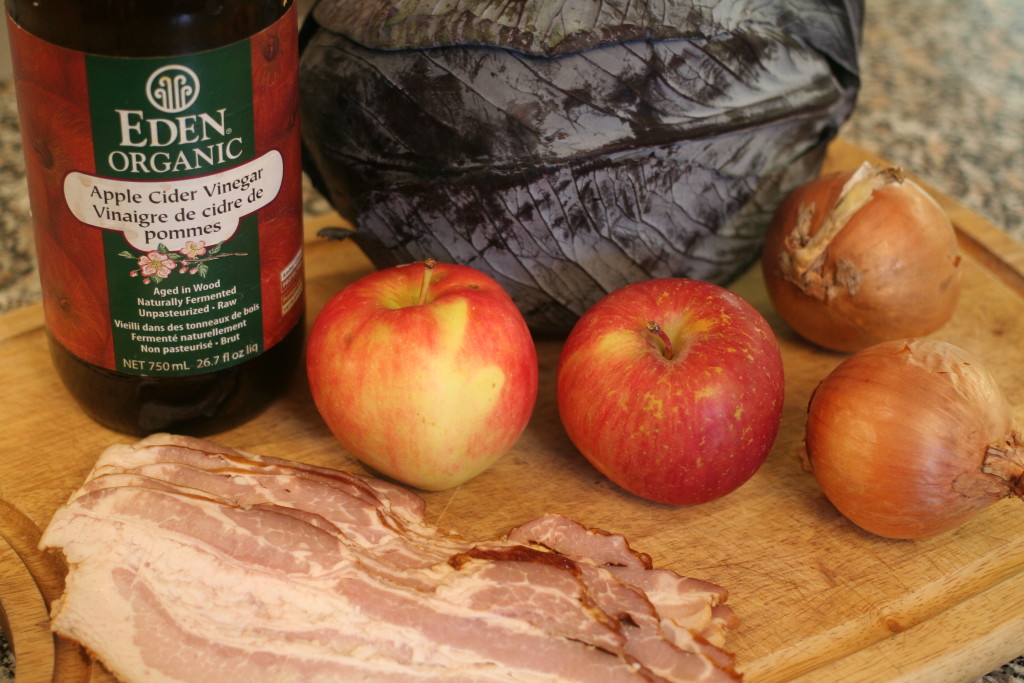
  1. 1 large head of cabbage, roughly sliced
  2. 2 apples, sliced thin
  3. 2 onions, sliced thin
  4. ½ lb pastured bacon, diced
  5. ¼ cup apple cider vinegar
  6. sea salt
  7. black pepper (optional)
Instructions
  1. In a large pot, braiser or sautee pan (make sure it has a lid), cook the bacon pieces over medium heat, until crispy. Approximately 10 minutes.
  2. Remove the bacon pieces and set aside. If there is an excessive amount of rendered grease, pour of some to use another time.
  3. Reduce heat to medium low, add onions to remaining bacon grease and sauté for 5 minutes.
  4. Layer apples over the onions and immediately top with the sliced cabbage.
  5. Add in apple cider vinegar, and about 10 grinds of sea salt.
  6. Cover and cook for 45 minutes, stirring every 10 minutes or so. (if you find it's starting to burn, reduce temperature to low)
  7. Season with additional sea salt and pepper (to taste), top with crispy bacon bits and serve!
Notes
  1. You can absolutely make this without the bacon (but why would you?) For a bacon-free/vegetarian option use your favourite cooking fat such as avocado oil, olive oil or butter.
  2. Feel free to sub in apple cider (the juice or the alcoholic beverage) in lieu of ACV if you want! I'm sure beer would work well too if you tolerate it.
  3. You can use red or green cabbage. I just think red is prettier!
Amanda Naturally http://www.amandanaturally.com/

Red Curry Mussels

Red Curry Mussels | grain free, low carb, nutrient dense | AmandaNaturally.com
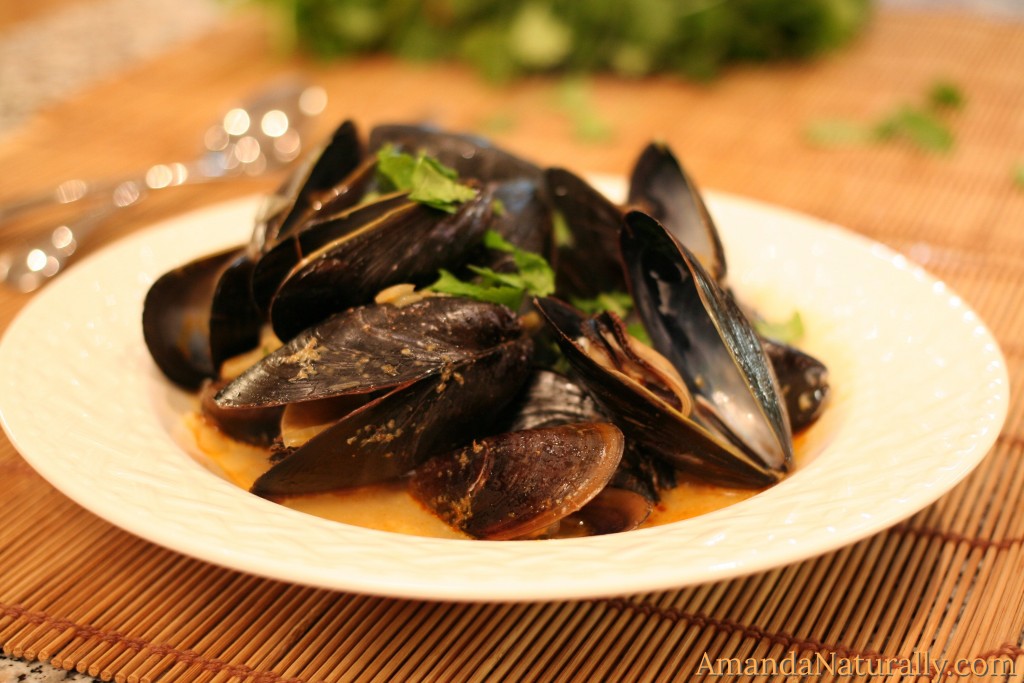
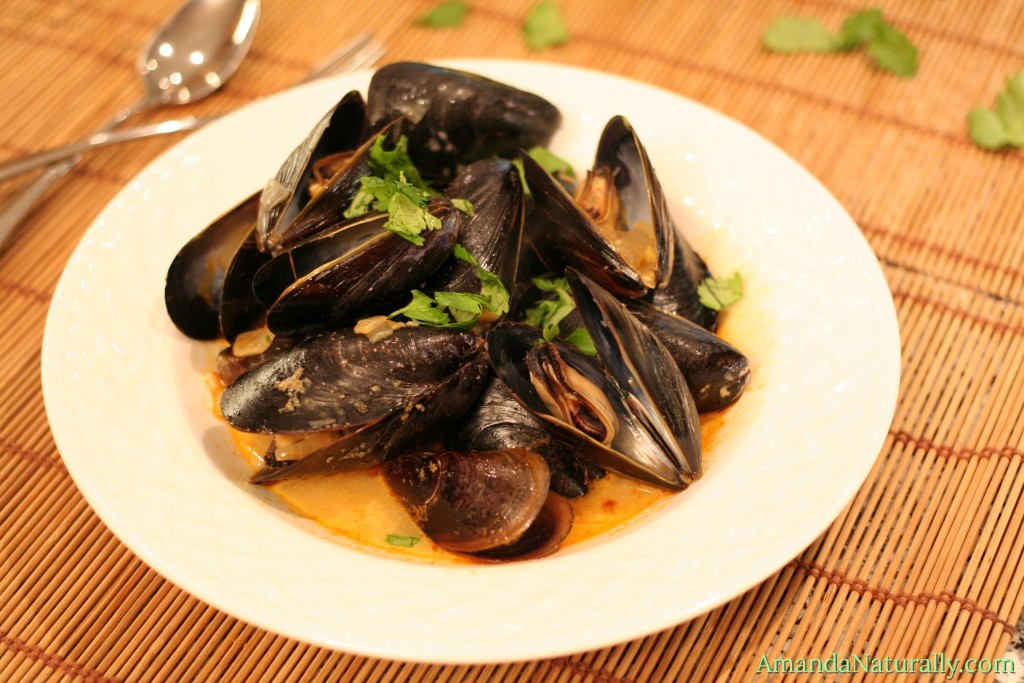
Mussels have been a restaurant go-to of mine for a long time now! Living with food allergies can be challenging when it comes to eating out – especially since so many people love Italian (read: wheat and cheese). However most of the time there’s a mussel dish on the menu, and usually it’s in a simple tomato or wine sauce (although my favourite is thai curry mussels – hence the recipe below!). Add a side salad, or a side of fries if you’re into that (who isn’t?!), and boom – a naturally grain & dairy free meal. Bonus is they’re usually on the appetizer section of the menu so end up being much more reasonably priced than the entrees!
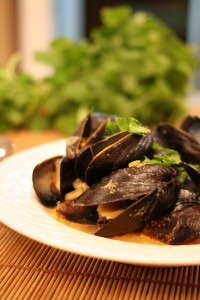
So why would we want to eat mussels? Well aside from being delicious, they’re incredibly nutrient dense. Any time we eat the entire animal, we end up eating the organs, and since so many people these days are adverse to eating things like liver, kidney or heart, eating a whole-animal in the form of shellfish gets all that organy-goodness into you, without you even knowing it! (although you know it now, so try to forget it if that knowledge skeeves you out!)

Shellfish are a mineral powerhouse, specifically when it comes to the thyroid-supporting minerals iodine and selenium,  which tend to be quite low in a Standard North American Diet. Seafood is also a highly bioavailable protein that tends to be easier to digest, so if you have a weak, damaged or irritated digestive tract – or if you’re transitioning to animal proteins after avoiding them for any length of time – seafood is a great place to start. Seafood is also high in the protein glycine (also found in bone broth) which is important for supporting connective tissue in the body (ie. healing leaky gut, joints, skin and other membranes!).

Now, when it comes to actually preparing mussels at home, it’s not as straight-forward as say, baking chicken or grilling a burger. But it’s also incredibly simple – I promise! You just need to learn how, which you can below!

Red Curry Mussels

IMG_8598Ingredients

  • 4 lbs mussels, debearded
  • 2 tbsp coconut oil (or other fat)
  • 2 onions, diced
  • 2 cloves garlic, minced
  • 1 tbsp ginger, chopped
  • 1 tbsp red curry paste (I like Aroy D brand)
  • 2 cups broth (homemade is best!)
  • 2 cups water
  • sea salt (omit if using store-bought broth)
  • ½ cup full-fat canned coconut milk (I like Aroy D brand)
  • chopped cilantro, for garnish

Step 1 – Make sure all of the mussels are fully debearded. To do this, hold the mussel under running water and rinse off any debris. If there is gunk coming out from the inside of the mussel, gently pull on it until it releases and discard. 

Step 2 – At the same time as you are debearding, take note of any mussels that are not firmly closed. If slightly open, knock on it, if it is still alive it should close in response to the knocking. If it remains open, discard – you do not want to eat a dead mussel! 

Step 3 – Once all of the mussels are debearded, set them aside. Heat coconut oil over medium high and sauté onions for about 5 minutes.

Step 4 – Add garlic, ginger and curry paste and cook for about 30 seconds, stirring frequently.

Step 5 – Add broth, water and sea salt (if using), bring to a simmer.

Step 6 – Add in mussels, cover with a lid and steam for 5 minutes. 

Most, if not all, of the mussels should open up. Discard any that do not.

Step 7 – Stir in coconut milk, heat through and serve topped with cilantro. Enjoy with a side salad and sweet potato fries to dip into any extra broth!


Red Curry Mussels
Serves 4
Homemade restaurant-style dinner that is quick and jam-packed with nutrients. Free from dairy and grains as well!
Write a review
Print
Prep Time
15 min
Cook Time
10 min
Total Time
25 min
Prep Time
15 min
Cook Time
10 min
Total Time
25 min
Ingredients
  1. 4 lbs mussels, debearded
  2. 2 tbsp coconut oil
  3. 2 onions, diced
  4. 2 cloves garlic, minced
  5. 1 tbsp ginger, chopped
  6. 1 tbsp red curry paste
  7. 2 cups broth (homemade is best!)
  8. 2 cups water
  9. sea salt (omit if using store-bought broth)
  10. ½ cup full-fat canned coconut milk
  11. chopped cilantro, for garnish
Instructions
  1. 1. Make sure all of the mussels are fully debearded. To do this, hold the mussel under running water and rinse off any debris. If there is gunk coming out from the inside of the mussel, gently pull on it until it releases and discard.
  2. 2. At the same time as you are debearding, take note of any mussels that are not firmly closed. If slightly open, knock on it, if it is still alive it should close in response to the knocking. If it remains open, discard - you do not want to eat a dead mussel!
  3. 3. Once all of the mussels are debearded, set them aside. Heat coconut oil over medium high and sauté onions for about 5 minutes.
  4. 4. Add garlic, ginger and curry paste and cook for about 30 seconds, stirring frequently.
  5. 5. Add broth, water and sea salt (if using), bring to a simmer.
  6. 6. Add in mussels, cover with a lid and steam for 5 minutes. Most, if not all, of the mussels should open up. Discard any that do not.
  7. 7. Stir in coconut milk, heat through and serve topped with cilantro.
Notes
  1. My favourite brand of coconut milk and thai curry paste is Aroy D. It can be found at international or Asian supermarkets, or sometimes in the international aisle of a major grocery chain.
Amanda Naturally http://www.amandanaturally.com/

Bacon, Guac & Tomato Bites (and why you don’t need to be afraid of bacon!)

Bacon, Guac & Tomato Bites | AmandaNaturally.com
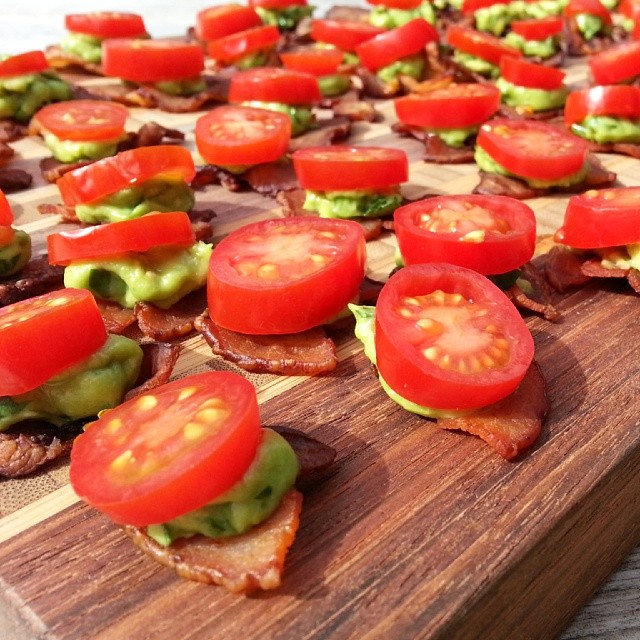
In honour of the ridiculous report released by the WHO earlier this week (saying that bacon and red meat are akin to cigarettes regarding cancer risk), I’ve decided to share a go-to appetizer in my house – Bacon, Guac & Tomato Bites! This doesn’t even really require a recipe per se, it’s more basic directions for the world’s best appetizer!

But briefly, before I jump into the awesomeness that are my BGT Bites, I just want to post a few links to solid articles (and my favourite quotes from each) to put you at ease for eating both red meat and bacon:

World Health Organization, Meat & Cancer – Zoe Harcombe

“…the baseline for the processed meat eaters showed that they were far less active, had a higher BMI, were THREE TIMES more likely to smoke and almost TWICE as likely to have diabetes. This makes processed meat a MARKER of an unhealthy person, not a MAKER of an unhealthy person.”  (bold emphasis is mine)

The Link Between Meat & Cancer – Dr. Sarah Ballantyne

“Where heme becomes a problem is in your gut: the cells lining your digestive tract metabolize it into cytotoxic compounds (meaning toxic to living cells), which can then damage your colonic mucosa, cause cell proliferation, and increase fecal water toxicity—all of which raise cancer risk….Here’s where vegetables come to the rescue! Chlorophyll, the pigment in plants that makes them green, has a molecular structure that’s very similar to heme. As a result, chlorophyll can block the metabolism of heme in your intestinal tract and prevent those toxic metabolites from forming. Instead of turning into harmful byproducts, heme ends up metabolized into inert compounds that are no longer toxic or damaging to your colon.” (bold emphasis is mine)

Bacon Causes Cancer? Sort of. Not Really. Ish. – Sarah, Zhang at Wired

“…smoking increases your relative risk of lung cancer by 2,500 percent; eating two slices of bacon a day increases your relative risk for colorectal cancer by 18 percent. Given the frequency of colorectal cancer, that means your risk of getting colorectal cancer over your life goes from about 5 percent to 6 percent…” (bold emphasis is mine)

“[The list of carcinogenic compounds] includes processed meat, and also asbestos. Also alcohol (boo!) and sunlight (yup!).”

“Risk assessment involves looking at different scenarios, finding out real-world exposure levels, and weighing possible benefits. (Useful drugs like Tamoxifen—used to treat breast cancer—are also carcinogens, for example.)”

The moral of the story is: The medical literature simply does not support these recommendations. I am confident in my understanding of the medical literature, to continue to recommend the consumption of a moderate amount of meat (ideally grass-fed, pasture-raised whenever possible) along side as many vegetables as possible.

Now that that’s out of the way….BACON!

Bacon, Guac & Tomato Bites (a.k.a. BGT Bites)

Ingredients

1 lb pastured bacon (or organic thick cut)

1-2 cups guacamole (see recipe)

1 pint cherry or grape tomatoes

Directions

  1. Preheat oven to 400F. 
  2. Slice each piece of bacon into 4 equal pieces. If the slice of bacon is particularly short, only cut into 3 pieces. They lose quite a bit of their size once cooked, so don’t cut too small!
  3. Bake for 15-20 minutes, until very crisp.
    1. Option 1: lay flat on parchment paper lined baking sheet
    2. Option 2: line baking sheet with tin foil, place baking rack on top, lay bacon on rack. This allows you to save the rendered back grease for later use (hello bacon-fried eggs and bacon-mayo!)
  4. Meanwhile, make a batch of guacamole. If you’re out of time, or there aren’t any ripe avocados, Wholly Guacamole is fairly clean. As is the one found at Costco.
  5. Slice the grape/cherry tomatoes into discs – approximately 3-4 slices per tomato.
  6. Remove bacon and let cool.
    1. NOTE: If you are assembling this appetizer elsewhere, store the 3 ingredients in separate containers. You can transport the guac in the ziploc bag (see below), just make sure to squish it all into one corner and get rid of every last bit of air to prevent it from browning! Keep the bacon and tomatoes in separate containers to prevent the bacon from getting soggy. A piece of paper towel in with the bacon can also help this.
  7. Assemble BGT Bites – line a serving tray with bacon pieces. Spoon the guac into the corner of a ziploc bag. Cut off the corner and use like a pastry bag – squeezing a dollop of guac onto each piece of bacon. Top with a tomato slice!

Bacon, Guac & Tomato Bites | AmandaNaturally.com

Copyright 2014 Amanda Naturally | Design by The Nectar Collective