 Cabbage isn’t many people’s first choice of veggie. It has a bad reputation that it simply doesn’t deserve! Cause you know what? It’s one of my favourites and I’m not a notorious eat what most normal people don’t like person. I have learned that if you cook food properly, it can taste amazing. Case in point – cabbage and brussels sprouts. When I ask clients what their dislikes are, the overwhelming majority responds “brussels sprouts” (which btw are the same family as cabbage – they’re pretty much just baby cabbages). To which I respond, “have you ever had it cooked any other way than boiled?”
<< silence >>
Exactly. I wouldn’t want to eat that $h*t boiled either! So trust me when I say that as long as you cook it right, cabbage and brussels sprouts can be amazingly delicious!
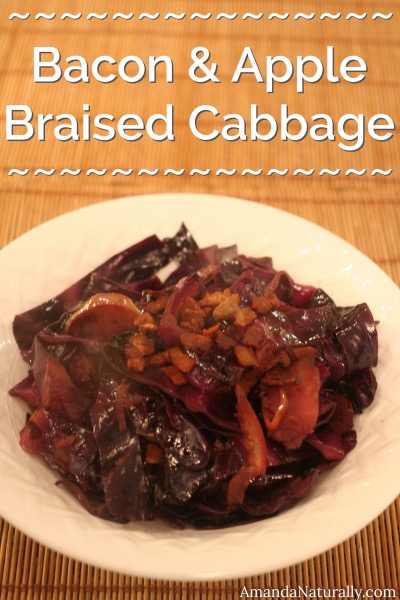
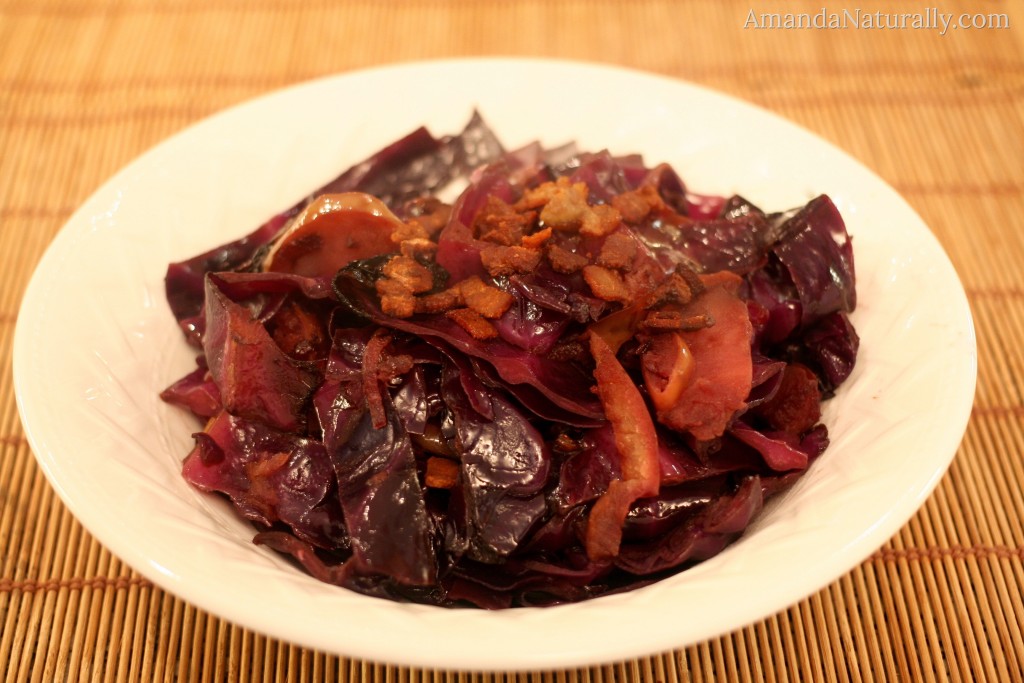
I love cabbage in slaw form, but hands down my favourite way to eat it is braised, or more specifically as Bacon and Apple Braised Cabbage. It turns deliciously sweet as the onions and apples get caramelized! My favourite dishes to pair braised cabbage with are pork chops, sausages or roast chicken.
One of the best parts about cabbage is it’s super inexpensive, local, easy to find organic (and reasonably priced!) and it makes a huge amount. The leftovers seem to get better as they sit in the fridge, and they reheat amazingly well. I love the leftovers because they pair so wonderfully with breakfast! (anyone who works with me knows I am always trying to get people to eat veggies at breakfast!) Scramble up a few eggs, cook up a few extra pieces of bacon, side of apple braised cabbage – boom. Incredibly healthy breakfast.
Speaking of healthy, I’m just going to remind you the incredible health benefits of cabbage (I listed these over in my Simple Coleslaw recipe, but it can’t hurt to be reminded!).
Cabbage, along with other cruciferous veggies (kale, chard, collards, brussel sprouts, broccoli, cauliflower, bok choy), are nutritional powerhouses. Here are some of their health benefits:
- very high in the sulfurous compound, glucosinolate, which is metabolized by the body into potent antioxidants isothiocyanate and thiocyanate.
- isothiocyanates have also been shown to be effective in protecting against cancer, specifically breast, colon, cervical and prostate.
- help the body excrete excess estrogens (this is particularly helpful for someone coming off of birth control, or anyone who has estrogen dominance. Also a good idea for everyone, because many of the chemicals we are exposed to daily, from plastics to fragrances to pesticides, are xeno-estrogens, which means they mimic estrogen in our body) (additional source)
- contains sulforaphane which may reduce hypertension and improve kidney function
- packed with nutrients – vitamins, minerals, phytonutrients, fibre
- contains indole-3-carbinol which supports phase 2 liver detoxification, phase 1 is also supported via the sulforaphane content. This balance is important because many “liver supporters” only up regulate phase I. Phase 1 often turns chemicals into more toxic substrates, before phase 2 neutralizes them. Only supporting phase 1 liver detox can result in nasty symptoms. (Note: supporting phase 1 and 2 liver detoxification is real detox, not juice-cleansing, cayenne shooters, no protein “detox” – that’s a load of crap.)
Cabbage Prep
Never prepared cabbage before? Here’s how I do it for braising:
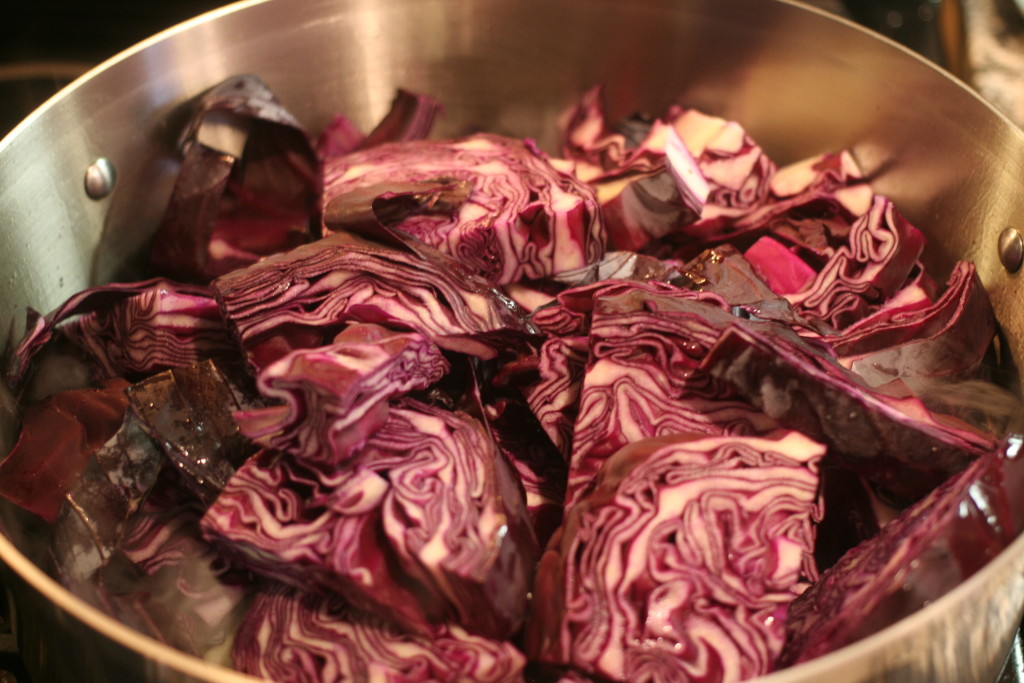
1. Remove the outer few layers of the cabbage.
2. Chop the thick end off.
3. Cut into quarters. If the core is really dense, slice out a bit of it and discard. (I didn’t have to for this cabbage)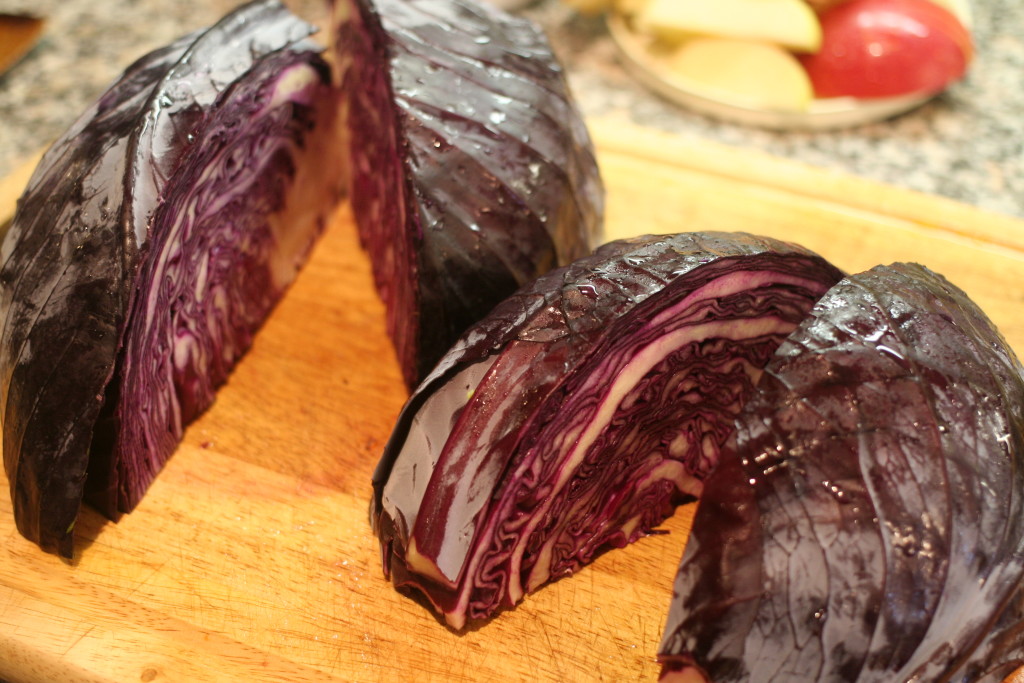
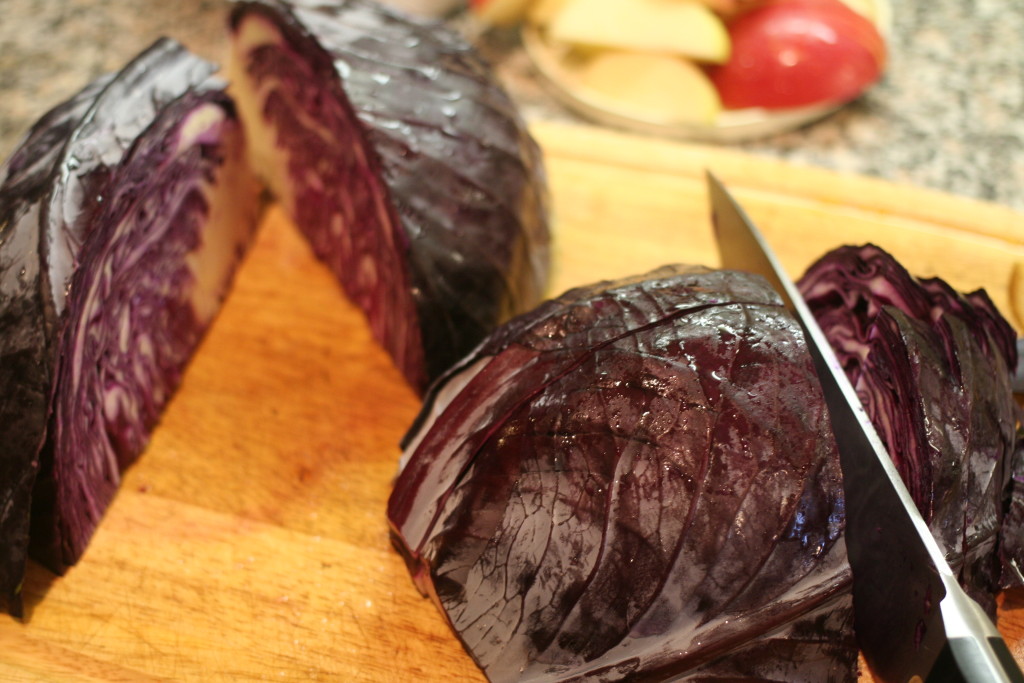
4. Roughly slice.
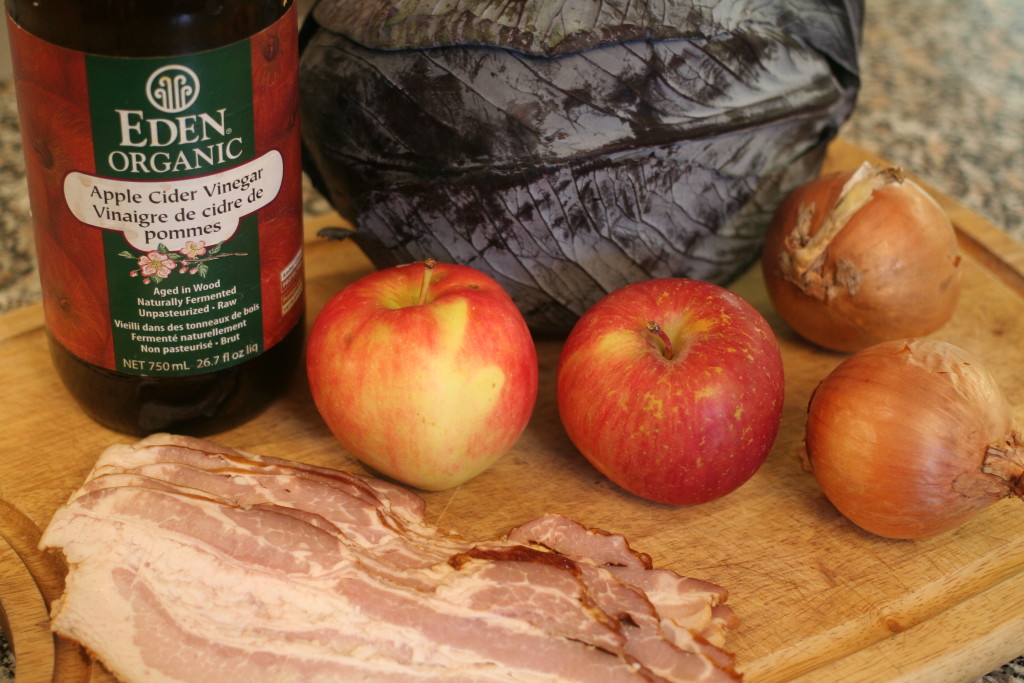
- 1 large head of cabbage, roughly sliced
- 2 apples, sliced thin
- 2 onions, sliced thin
- ½ lb pastured bacon, diced
- ¼ cup apple cider vinegar
- sea salt
- black pepper (optional)
- In a large pot, braiser or sautee pan (make sure it has a lid), cook the bacon pieces over medium heat, until crispy. Approximately 10 minutes.
- Remove the bacon pieces and set aside. If there is an excessive amount of rendered grease, pour of some to use another time.
- Reduce heat to medium low, add onions to remaining bacon grease and sauté for 5 minutes.
- Layer apples over the onions and immediately top with the sliced cabbage.
- Add in apple cider vinegar, and about 10 grinds of sea salt.
- Cover and cook for 45 minutes, stirring every 10 minutes or so. (if you find it's starting to burn, reduce temperature to low)
- Season with additional sea salt and pepper (to taste), top with crispy bacon bits and serve!
- You can absolutely make this without the bacon (but why would you?) For a bacon-free/vegetarian option use your favourite cooking fat such as avocado oil, olive oil or butter.
- Feel free to sub in apple cider (the juice or the alcoholic beverage) in lieu of ACV if you want! I'm sure beer would work well too if you tolerate it.
- You can use red or green cabbage. I just think red is prettier!


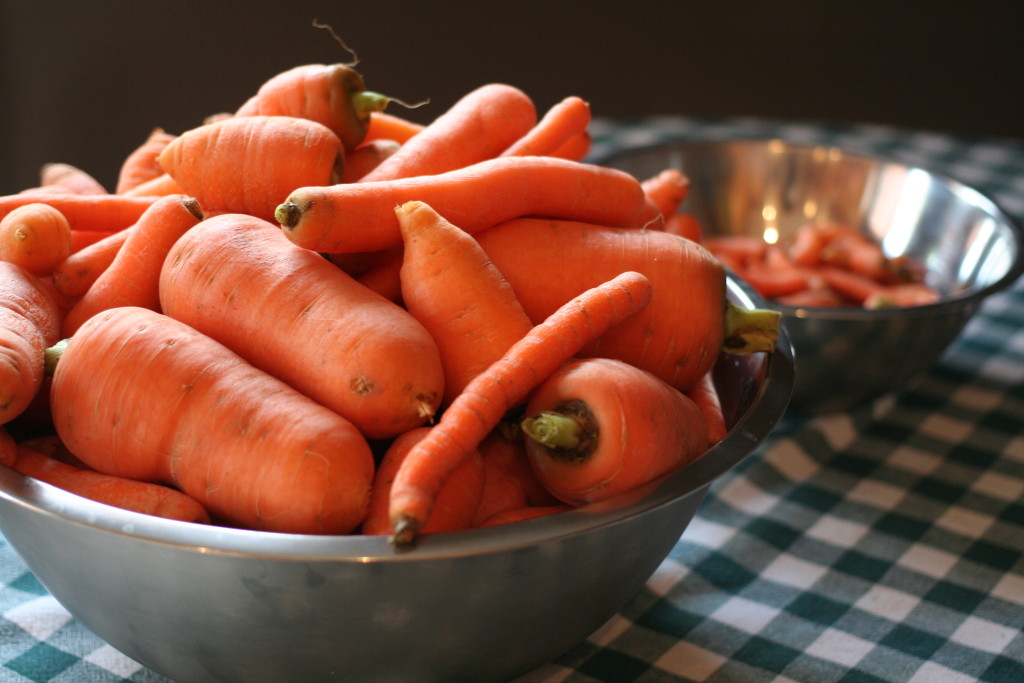
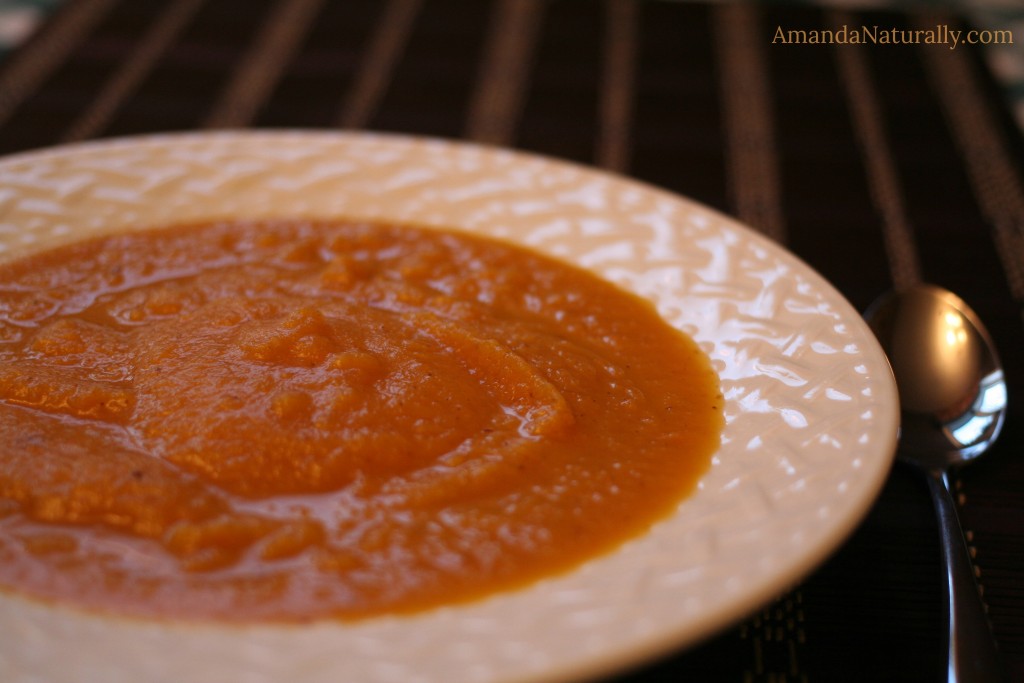
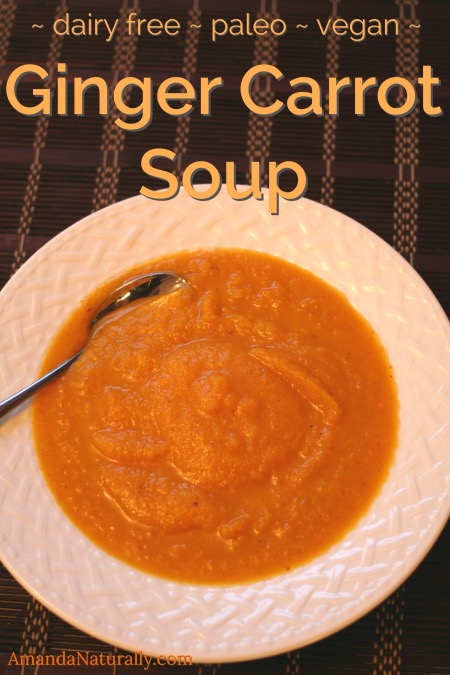 This past weekend we harvested all of the carrots from our garden. We were shocked to see how many there were! We only planted 1 row, but ended up with bowls and bowls of carrots. So in order to use them all while they’re fresh and most tasty, I quickly turned them into my favourite carrot soup. I quadrupled the recipe below and used my 2 largest pots, and still couldn’t get all of the carrots in! I froze most of the soup in both single serving and larger jars that contain 2-3 servings. I always try to make larger quantities of a freezable recipe, for those days when there are no leftovers for lunch, or when life gets crazy and there’s nothing for dinner!
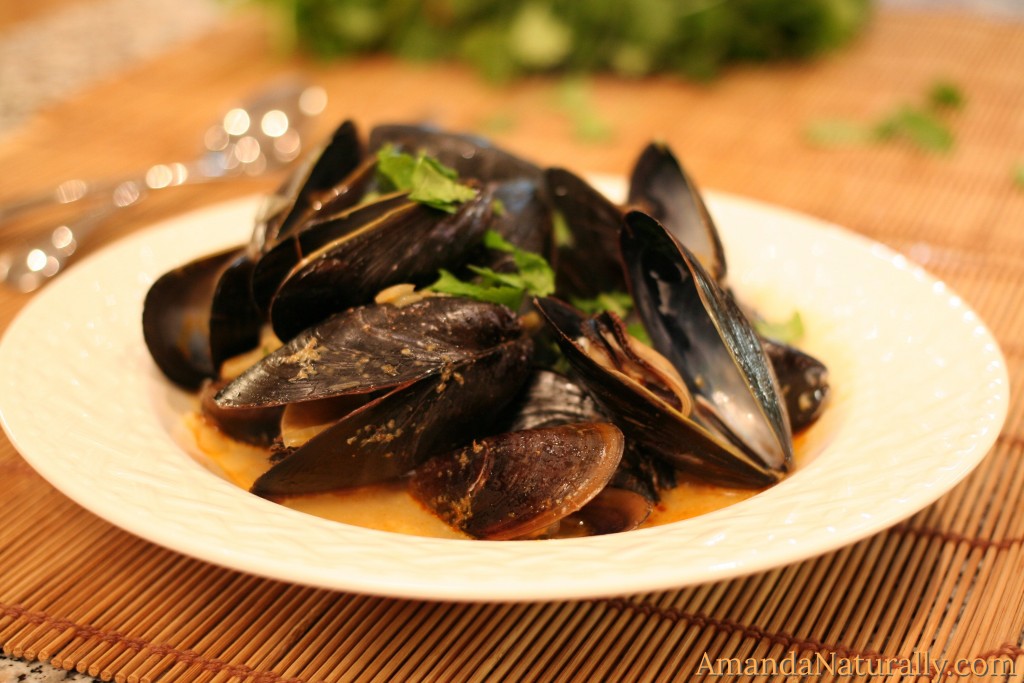
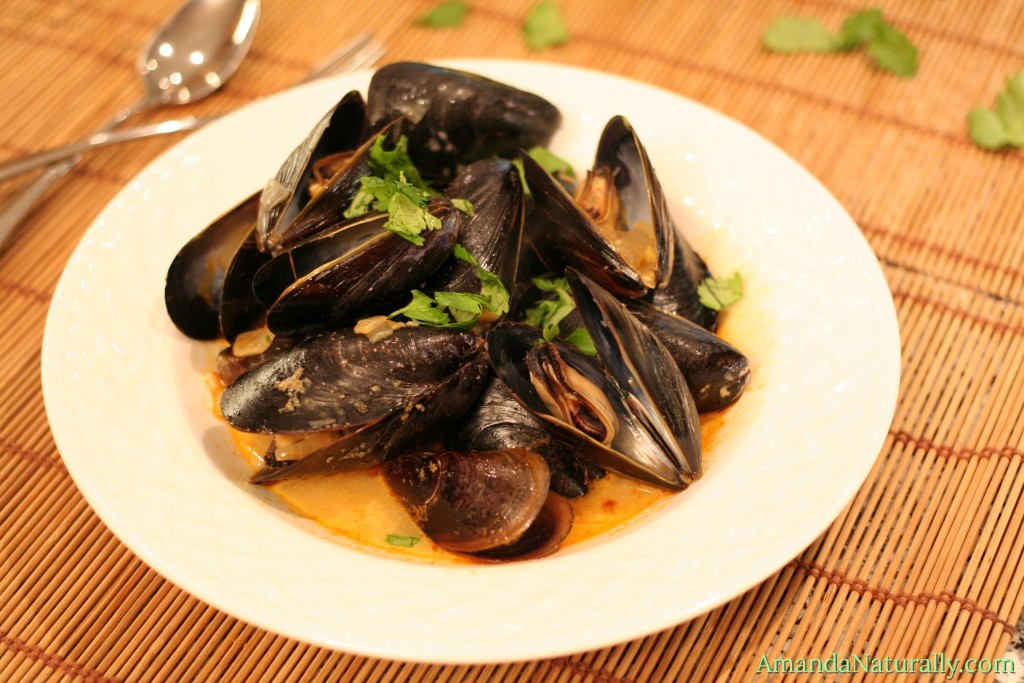
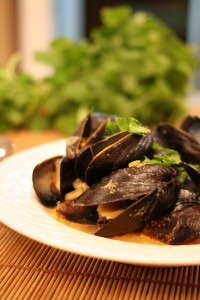
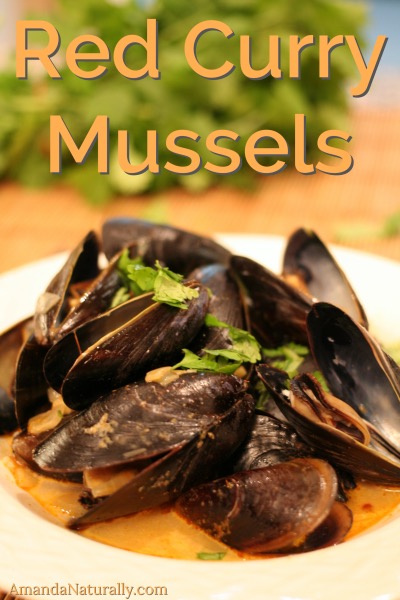 Mussels have been a restaurant go-to of mine for a long time now! Living with food allergies can be challenging when it comes to eating out – especially since so many people love Italian (read: wheat and cheese). However most of the time there’s a mussel dish on the menu, and usually it’s in a simple tomato or wine sauce (although my favourite is thai curry mussels – hence the recipe below!). Add a side salad, or a side of fries if you’re into that (who isn’t?!), and boom – a naturally grain & dairy free meal. Bonus is they’re usually on the appetizer section of the menu so end up being much more reasonably priced than the entrees!
 Ingredients


