Anyone who makes an effort to eat whole, real foods most (if not all) of the time, can totally sympathize with me when it comes to finding quick grab-and-go snacks. Sometimes I wish I was still in the dark about nutrition so I could grab a protein bar to throw in my purse for those just-in-case moments. Unfortunately, I still have not found a bar that I consider real food, so homemade snacks are my only option. The one exception are Larabars, which I do enjoy, but I find they’re very sweet and mostly dried fruit. Since they range from 3-5g of protein per bar, I don’t really classify them as high protein snacks. When you start to get into the actual high-protein snacks 3 things happen:
- They start using whey (dairy) which I am allergic to.
- They start adding all sorts of other garbage to make it taste remotely ok.
- If they are striving for a “clean” bar, they use stevia (which messes up my stomach) and all sorts of grains, which can be problematic for some.
Nuts and seeds don’t cut it either. While they have some protein in them, they are mostly fat. Which is a good thing! But can be easily overdone and a lot of people don’t find them that satisfying. I know I don’t. I can bang back handfuls of nuts in a short period of time – which usually makes me feel pretty darn sick. But if I limit myself to a small portion, it really does not seem to do the trick.
So what options are there? I can’t do dairy so yogurt and cottage cheese are out. Beans are a no go for me – but they’re not really a nutrient dense protein source anyway. Protein powders – well there’s a time and a place for them, they’re heavily processed, very few have clean ingredients and those that are often have stevia (darn stomach). For the longest time, the only protein-dominant snack I could think of was eggs. Hard boiled eggs are still one of my go-to’s for a quick protein source that requires minimal refrigeration. But honestly, how many eggs can a girl eat? Most days I have 2-3 eggs for breakfast, and I don’t know what it is, but that usually seems to be my limit.
When I really started getting into the real, whole foods scene, I began seeing some incredible store-bought snacks that bloggers and instagrammers were raving about. Epic Bars, Exo Bars, Steves Paleo Goods, Sophia’s Survival Food – all of these would actually work within my food options! I was stoked, but soon learned that these products are only available in the US. You can have them shipped to Canada, but for a hefty fee, so I decided to do what I always do…make my own!!
Homemade beef jerky is actually an incredibly easy process – it just takes a bit of time! My first inspiration was this great tutorial for homemade jerky over on The Paleo Mom. I made my first 2 batches of jerky following this method and was hooked.
http://instagram.com/p/qHdbEWC9gL/?modal=true
I loved having jerky in the cupboard for so many reasons! It was perfect for long days at the office, days where I don’t have any leftovers for lunch, road trips, vacations, on airplanes, days when you are out and about all day long and even times when you might be eating with other people and there are not many options for you due to food sensitivities, or what have you. I could just throw it in my purse and not worry about it!
The only problem was it took so darn long in the oven. There were very few days that I could actually dedicate to the 7+ hours required to be at home. So I made a purchase that I swore I would never need – a dehydrator! I bought it used so it was a reasonable investment that has paid for itself over and over again! Now I make jerky every time I get a meat delivery, and while we try to save it for times of need, it rarely lasts us a week because it’s so freakin delicious!
Homemade Beef Jerky
The cut of beef is the most important part. You want a large piece of meat that has very little fat on it. Or if there is fat, that it is on the outside and easy to remove. Fat goes rancid pretty easily, so if there is fat on your jerky, it decreases the shelf life. This is the only time I recommend avoiding the marbled meat options! I did lots of research, but really struggled to know what to purchase because the names and cuts of the animal seem to vary dramatically between countries! I started experimenting and have now tried a few different cuts. Flank steak had a bit too much marbling. Brisket was good, but I was pretty devastated getting rid of the huge layer of fat that ran through the middle of the meat. The third time was the charm. I tried a blade roast from our favourite grass-fed meat delivery team – Brooker’s Meat – and it’s now my jerky cut of choice! I usually make 2 different flavours, to keep it interesting.
Ingredients
 1 grass-fed Blade Roast (mine was 3.72 lbs and cost $27.86)
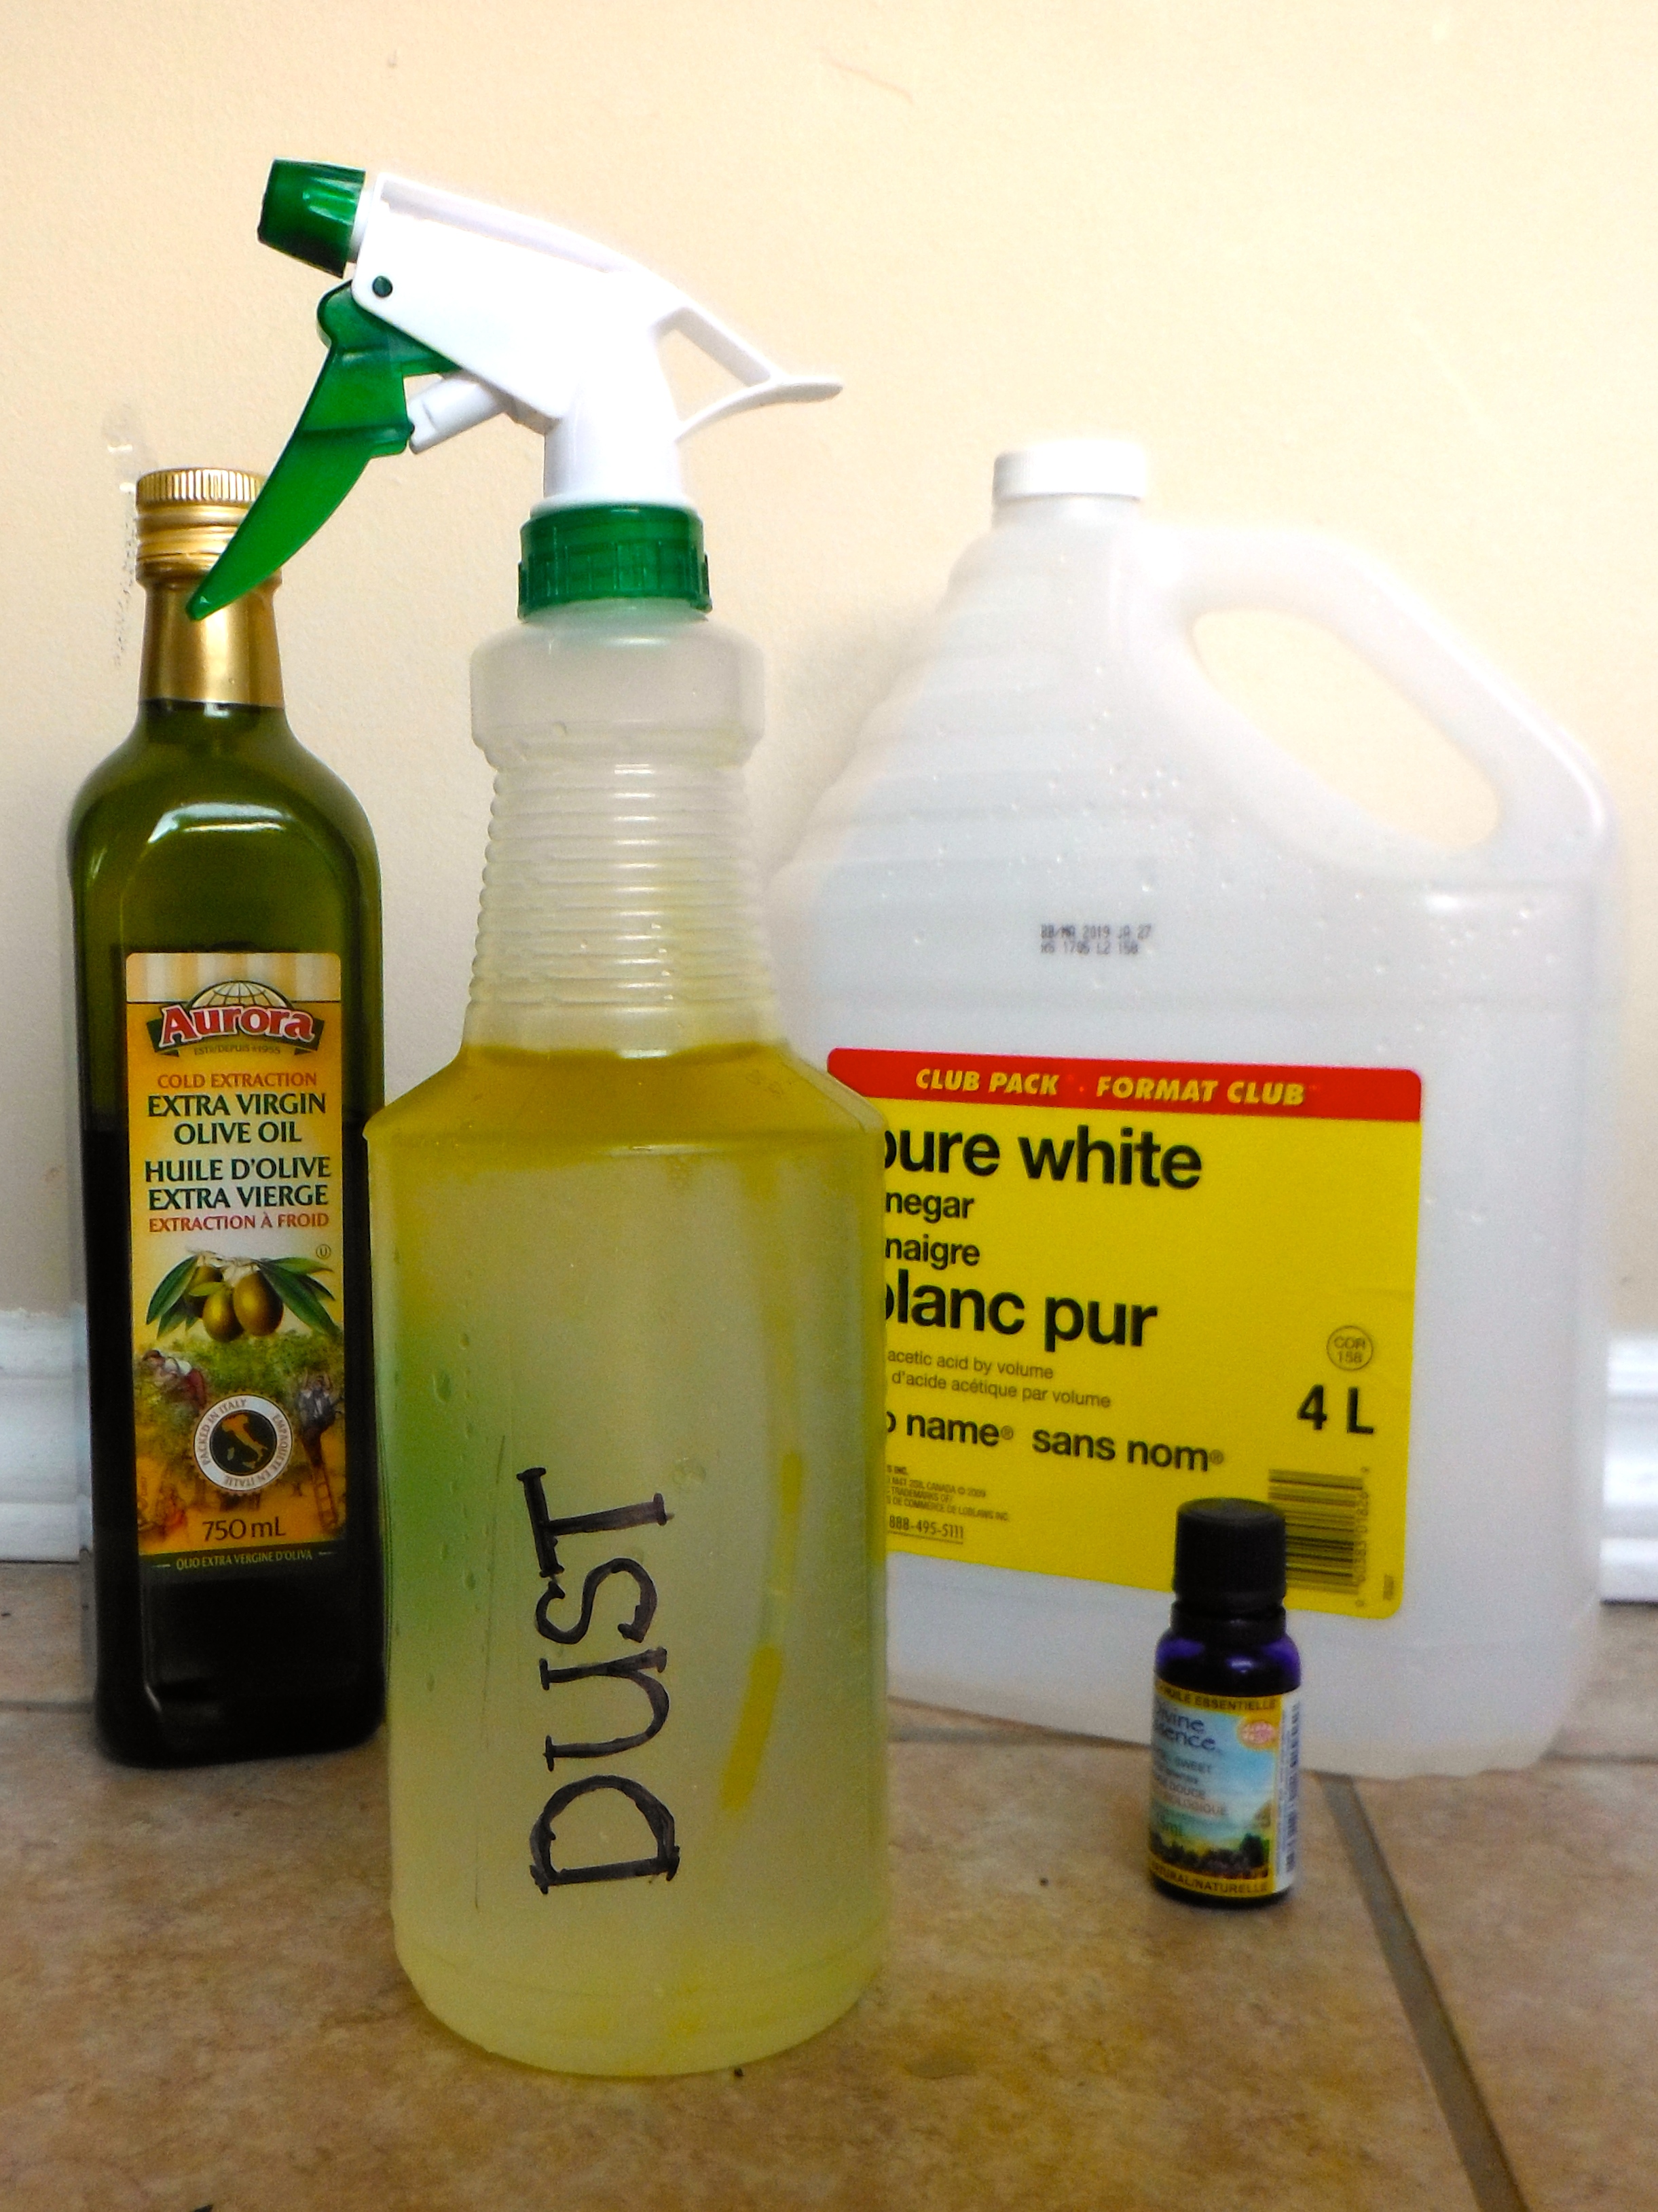
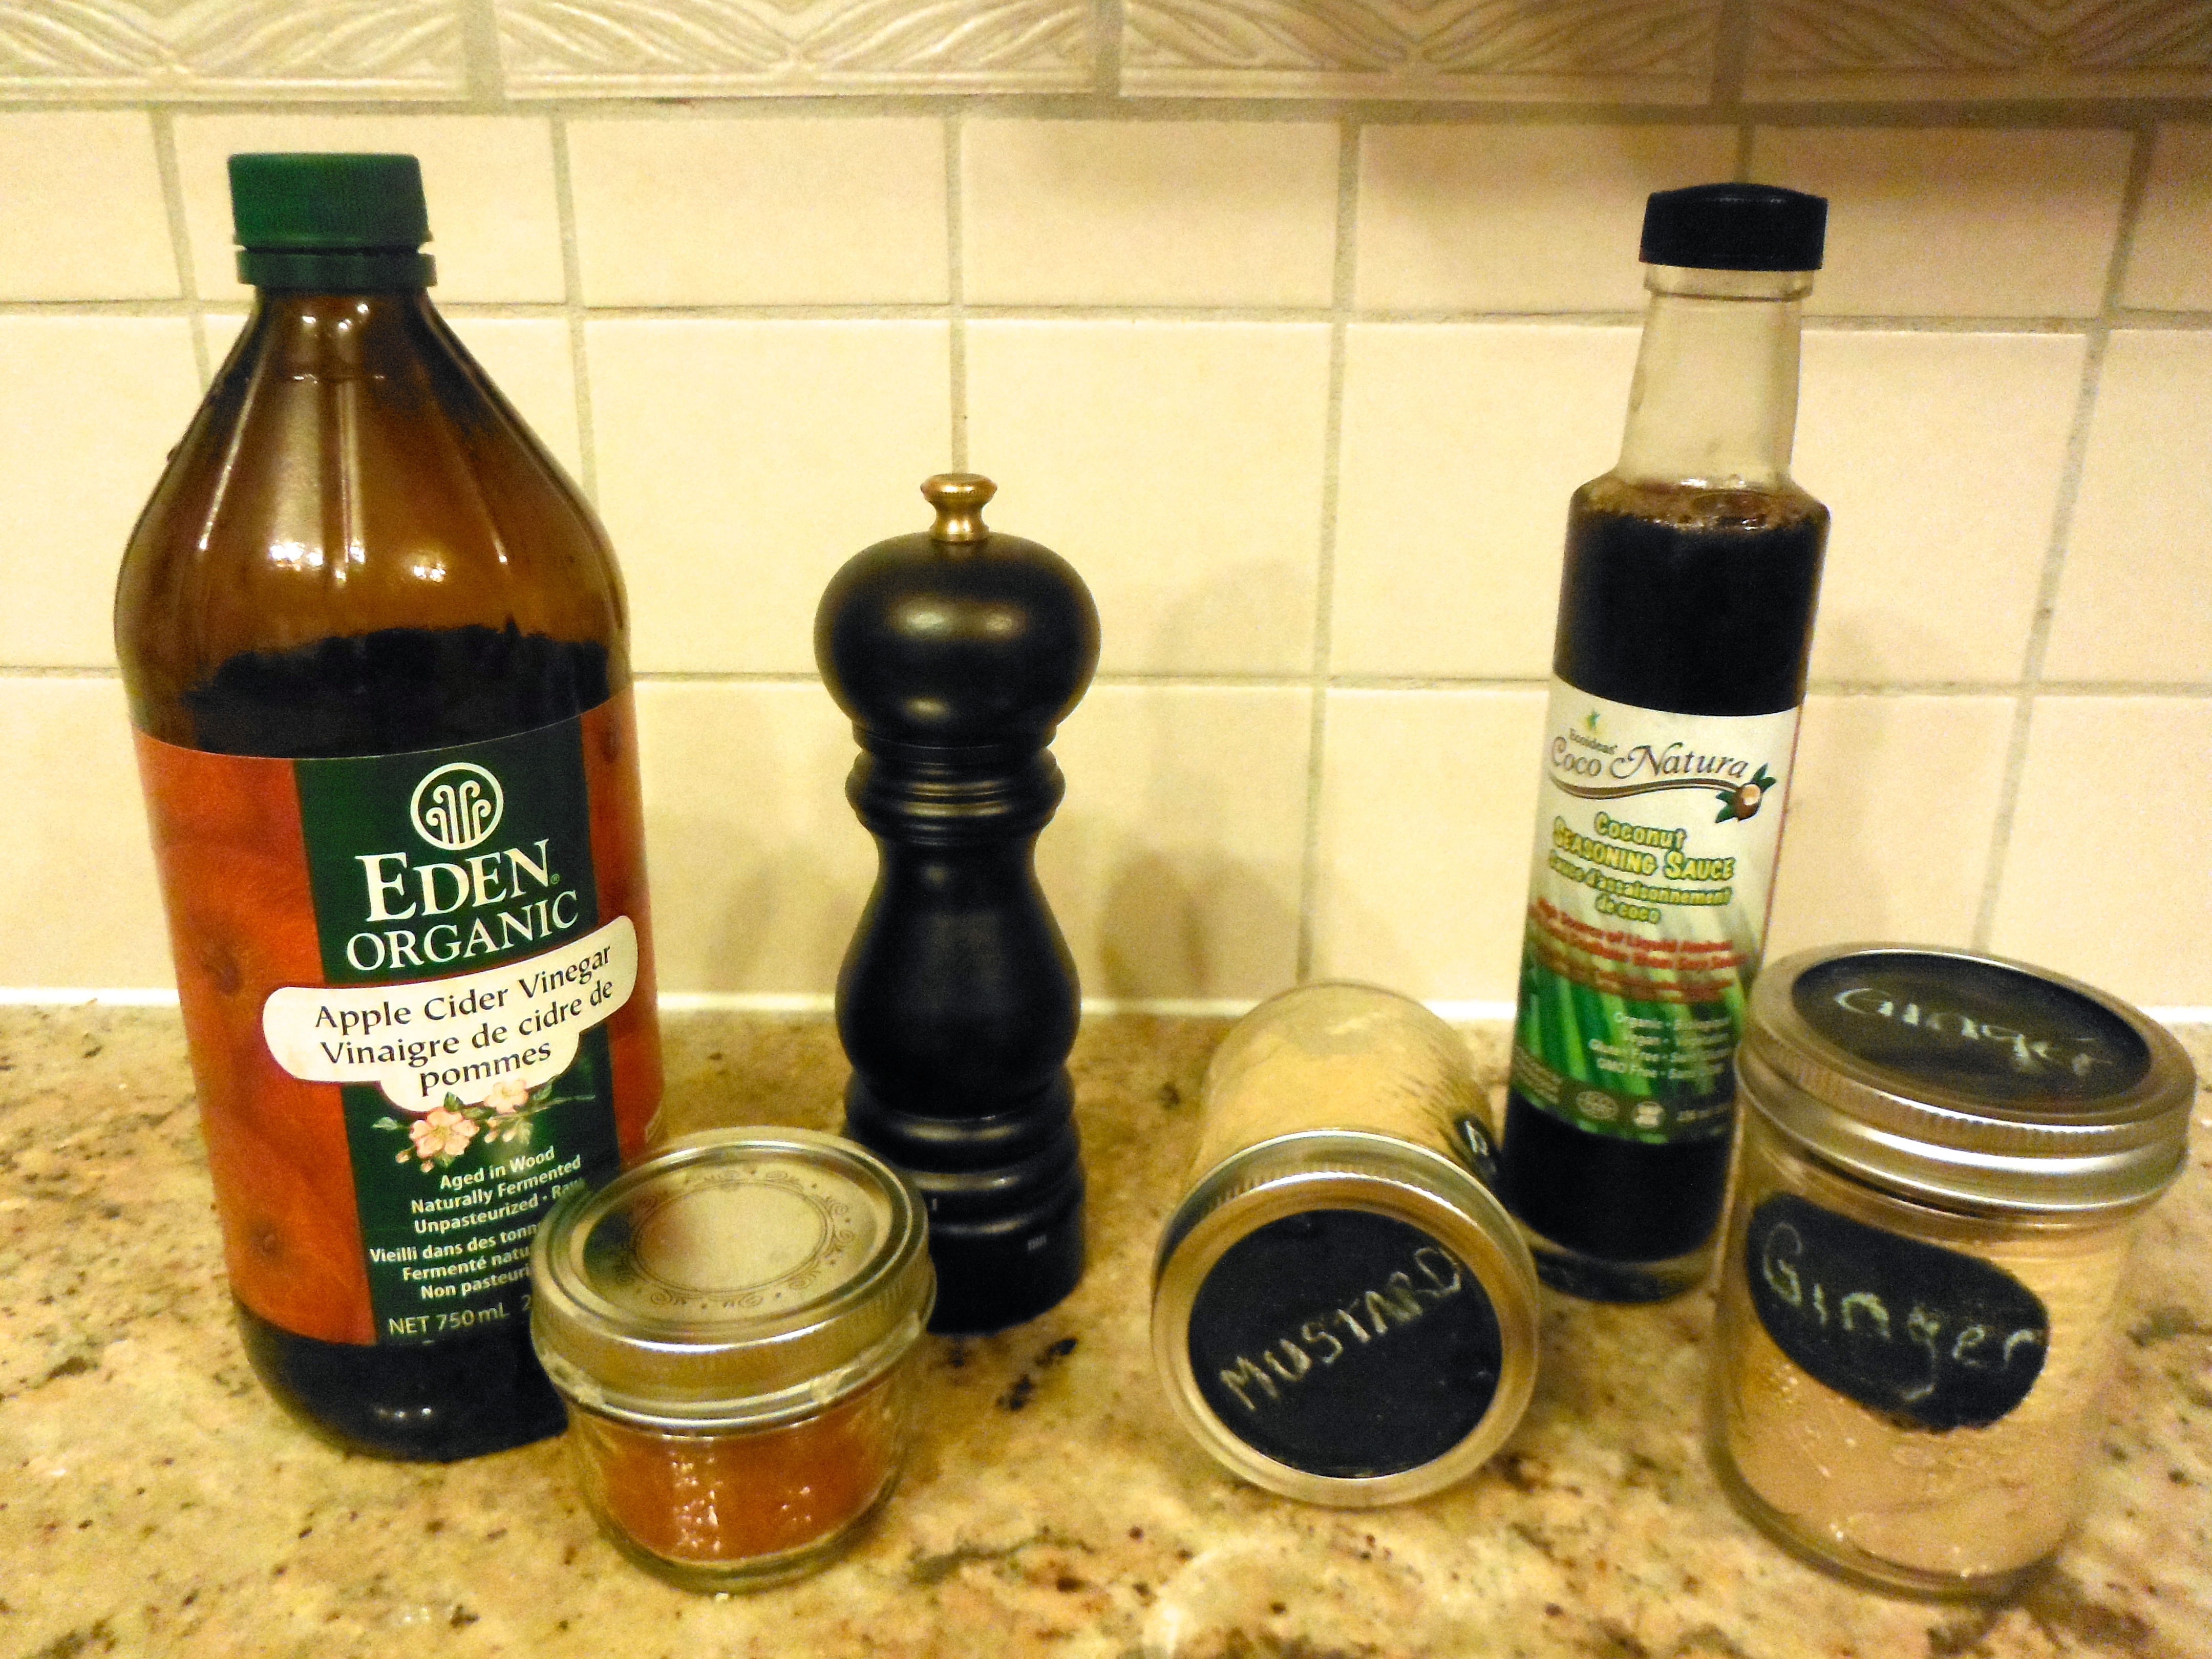
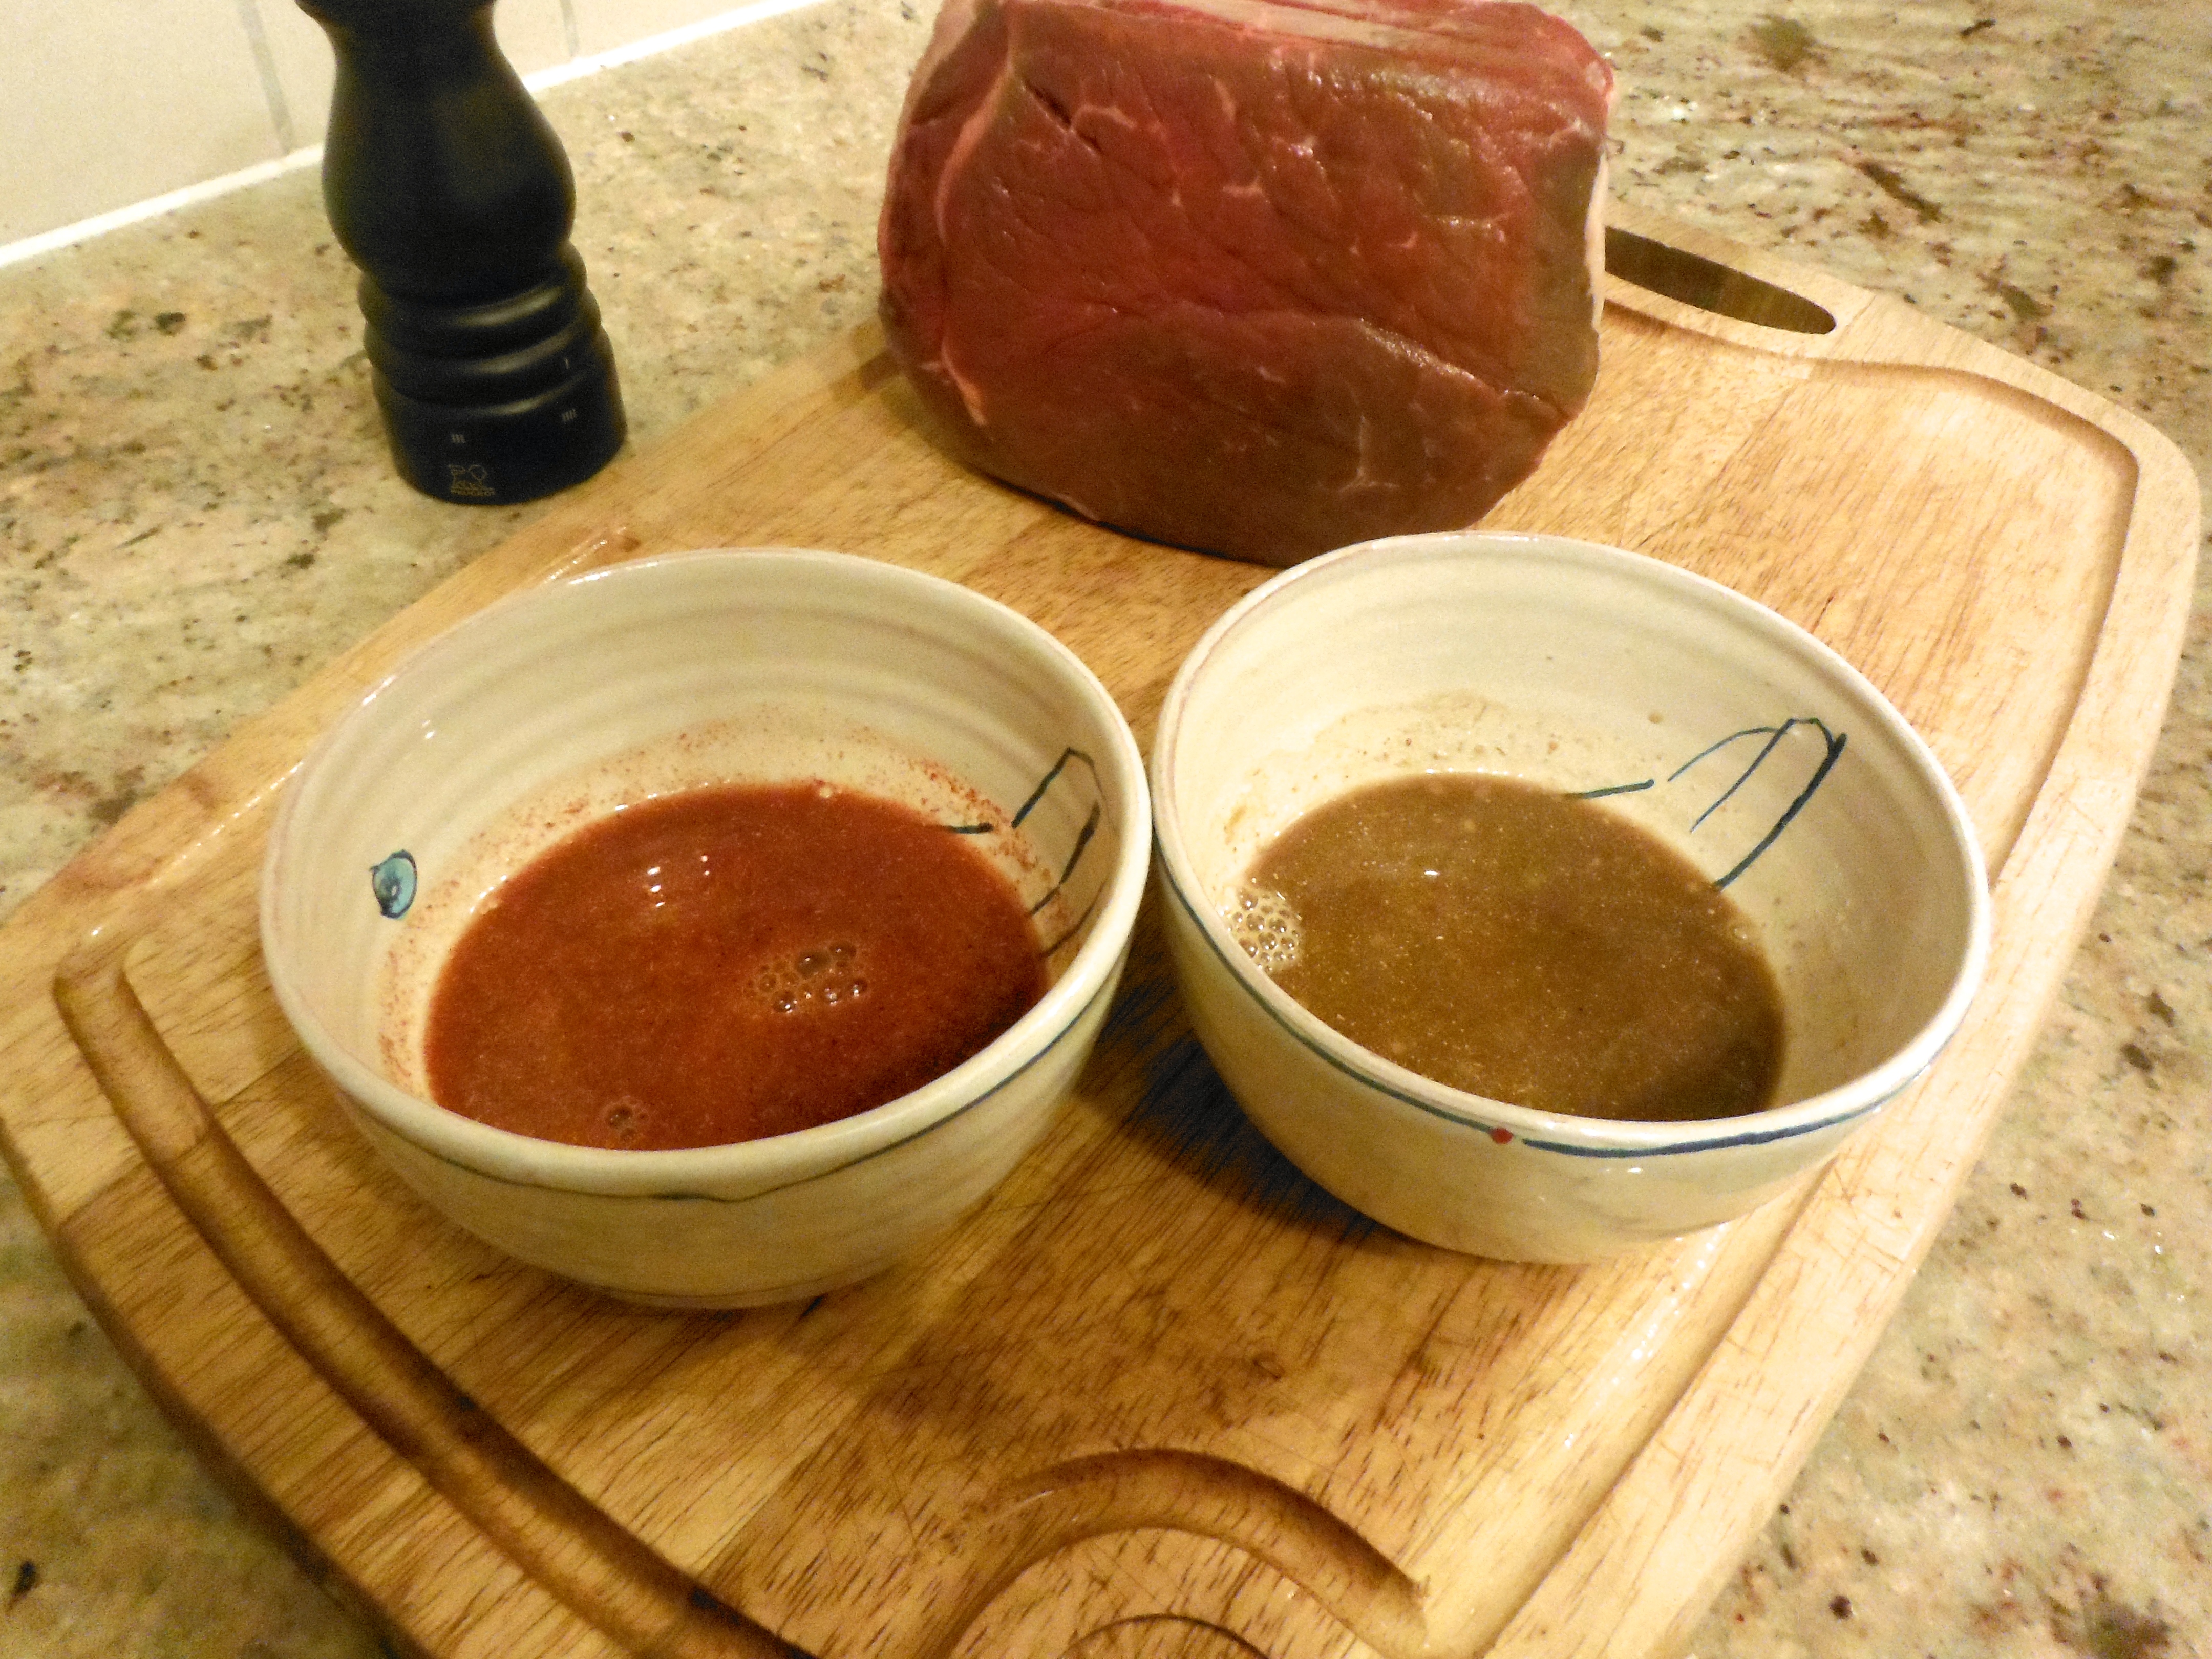
¼ cup apple cider vinegar
2 tsp hot paprika
¼ cup coconut seasoning sauce (called coconut aminos in the USA. Alternatively, use gluten-free tamari or soy sauce)
½ tsp mustard powder
1½ tsp ginger powder
Sea salt, liberal amounts.
NOTE: Paprika is a nightshade, so may need to be avoided by some people. The coconut seasoning, mustard and ginger batch is nightshade free. If following the autoiommune protocol strictly, eliminate the mustard powder because it is made from a seed.
Directions
Meat is easier to cut when it’s on it’s way to frozen. So if previously frozen, let thaw in the fridge and slice when it’s still slightly firm. Alternatively, freeze for 30-60 minutes before starting to make cutting easier.
Combine the apple cider vinegar and hot paprika in one small bowl. Mix thoroughly. Combine the coconut seasoning (or tamari), mustard and ginger in another small bowl. Mix throughly.
Prepare your cut of beef. Remove as much of the fat as possible.
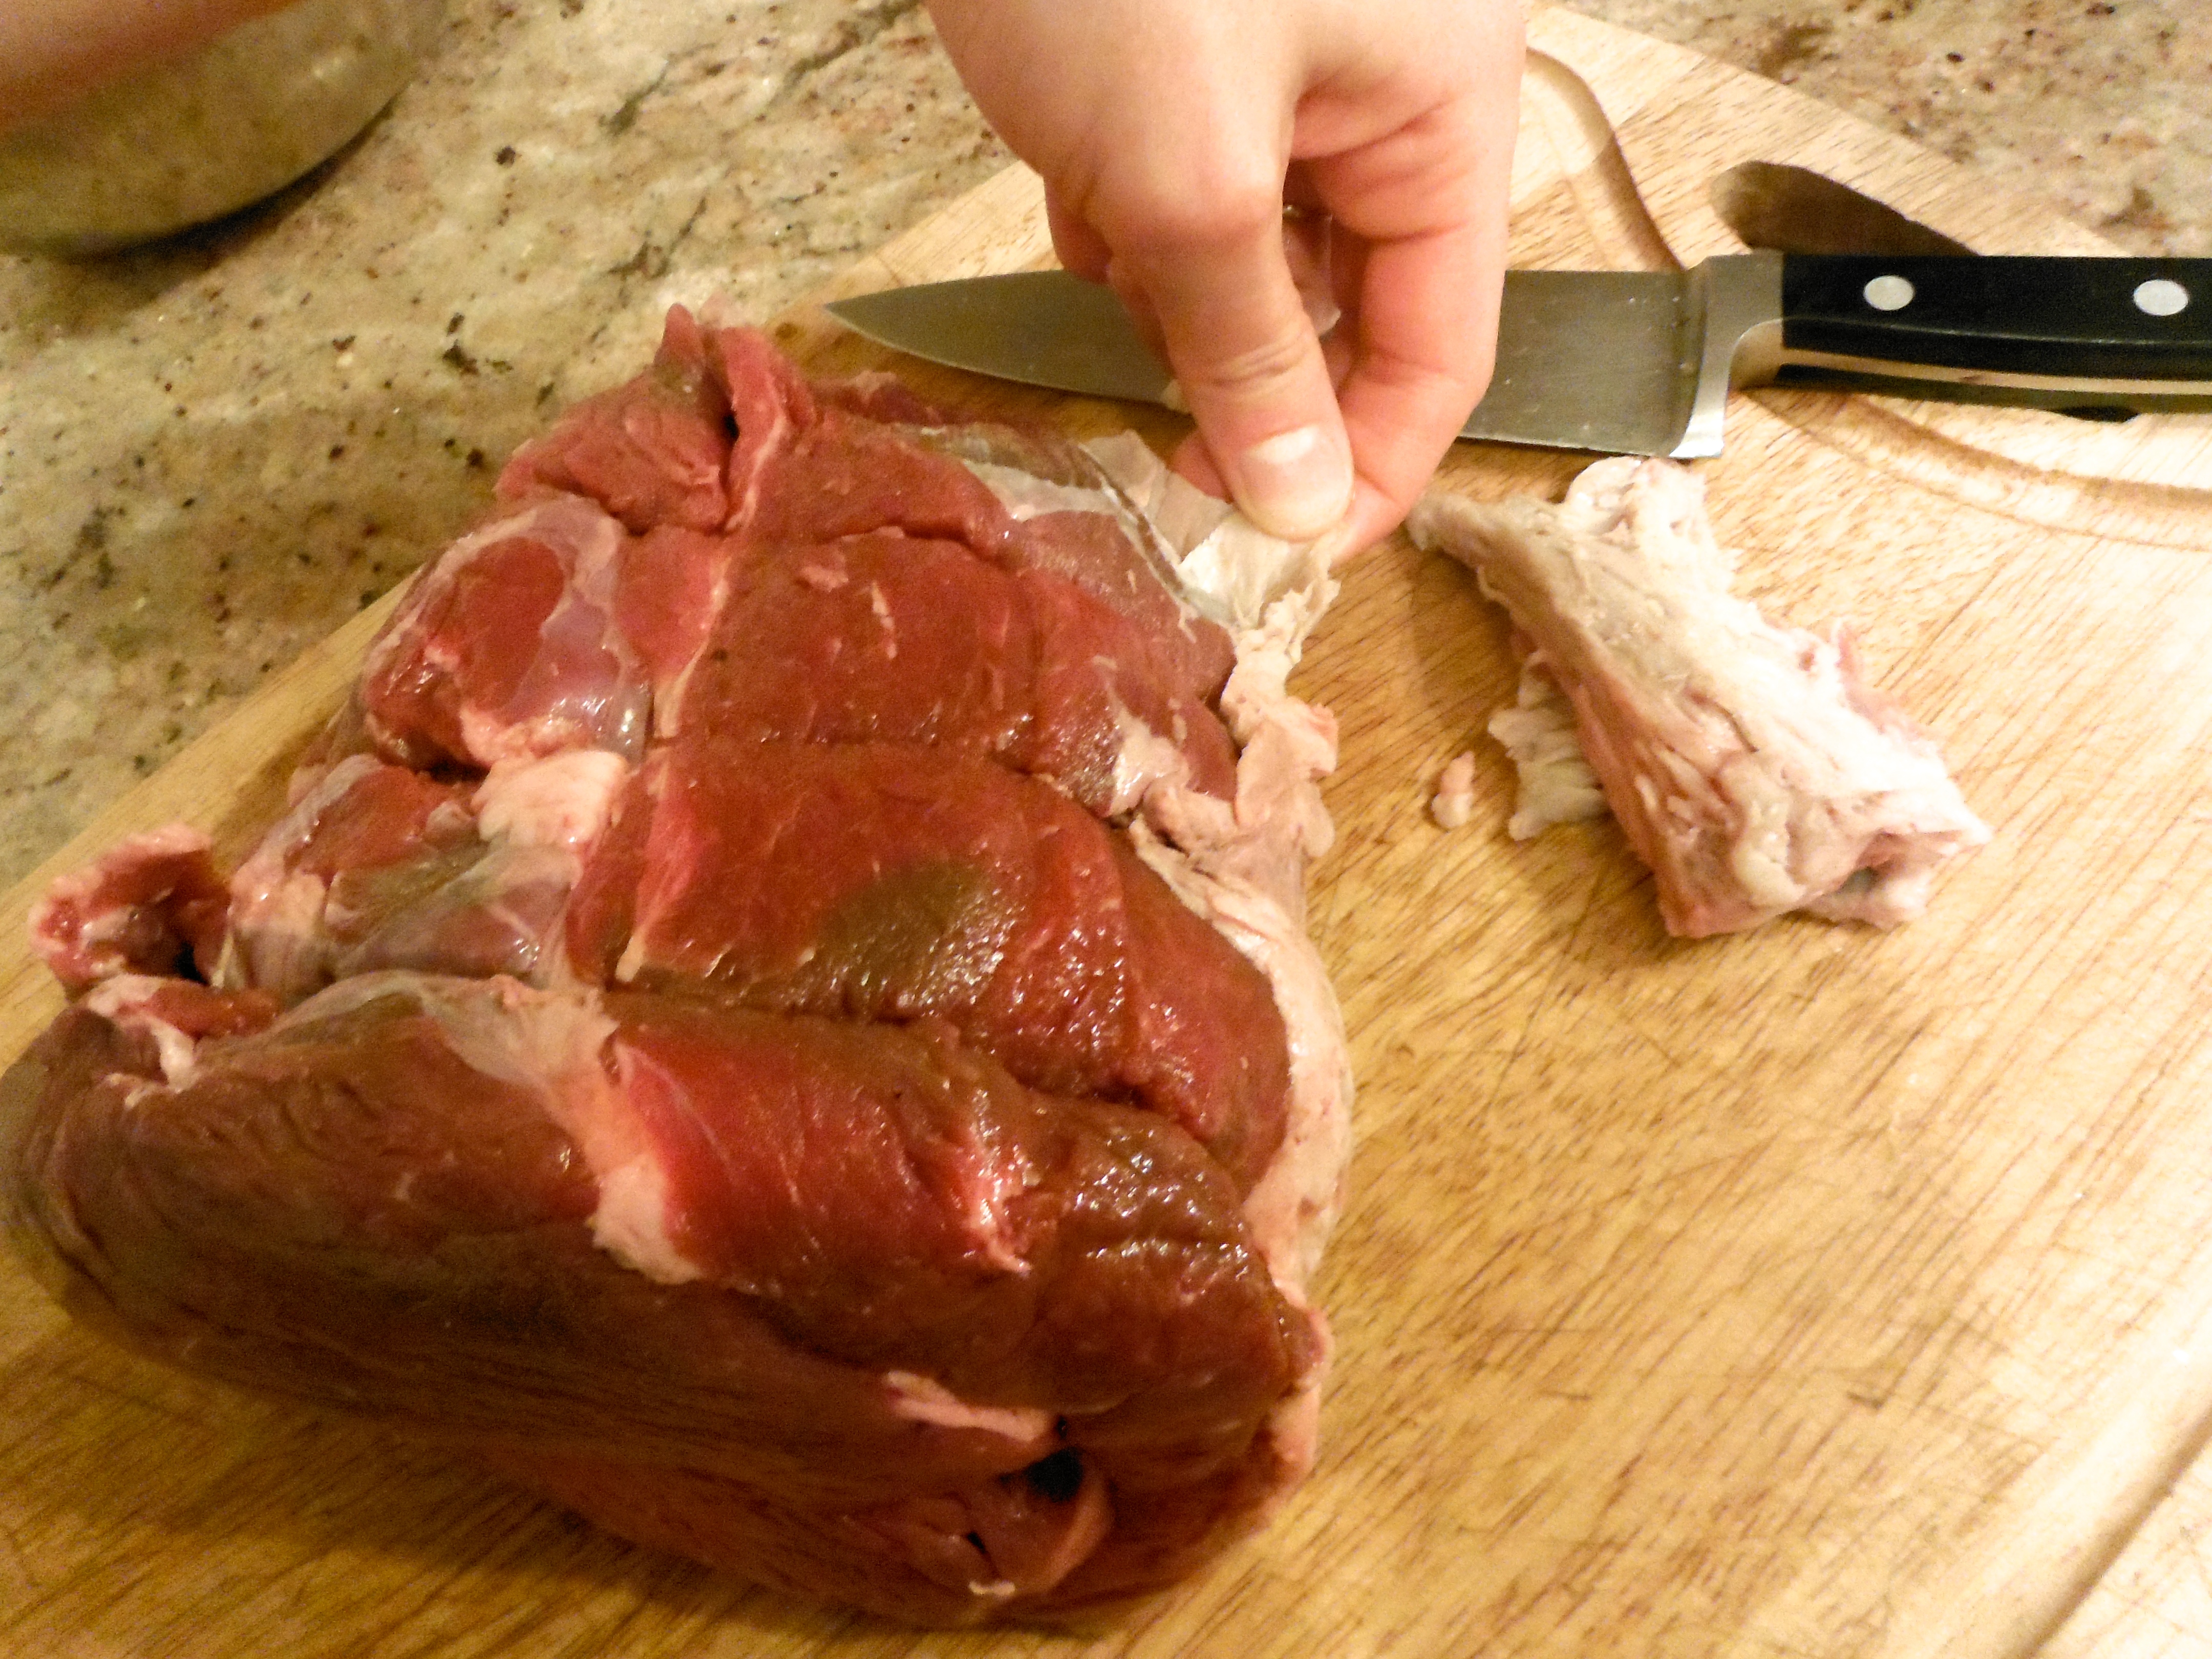
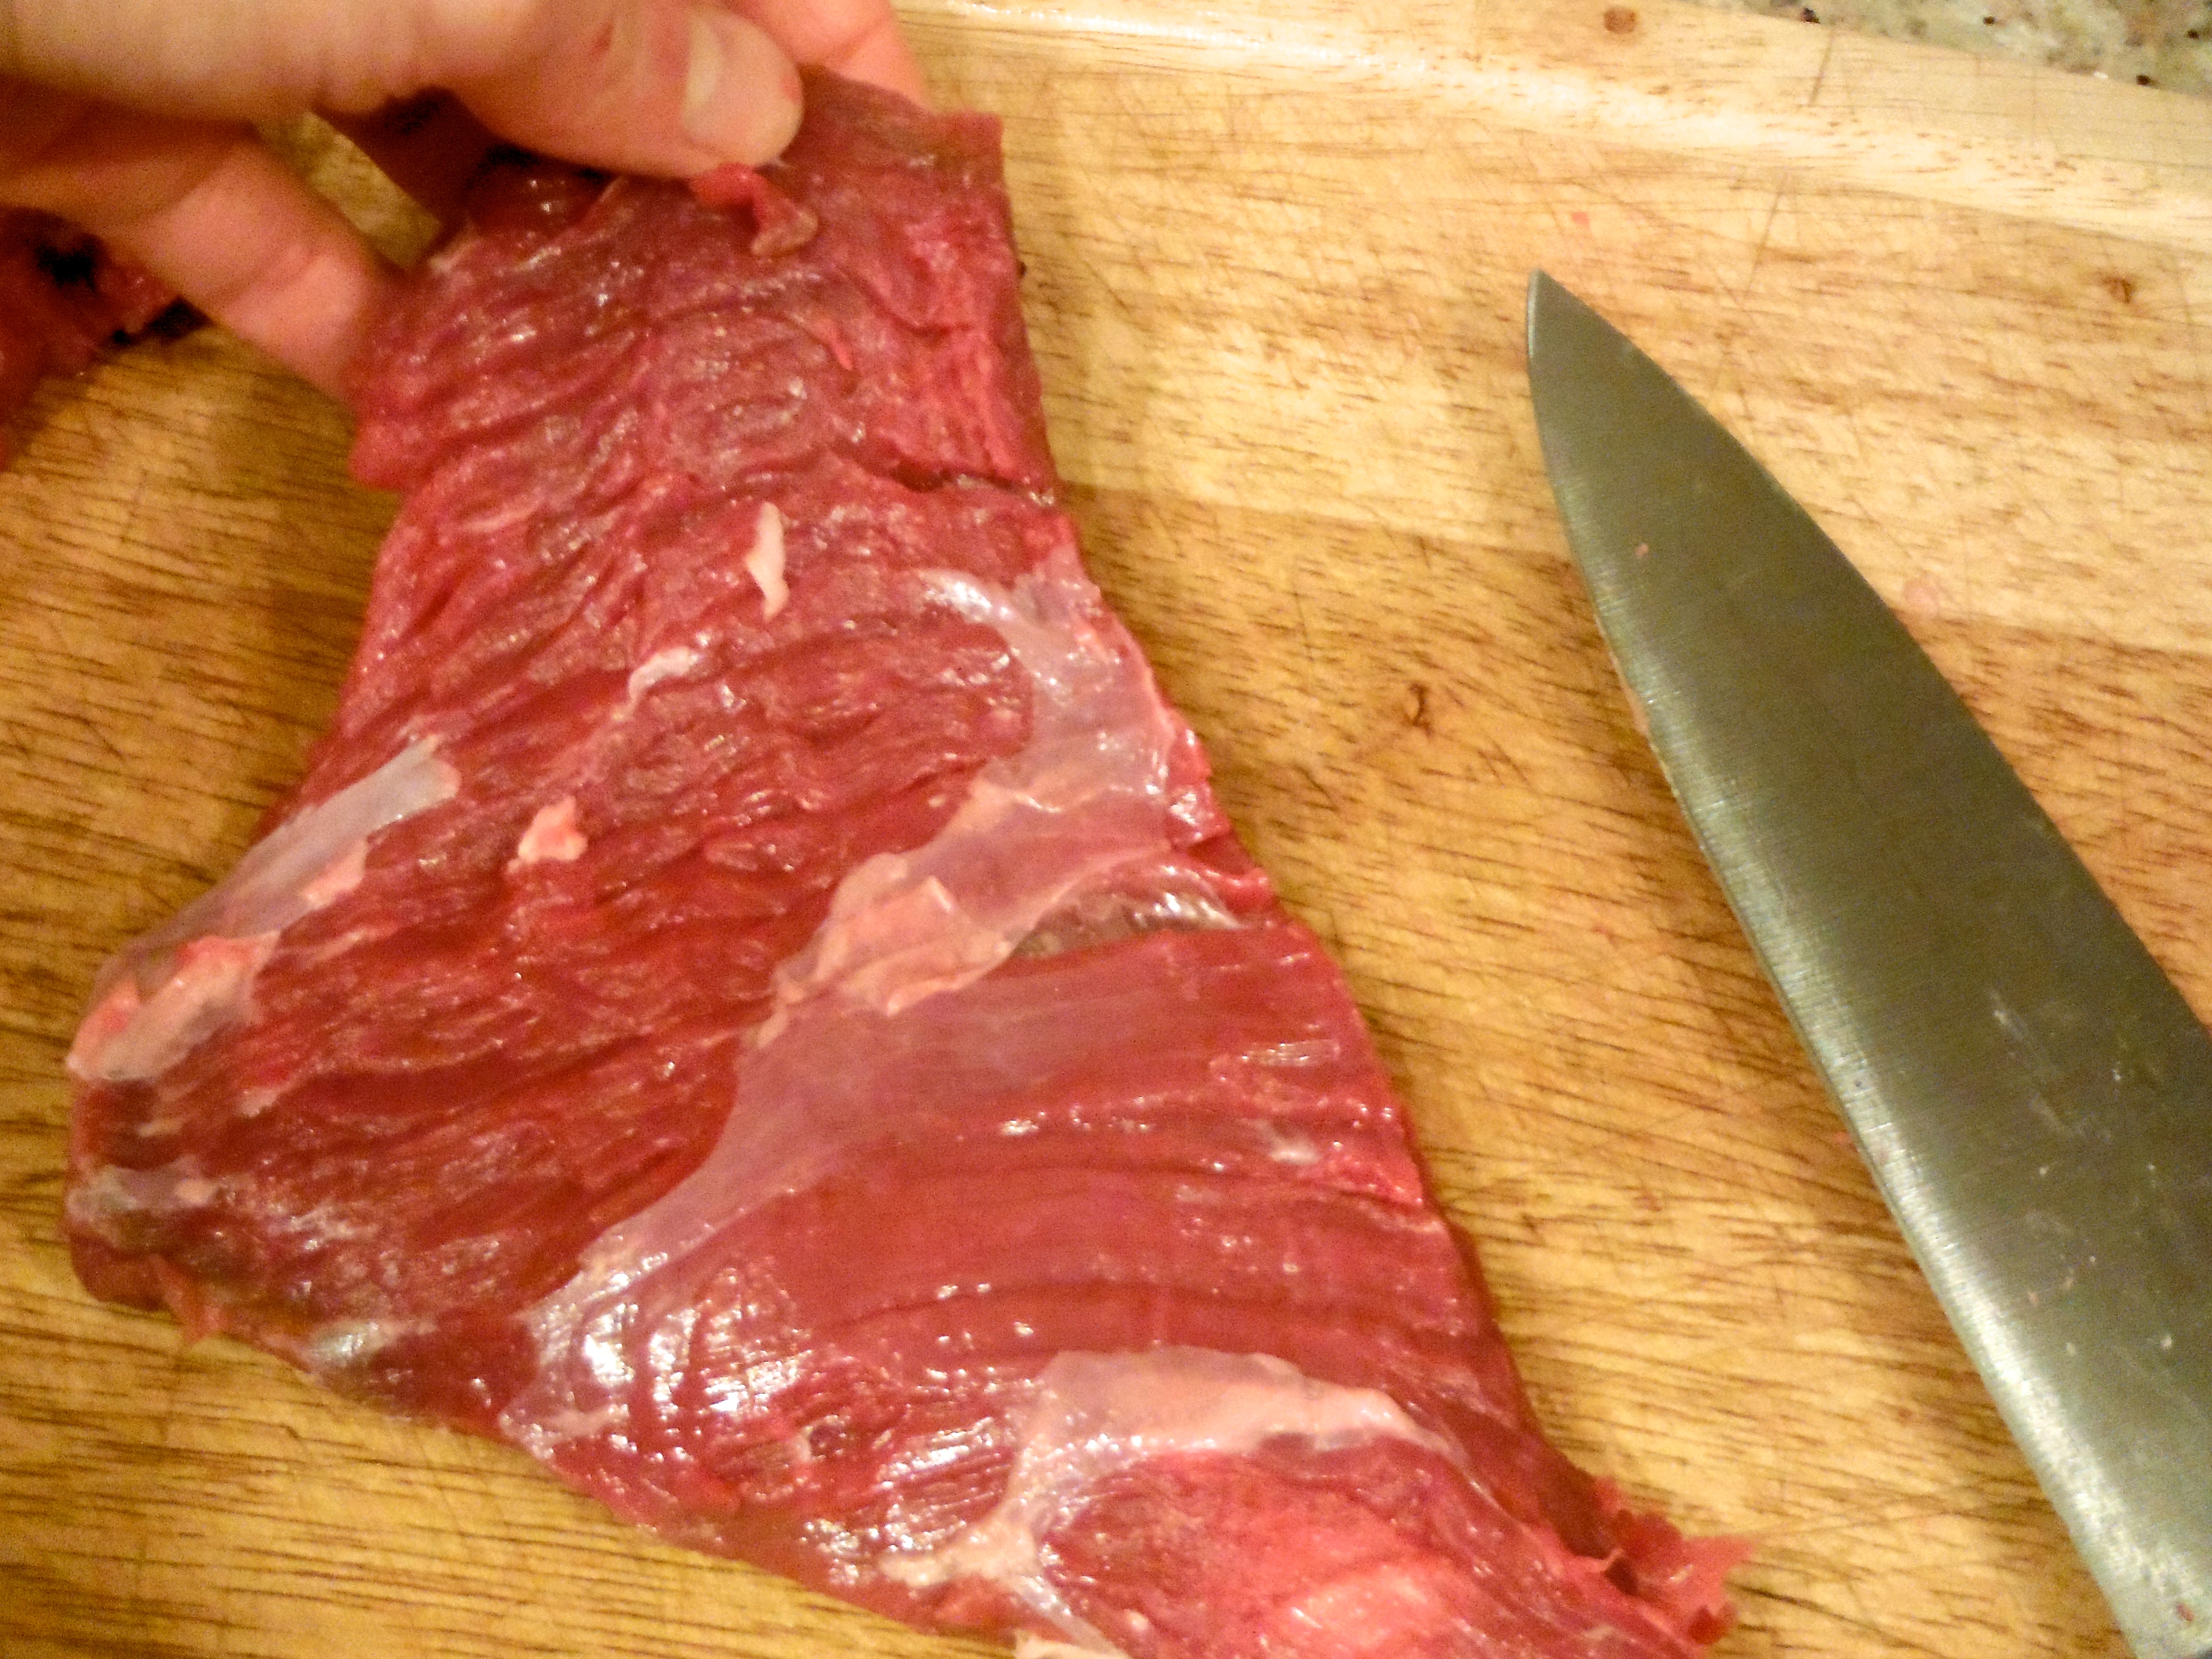
Then, cutting against the grain, slice the piece of meat into jerky sized pieces. Mine are about ¼ inch thick or less.
Divide the sliced meat into 2 bowls and pour the 2 seasoning mixes over them. Season liberally with sea salt, mix well and let marinate on the counter for 30 minutes.

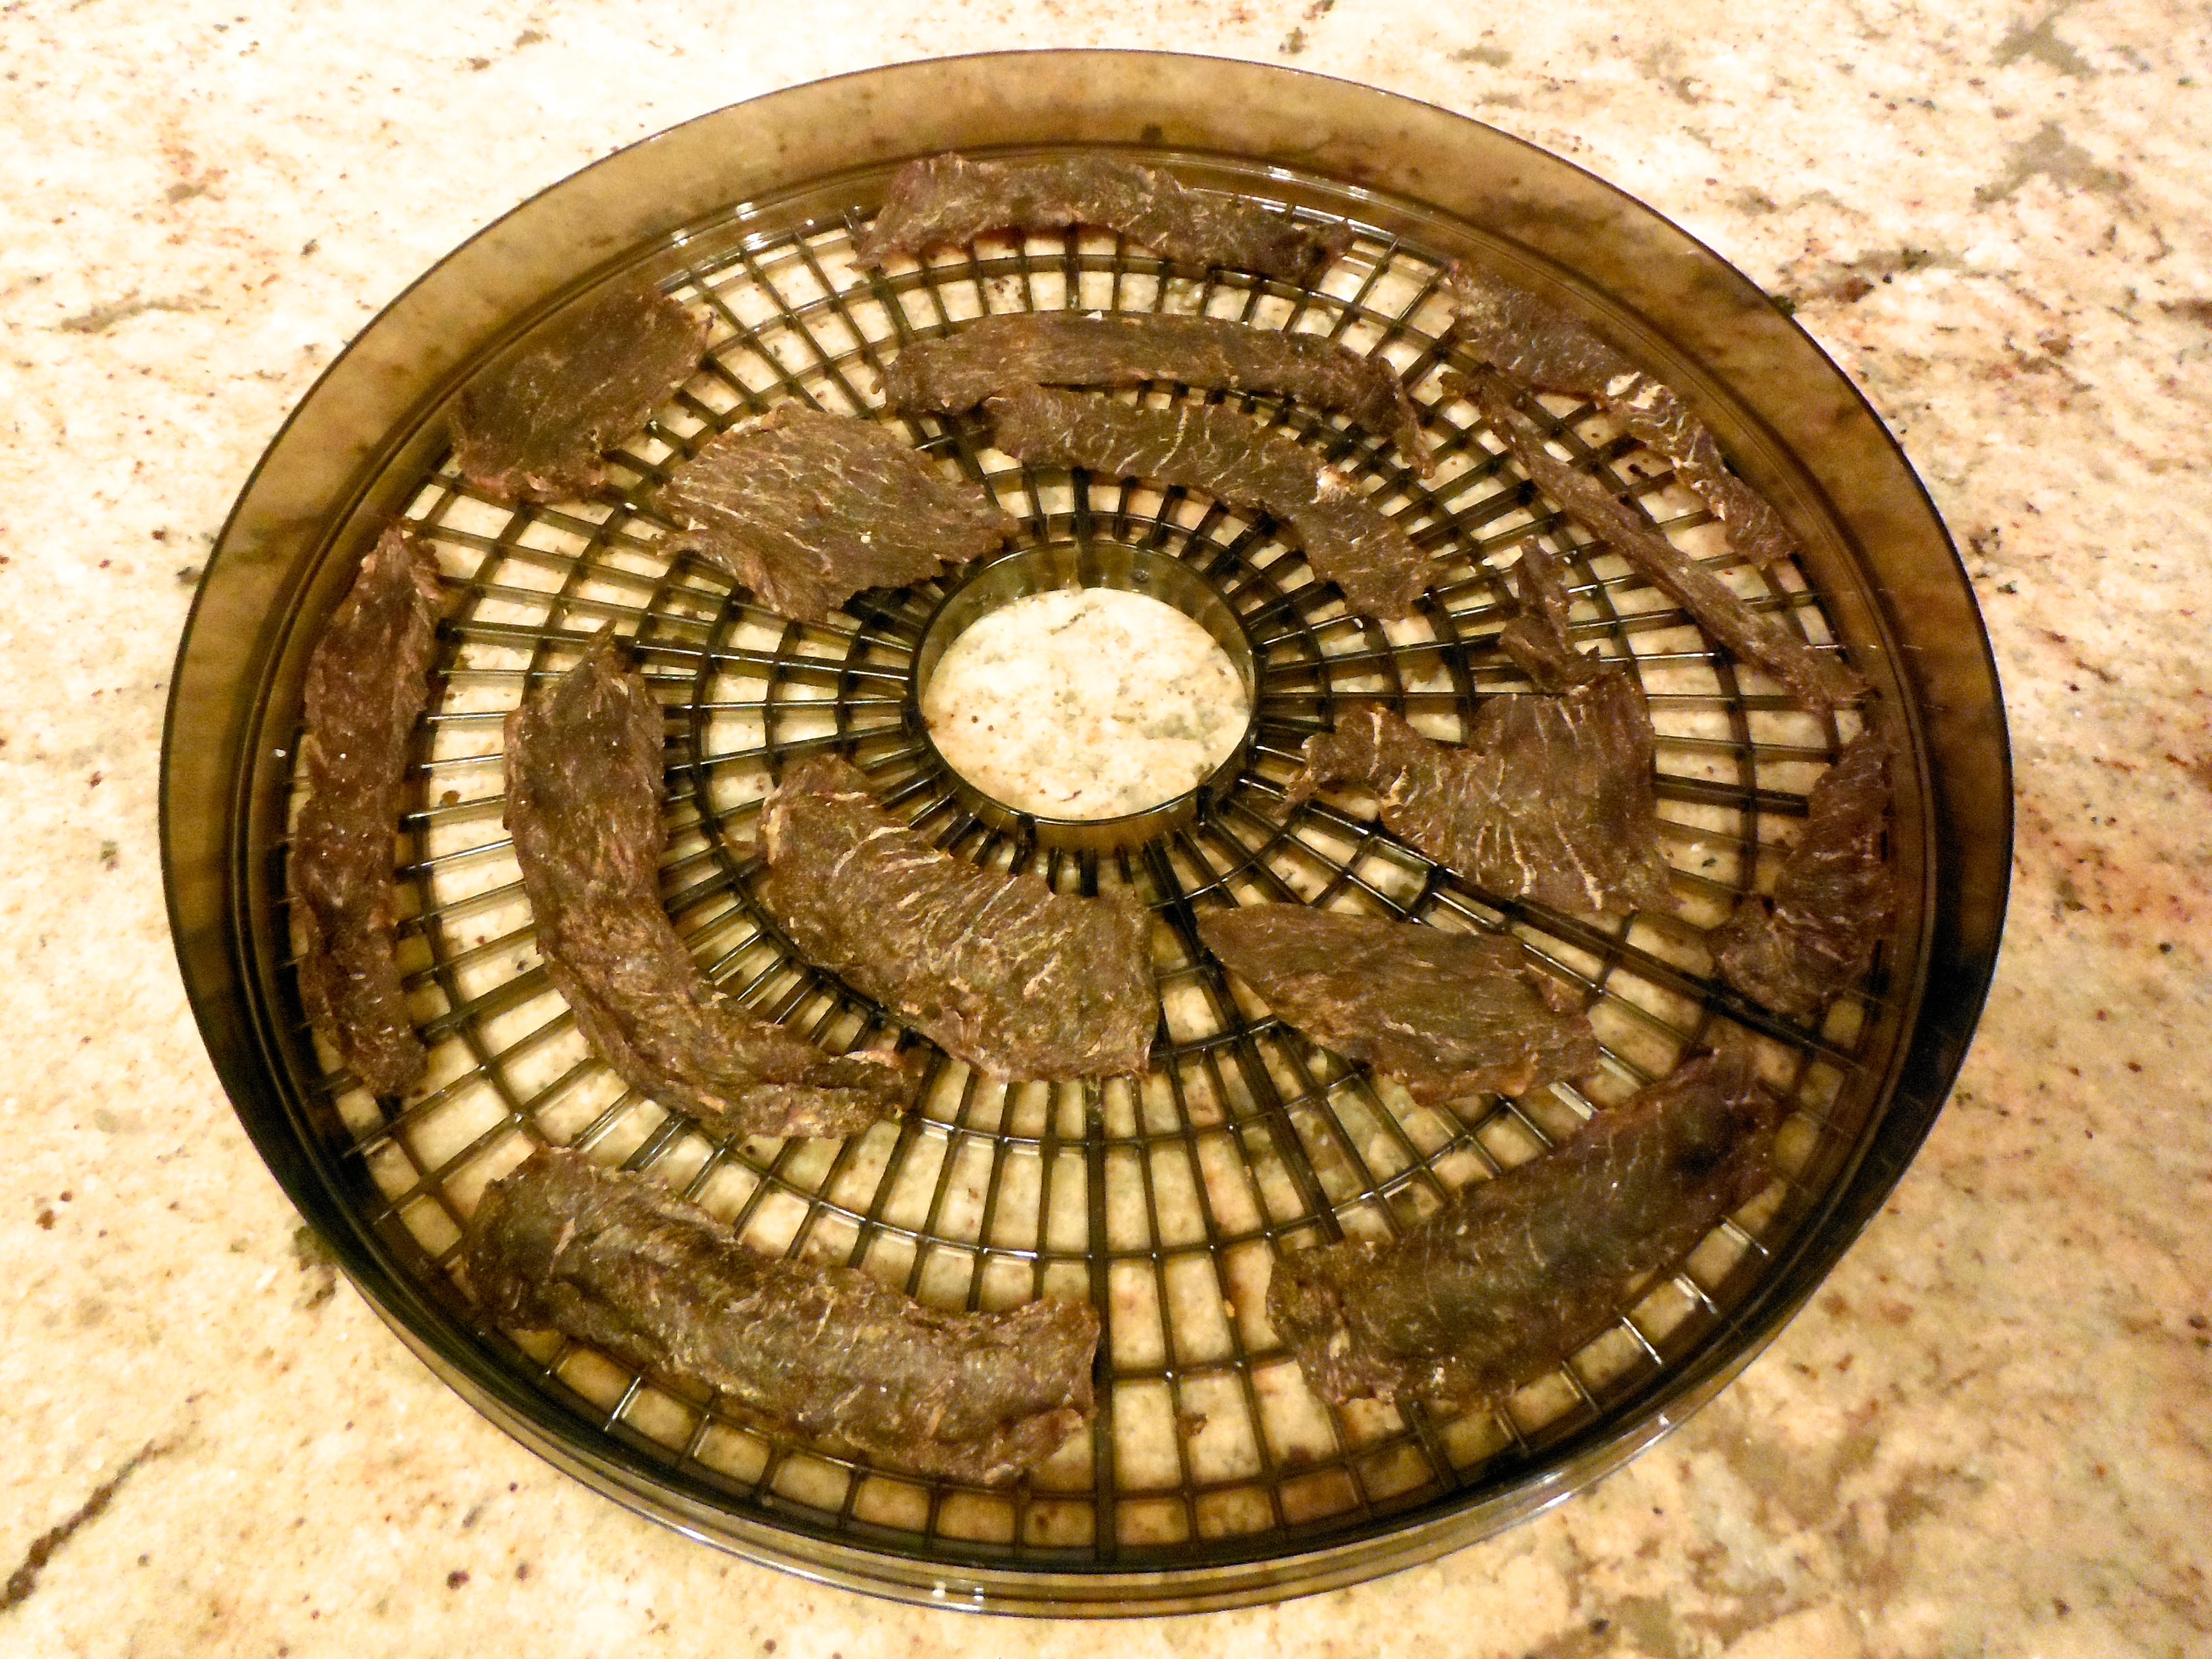
Lay your jerky pieces on to your dehydrator trays making sure they don’t touch. Season again with sea salt.
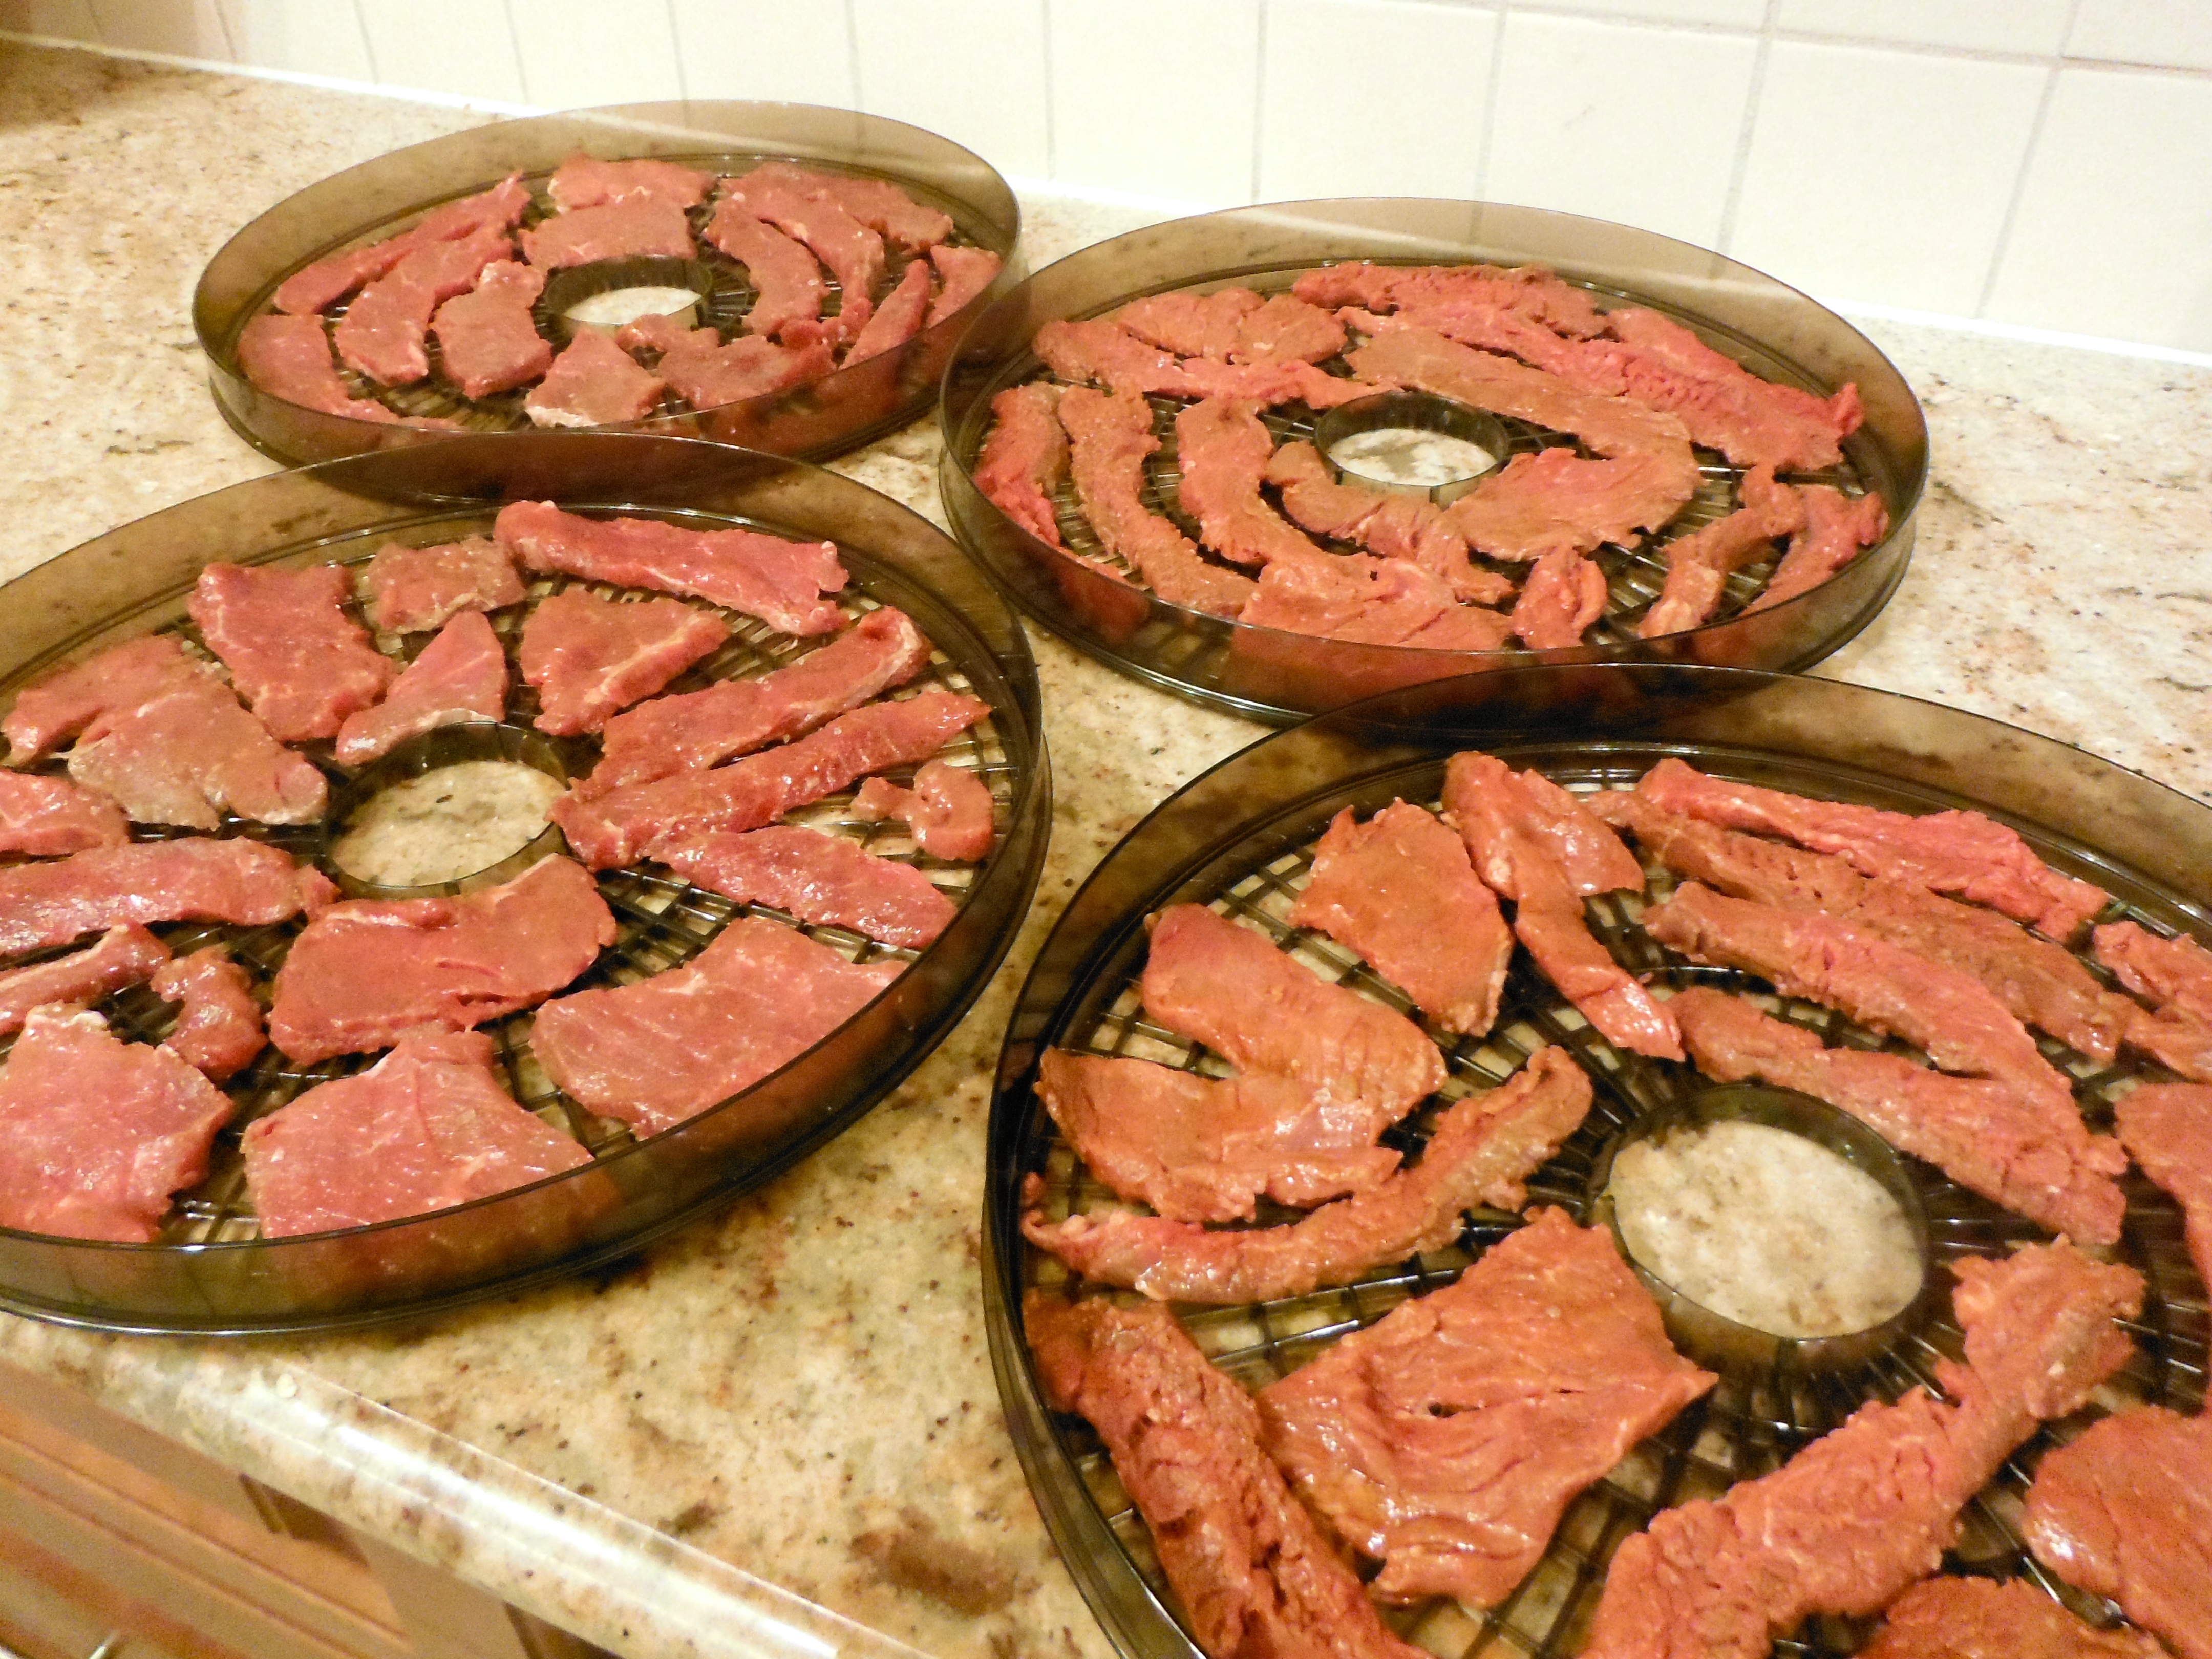
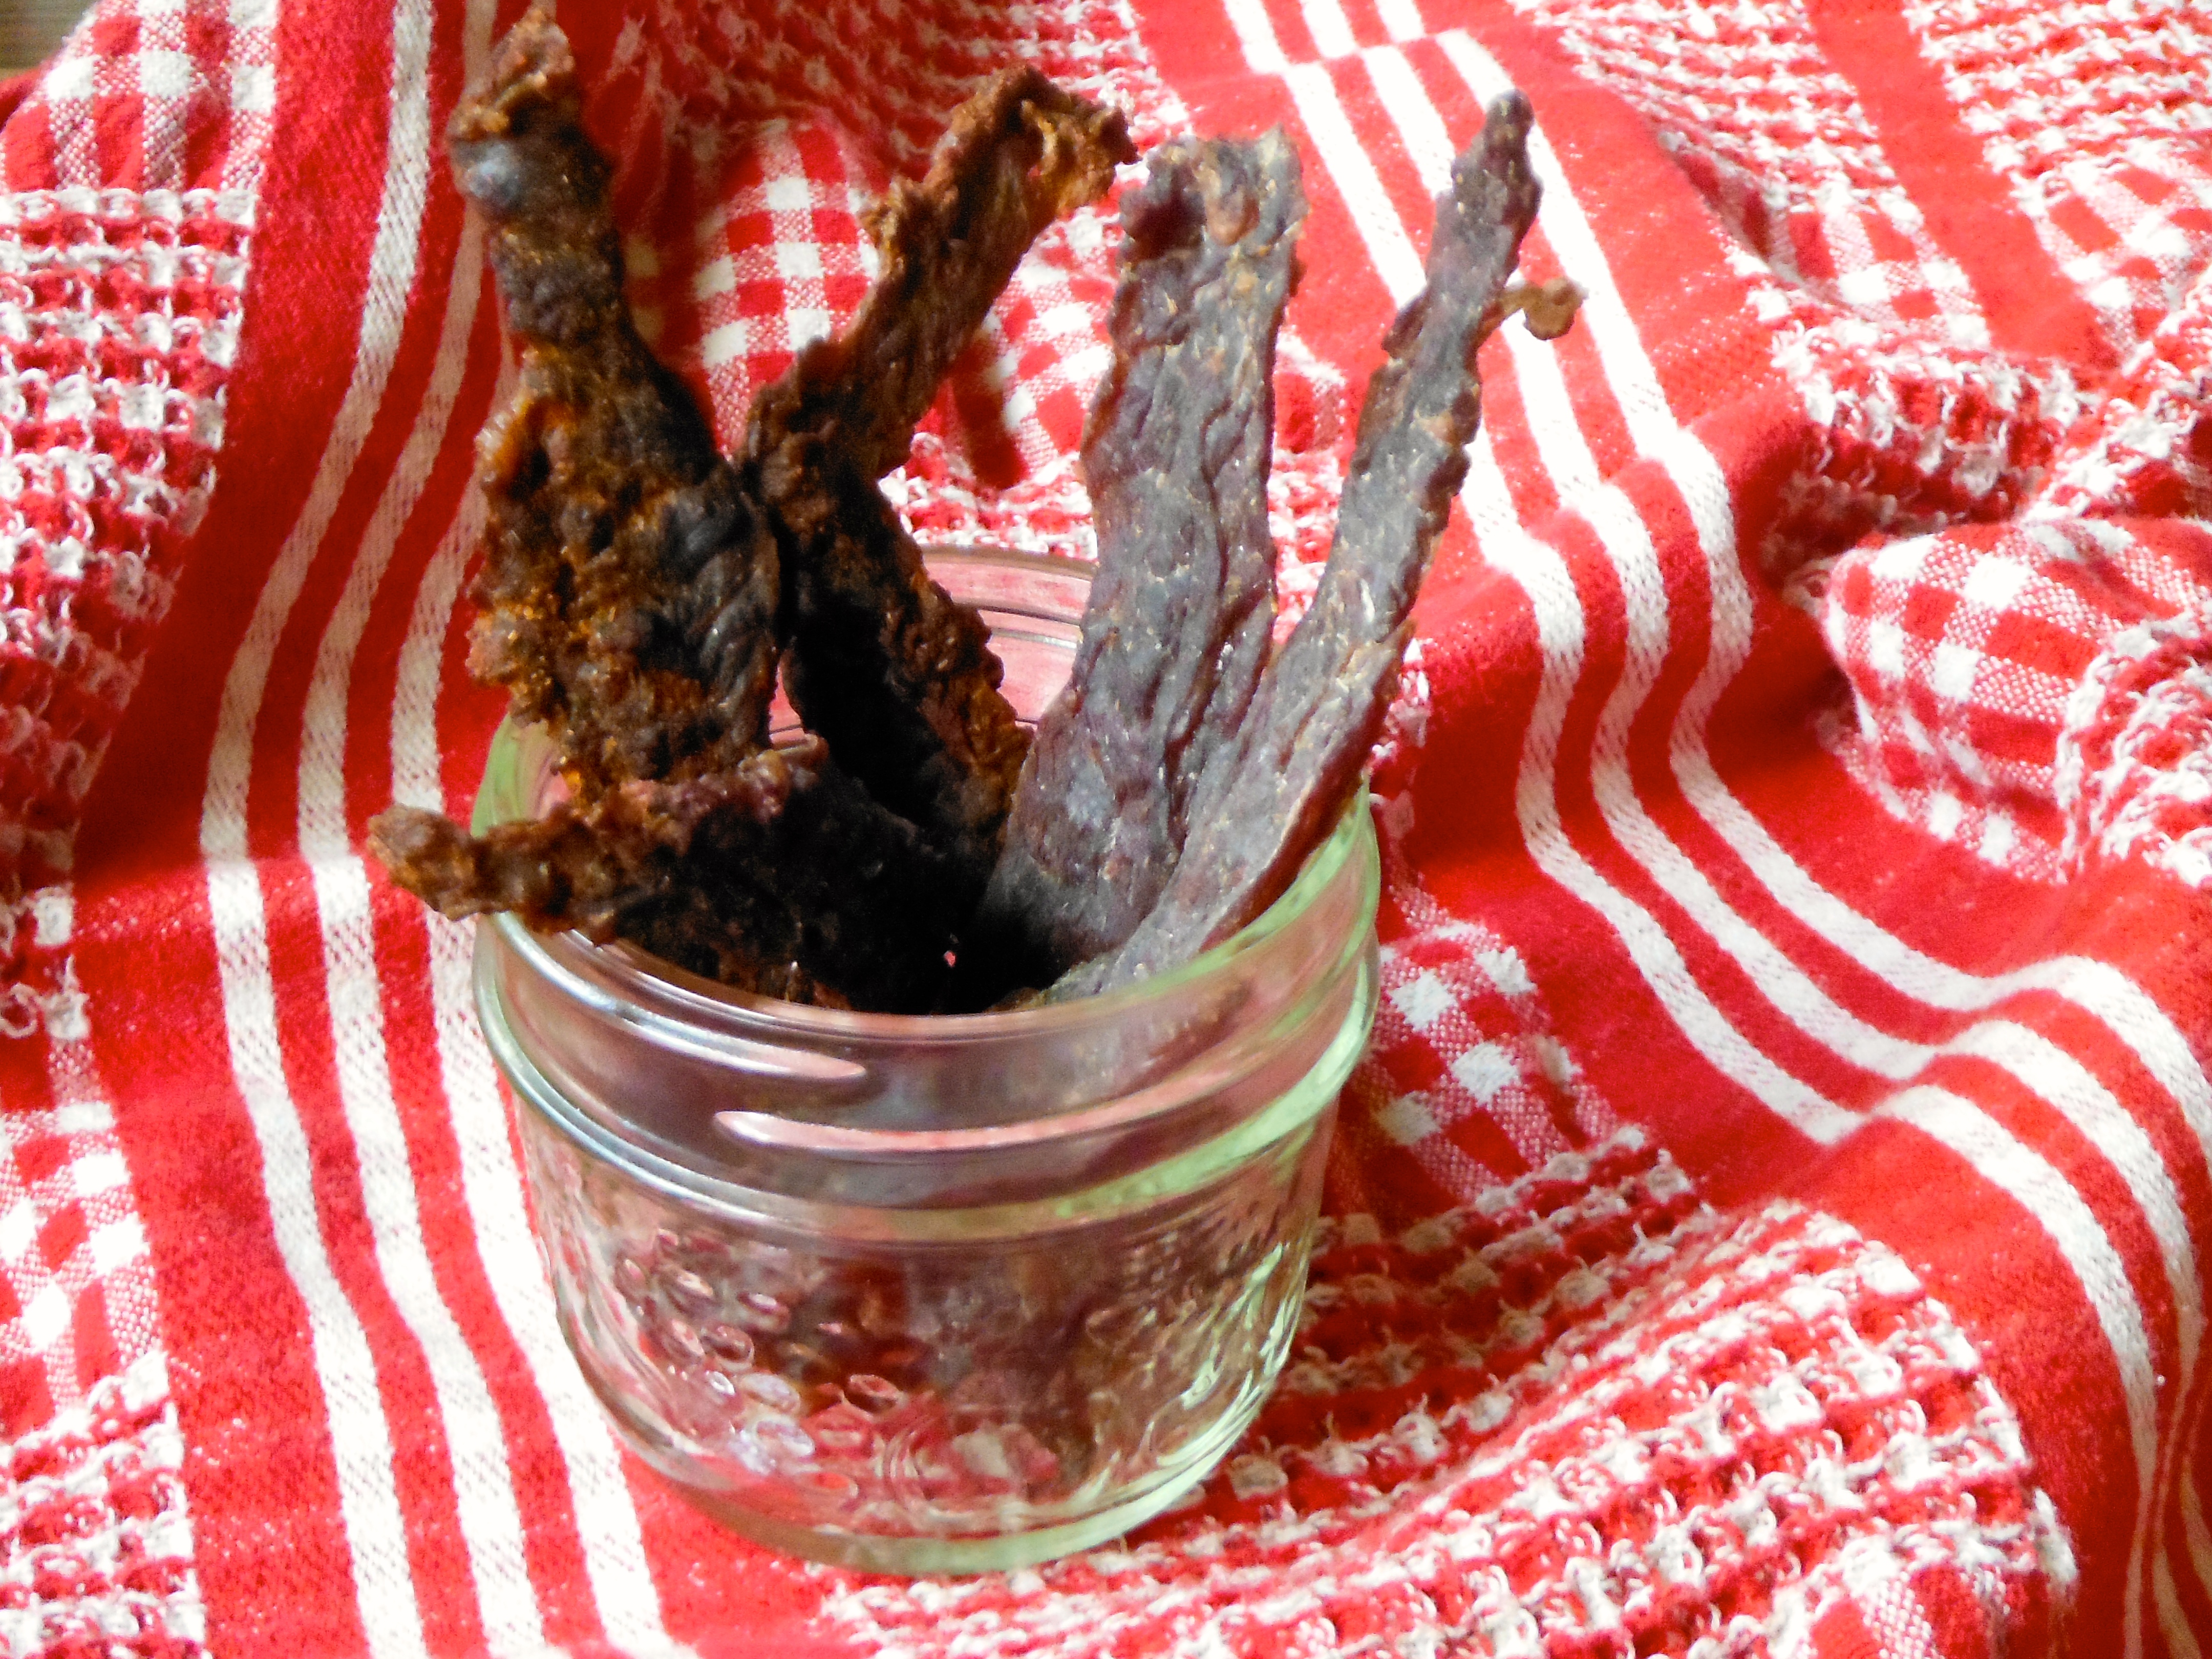
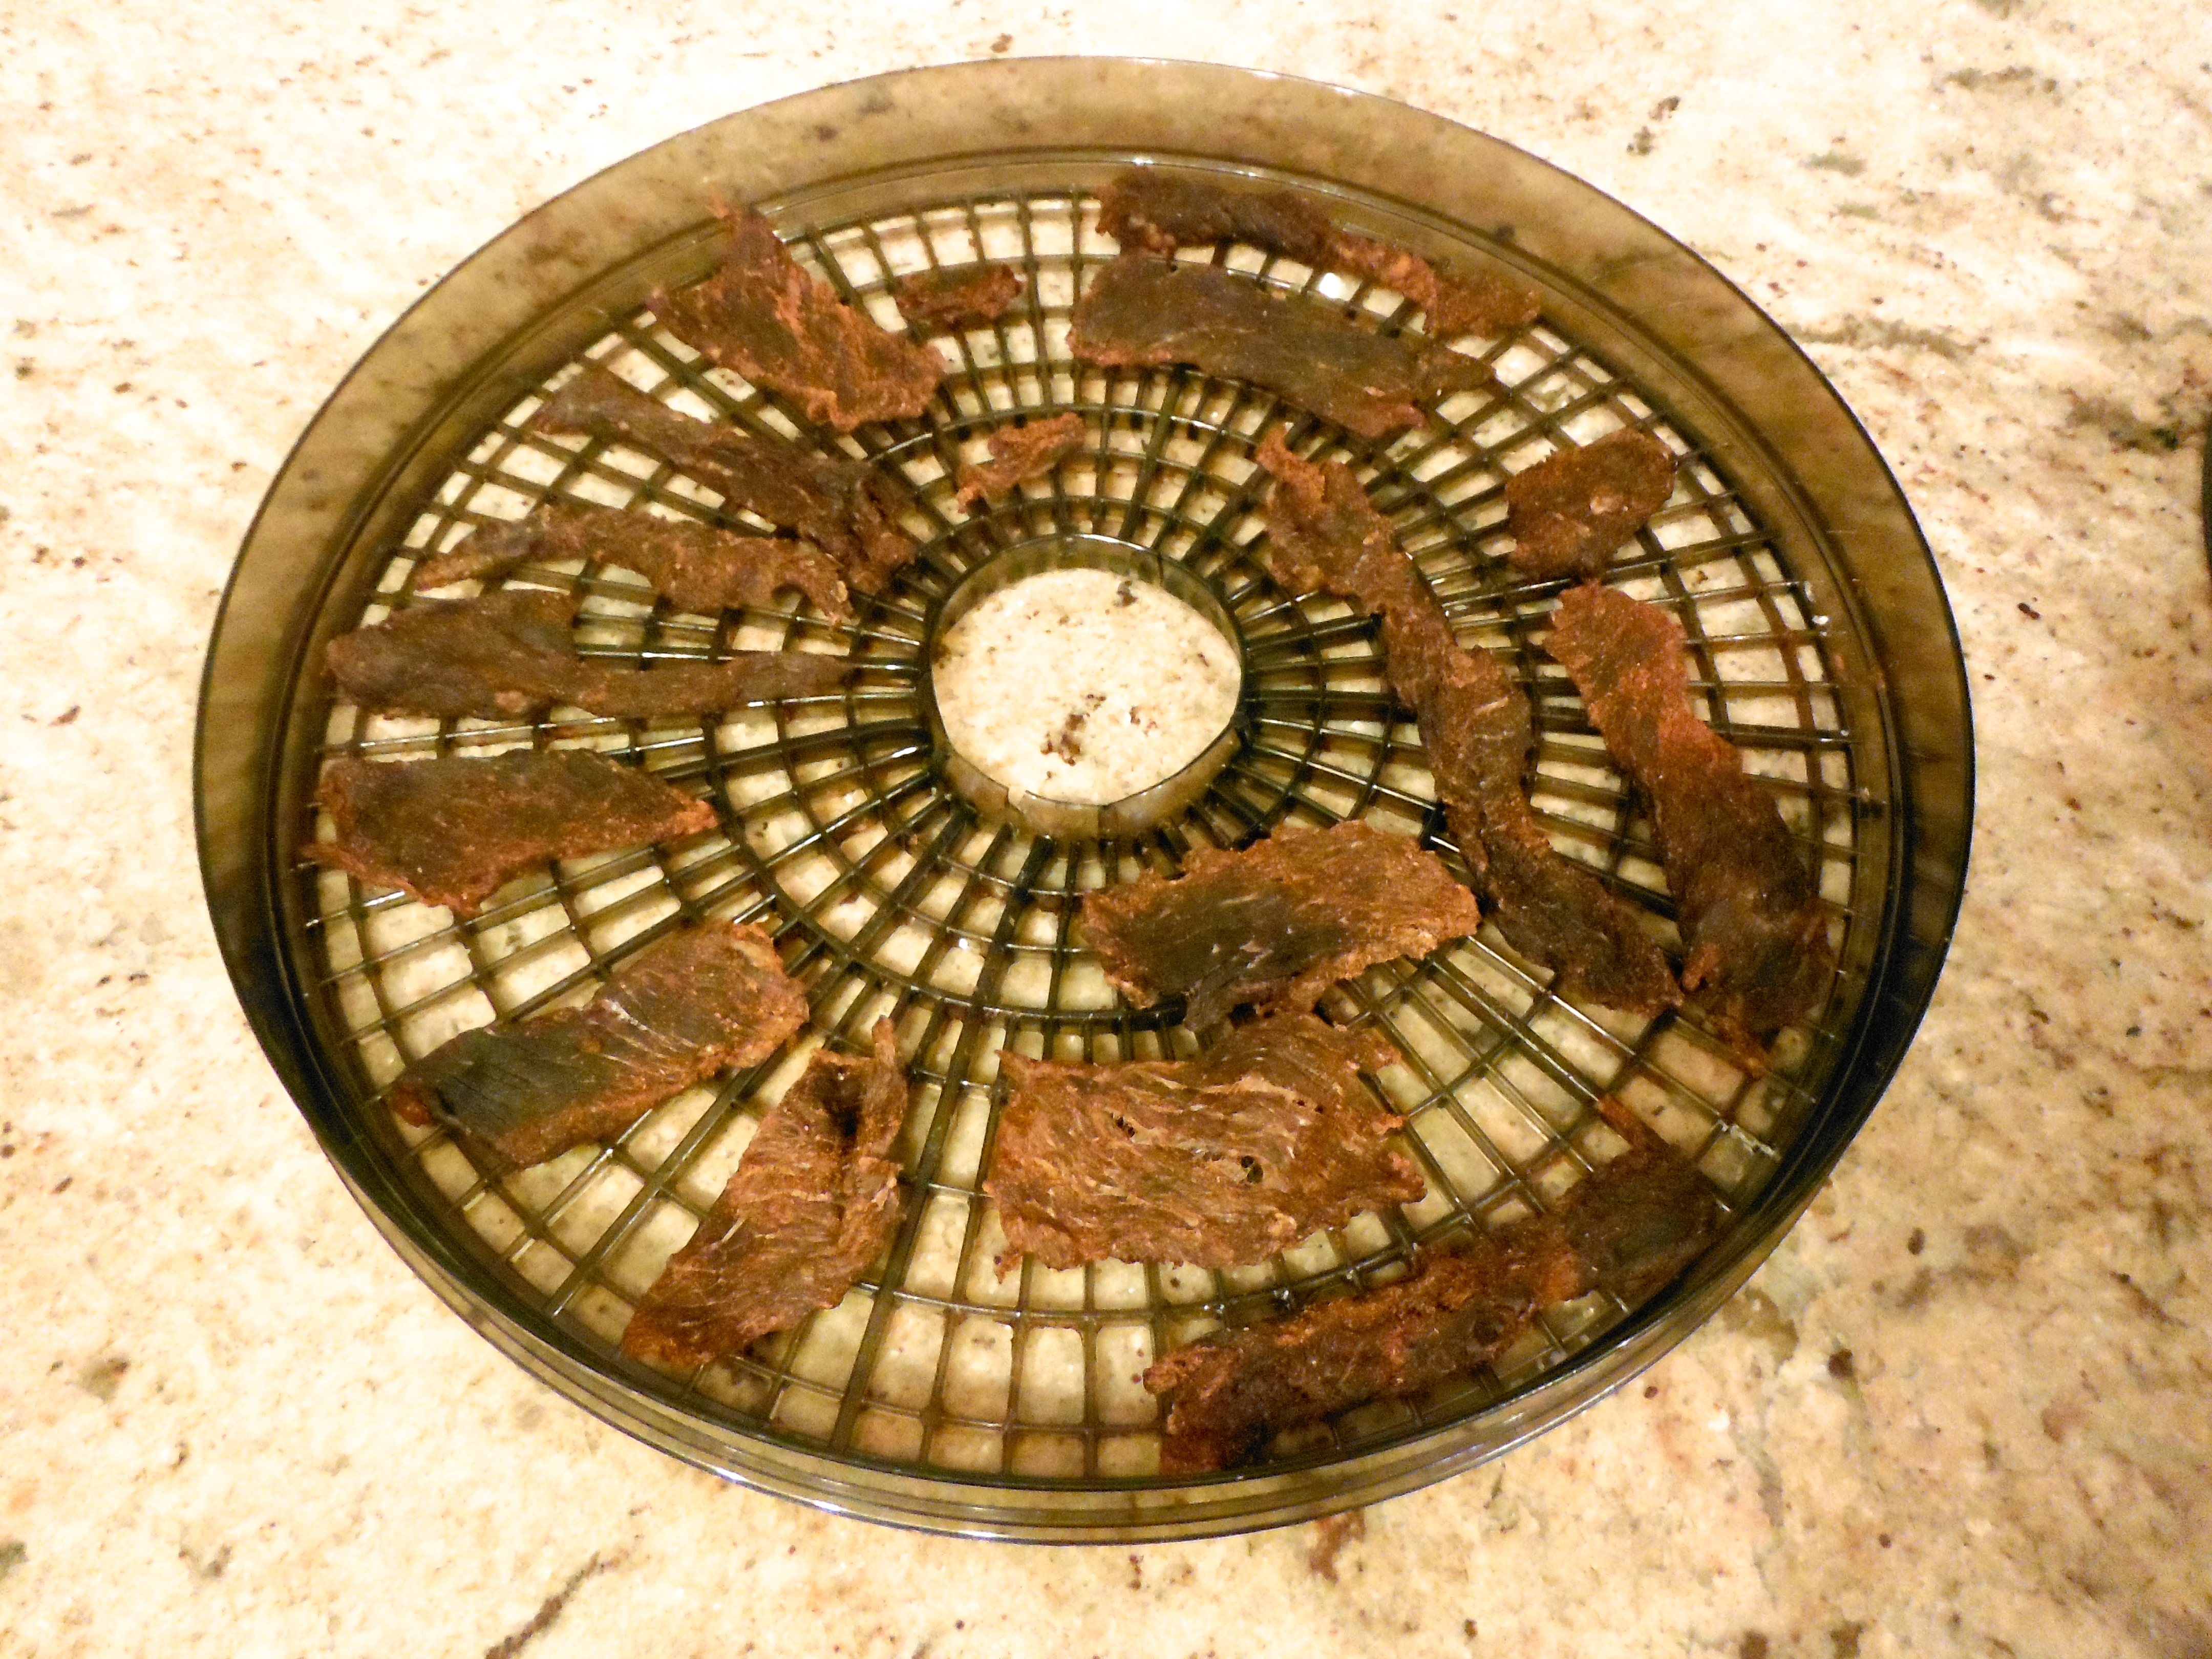
Dehydrate for 24 hours, or until ready. Most of mine were ready in about 24 hours, but I threw a few thick, weirdly shaped pieces back on for another 6 hours. (Note: if you do not have a dehydrator, you can follow the initial directions I followed, or simply bake in the oven at 200F on drying racks/baking sheets for a few hours.) The photos below is what it looks like when it’s done. The ginger mustard batch is on the left, and the spicy batch is on the right.
Store in a sealed container in the cupboard. Word on the street is this stuff lasts a while, like 6+ months. Mine has never lasted more than a few weeks!