Tag Archives: chemical free

Watermelon Jello

Watermelon Jello | AmandaNaturally.comWhen I was in grade school, we were always allowed to bring in a treat for the whole class on our birthdays. Since my birthday was in June, and it was usually hot out, my mom would always make jello jigglers for me to take! They were always a huge hit because they were delicious, refreshing and fun. Making your own jello jigglers is super simple and can be incredibly healthy, as long as it’s not with the artificially sweetened, food dyed, jello brand.

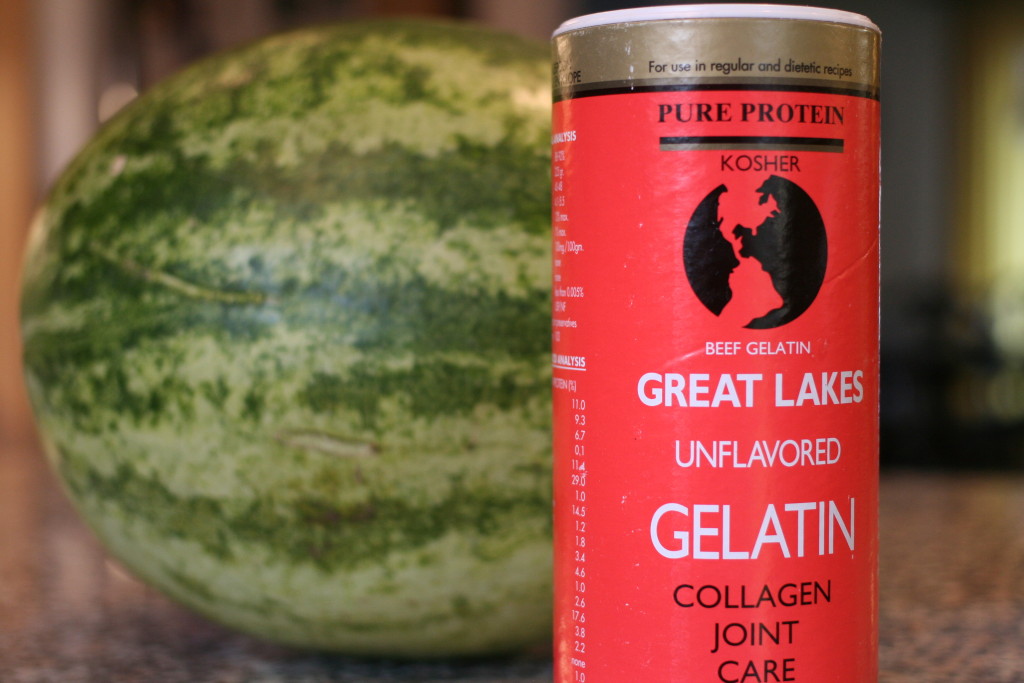
The flavour of homemade jello that I tend to make the most often is watermelon, simply because a large watermelon is a lot of fruit for 2 people to polish off before it goes bad. By turning it into jello, not only do you extend the life of the watermelon, but you have the opportunity to make an incredibly nourishing treat! Why is homemade jello so nourishing? Because gelatin, especially the grass-fed variety, is the breakdown product of connective tissue. And the best way to support our connective tissue, is to eat it! Why would we want to support connective tissue? Well it’s the scaffolding that our entire body is built upon. More specifically, it’s what keeps the gut strong (ie. not leaky!), our joints healhy and our skin firm and elastic. For more info on the benefits of consuming gelatin, check out this post. I love using homemade jello when working with parents on healing their kids guts, but adults can enjoy them just the same!
 

Watermelon Jello

1. Cut open watermelon and chop into pieces or scoop out using a spoon.
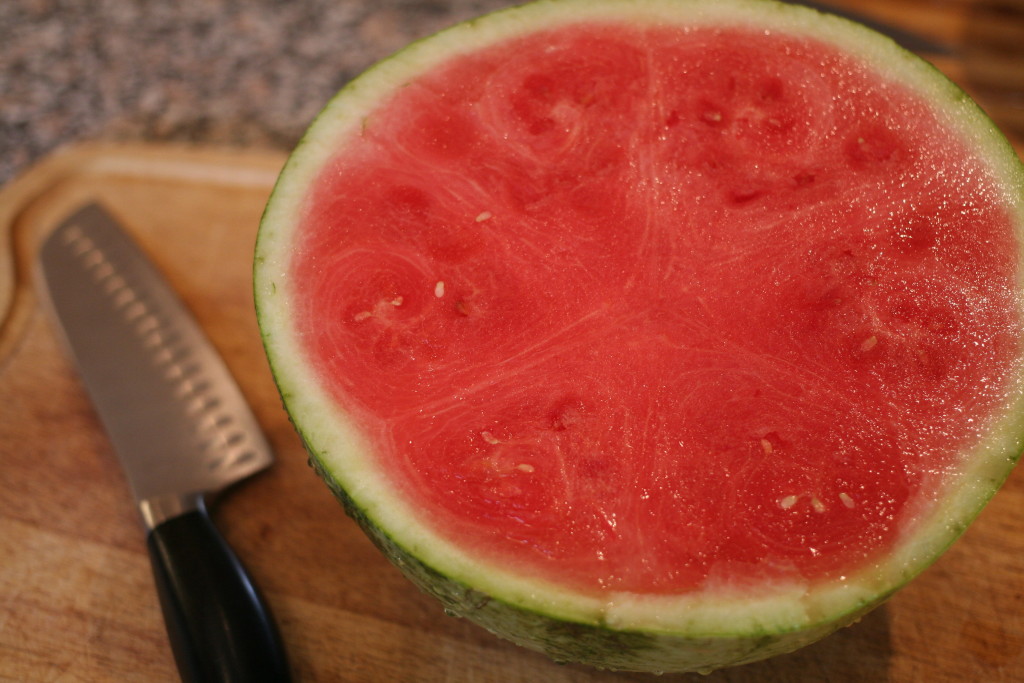
 

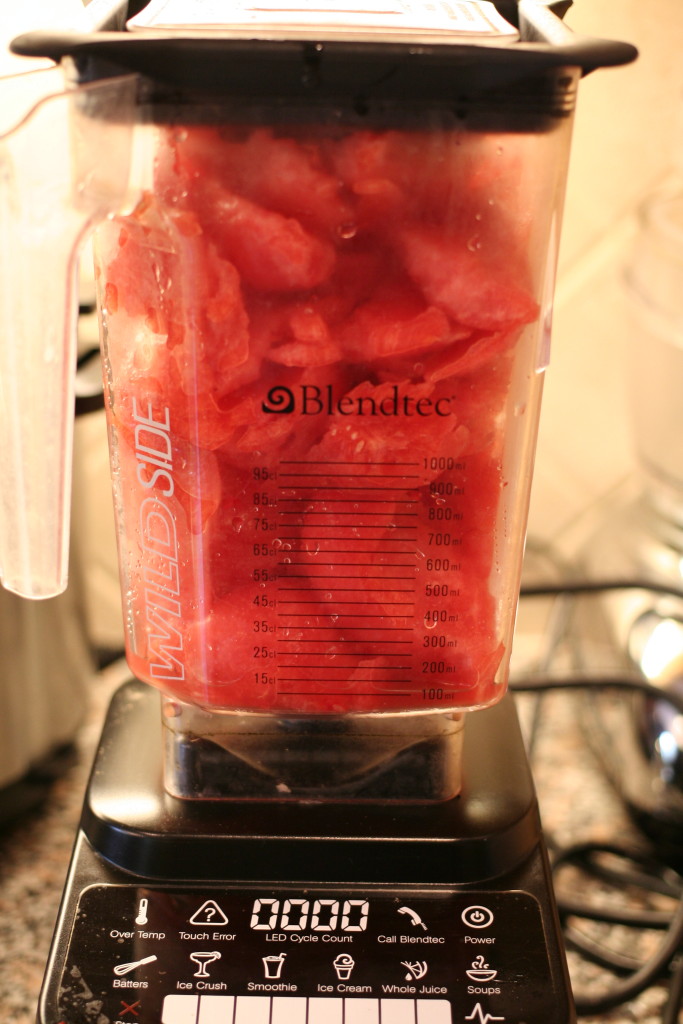
Watermelon Jello | AmandaNaturally.com2. Puree in your blender. You will likely have to do this multiple steps since 1 watermelon can give you a lot of material to work with! This watermelon gave 13 cups of pureed juice. (Optional: strain watermelon juice to get rid of the pulp. I’ve done this before but I find it unnecessary and time consuming. The only benefit is you get clear jello, instead of the cloudy layer on top – which I actually kind of like the look of!)

3. Stir in some raw honey and a pinch of sea salt, to your taste. For 13 cups I used 1 cup of honey. A good ballpark number is 1-2 tbsp honey per cup of watermelon. (You can absolutely omit the honey altogether and just use the fruit juice!)

4. Measure your total liquid amount (watermelon + honey). Mine was 14 cups.

5. Place half the liquid in a pot over low heat. Stir frequently and heat until very warm. DO NOT BOIL.

6. Meanwhile, place the other half of the liquid in a bowl and add the gelatin. The amount you need is 1 tbsp gelatin per 1 cup of liquid. So I used 14 tbsp gelatin (or ¾ cup + 2 tbsp). Let the gelatin bloom for about 5 minutes, while you warm the other half of the liquid.

7. Once the gelatin has bloomed (either entirely or mostly), and the liquid in the pot is very warm, dump the gelatin/liquid mixture into the pot. Whisk thoroughly to combine.

NOTE: Small batches work well with allowing the gelatin to bloom and simply whisking it in. I find with large amounts of gelatin like this, the gelatin clumps together. So when you dump it into the pot, use an immersion blender to break up all the gelatin.

8. Pour mixture into silicon muffin liners/tins, cake pans or chocolate moulds.
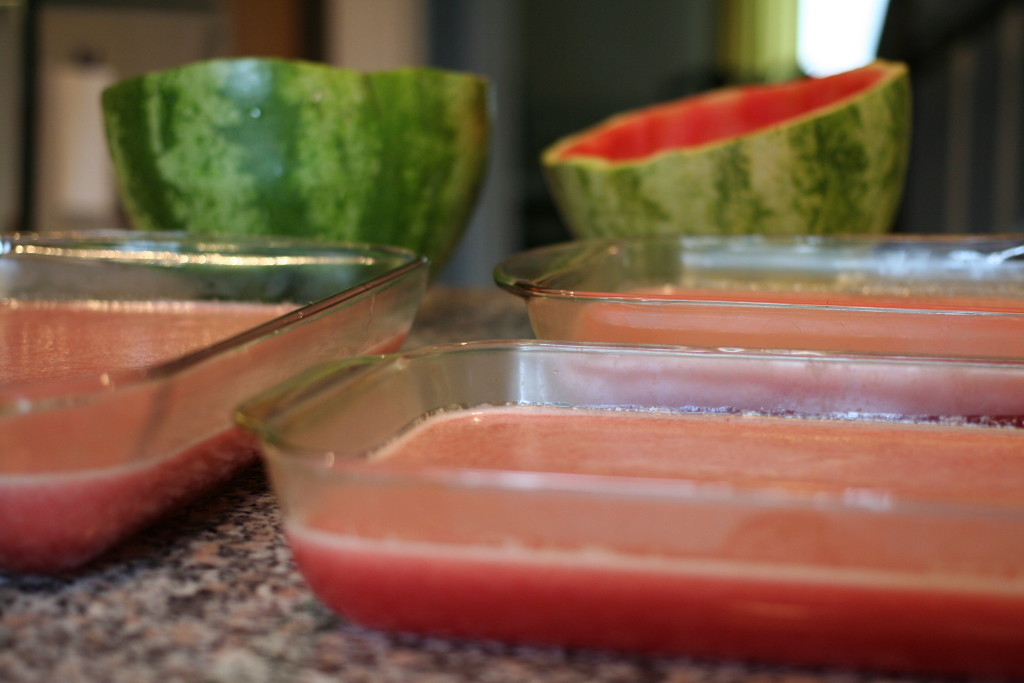
9. Refrigerate for 1-2 hours before popping out of moulds or cutting into jello jigglers. You can simply cut into squares, or have some fun by using cookie cutters! 
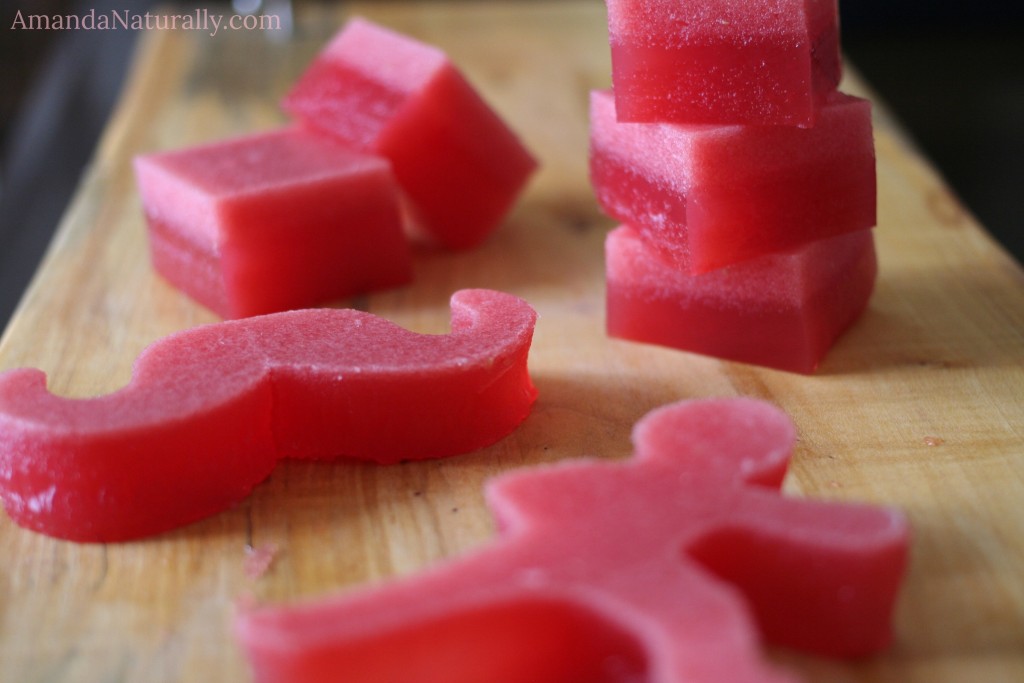
 

Did any one else’s mom make jello jigglers when they were a kid? Every time I make these I get super nostalgic!

Homemade Salad Dressings – a DIY Tutorial and a Recipe Round Up!

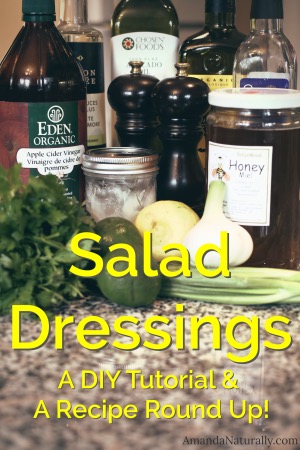
Salad Dressings | DIY Tutorial | Recipe Round Up | AmandaNaturally.comOne of the processed foods I really caution my clients against is pre-made salad dressings. The reason for this is multi-factorial:
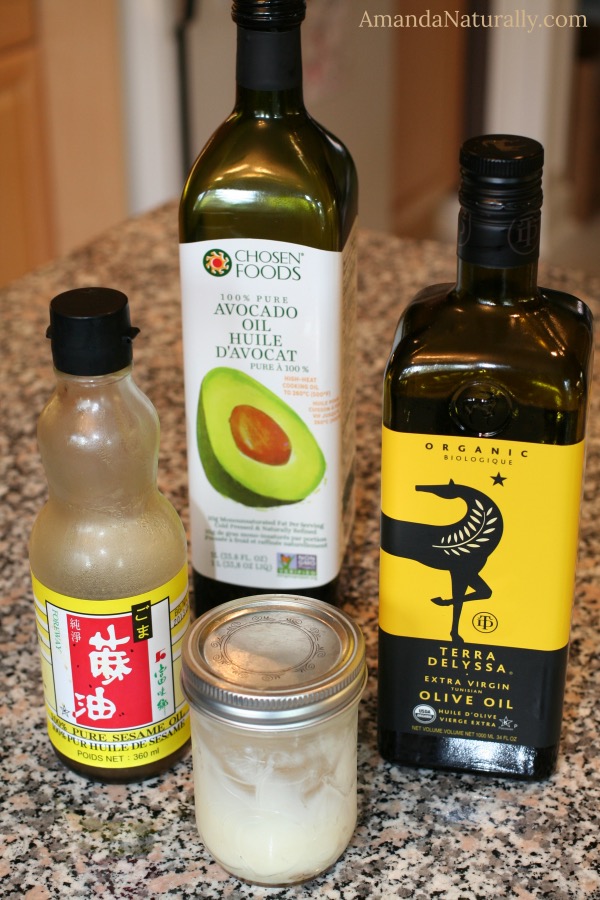
  • The oil is always a vegetable oil. Even if it says “made with olive oil”. Check the ingredients list, olive oil will be listed after an industrial seed oil such as canola or soybean. This is true even for the “healthy” or “organic” salad dressings. I don’t care of canola oil is organic, it is still not suitable for human consumption, since it is an unstable, damaged oil that causes high levels of inflammation and free radicals in the body.
  • It always contains at least one form of sugar, and often as many as 4 or 5. Sugar, brown rice syrup, brown rice syrup solids, corn syrup, honey, fruit concentrates, barley malt syrup or just malt syrup (note: also gluten), dextrose, maltodextrin… why so many types? Because ingredients are listed in order of highest amount to lowest. Better to list 5 low amounts of sugar, which show up at the end the list, than use just one type and have it be the first ingredient.
  • It is thickened and stabilized with fake foods. Things like xantham gum and maltodextrin (derived from GMO corn).
  • Weird ingredients are added for flavour and texture. Things like autolyzed yeast extract, corn syrup and caramel colour pop up regularly.
  • Natural flavour (which is just chemically synthesized from real food, often GMO foods) and artificial flavours are common ingredients.
  • They are notorious for containing major allergens – specifically dairy, corn, gluten, soy and egg.

I hate to break it to you, but store-bought salad dressings are simply sugary, chemical-filled, inflammatory flavour boosters. So you can see why I take all of my clients off it right? Interestingly, it’s something that I get a lot of resistance to. For some reason people are scared to make their own salad dressings, or they have no idea where to start. Little do they know that it’s super easy and way less expensive too!

Real salad dressing, made with real ingredients, are not only more delicious than these junky store-bought ones, but can have major health benefits as well! By using quality, nourishing oils and natural ingredients such as vinegars, herbs and spices, you can enjoy your salad for both the flavour and the nutrition it’s providing you. And you don’t have to do that silly old “diet trick” of dipping your fork into the salad dressing first before spearing some salad, so you get the taste without all the calories. With real salad dressing you’re going to want those calories because they contain all sorts of awesome nutrition and/or they help deliver the nutrition found in vegetables to your body.

So, how do you make your own salad dressing? It’s a lot easier than you think it is, I promise. Here’s how.


Homemade Salad Dressings

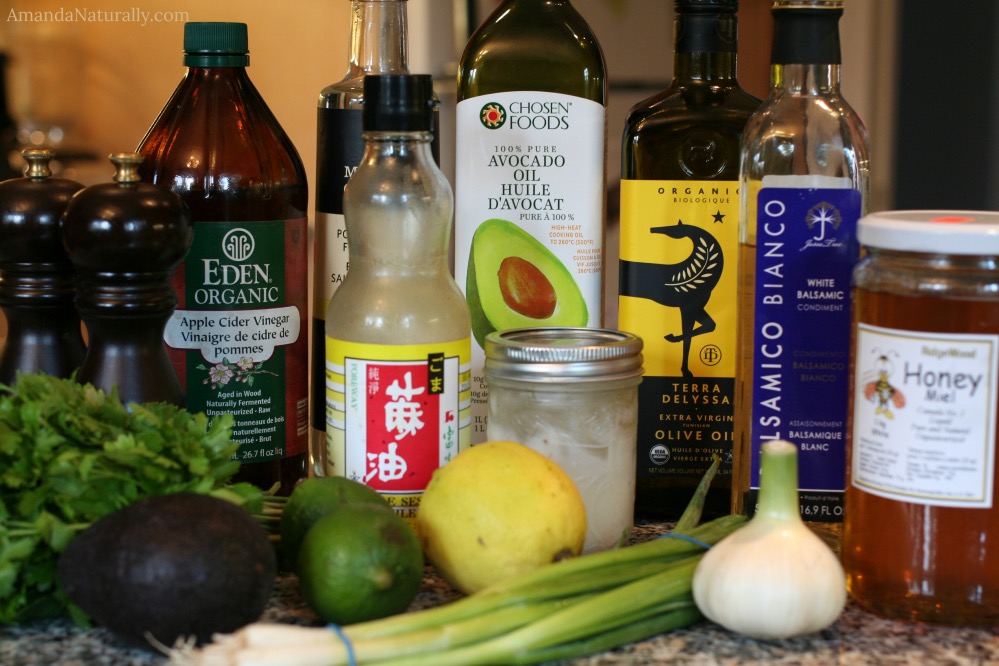
Choose 1 or 2 from each list:

Nourishing OilsSalad Dressings | DIY Tutorial | Recipe Round Up | AmandaNaturally.com

  • olive oil
  • avocado oil
  • MCT oil
  • bacon fat
  • sesame oil

Acid

  • vinegar (apple cider, balsamic, white wine, red wine, raspberry wine, champagne etc.)
  • citrus (lemon, lime, orange, grapefruit)
  • pineapple juice

Flavour

  • sea salt (always include this!)
  • herbs such as cilantro, parsley, dill, oregano, basil, thyme, mint, tarragon (herbs can be fresh or dry)
  • spices such as cumin, chili, garlic powder, onion powder, turmeric, black pepper, paprika, coriander, mustard powder, ginger (omit nightshades and seed-based spices if AIP)
  • aromatic vegetables such as minced garlic, diced onion/shallot/chives
  • other flavours like anchovies (caesar), nutritional yeast (vegan/paleo cheesy flavour), tamari sauce or soy-free coconut seasoning (aka coconut aminos in the USA), citrus zest

Optional Add-Ins

  • mustard or egg yolk, for flavour and as an emulsifier
  • homemade mayonnaise or ripe avocado for a creamy consistency
  • mashed raspberries or strawberries (fresh, or thawed from frozen) or a bit of organic jam
  • raw honey, real maple syrup or pomegranate molasses to add a bit of sweetness


Directions for Making Salad Dressing

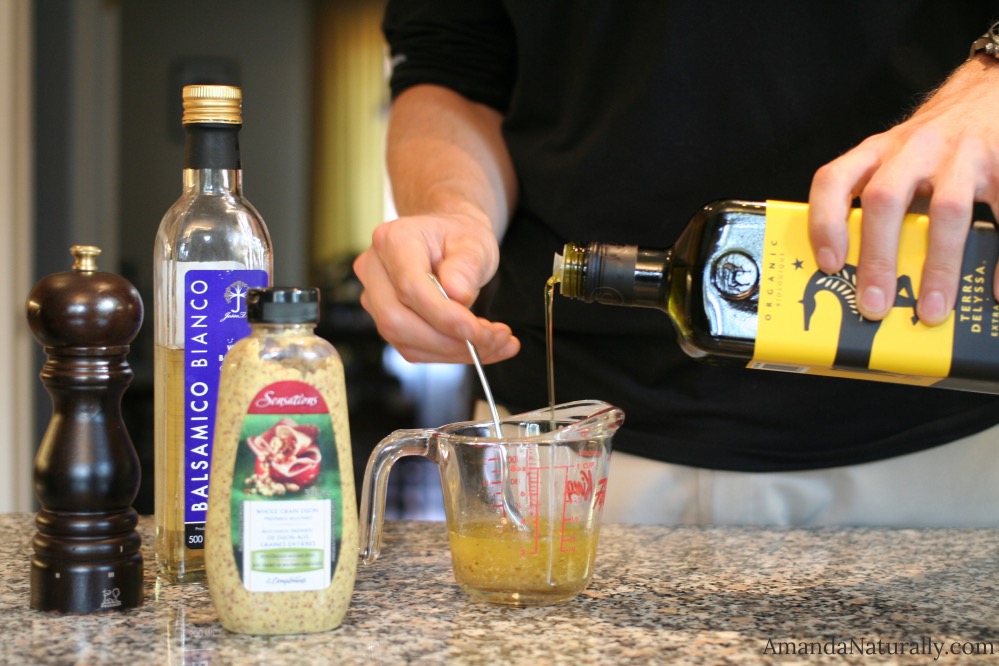
  1. In a measuring cup, glass or small bowl, whisk together all of your ingredients except the oil. This might just be your acid and spices, or it might include mayo, egg yolk, mustard, honey etc.
  2. Whisk until thoroughly combined.
  3. Slowly drizzle in oil of choice, until the desired flavour and consistency is achieved.
  4. Tweak ingredients as needed – add more salt, vinegar, spices etc. until your dressing tastes 

Additional Tips

  • When it comes to the ratio of acid to vinegar, it really is a personal choice. I recommend starting at a 1:1 ratio, and tweaking it based on your palate.
  • If you want it creamy, but don’t want to use avocado/mayo, use a small food processor or immersion blender instead. Combine all ingredients and blend well. Drizzle in oil while blending to achieve a creamier consistency.
  • Keep it simple! Start with one oil, one vinegar/citrus, sea salt and one or two herbs. Make the dressing and taste it. Do you like it? Why or why not? Too simple, add more spices. Too vinegary but you can already taste the oil? Maybe add some mustard, honey or fruit. Play around!
  • Keep the volume of each ingredient small when you first start out so you can toss creations that go awry. You will be more likely to be creative and adventurous, if you aren’t stressed about wasting 2 cups of oil!


My Favourite Salad Dressings

Balsamic Vinaigrette

  • ¼ cup balsamic vinegar
  • 1 tsp dijon mustard
  • sea salt
  • black pepper
  • ¼ cup olive oil, whisked in at the end

Raspberry Vinaigrette

  • 2 tbsp mashed raspberries
  • ¼ cup white wine vinegar
  • pinch of sea salt
  • 1 tsp raw honey
  • ¼ cup olive oil, whisked in at the end

Chili Lime Vinaigrette

  • 3 tbsp lime juice
  • ½ tsp chili powder
  • ½ tsp cumin
  • pinch of sea salt
  • ¼ cup avocado oil, whisked in at the end


Salad Dressing Round Up

Sweet Kale Salad (copycat of the beloved Costco salad!) from Paleo Parents

Ranch from The Clothes Make the Girl

Ranch, nightshade free from Planks, Love and Guacamole

Ranch, AIP friendly from He Won’t Know It’s Paleo

Caesar from Primal Palate

Bacon Caesar from The Healthy Foodie

Honey Mustard The Ancestral Chef

French Tarragon Shallot from Cali Zona

Classic Greek from Detoxinista

Creamy Avocado from Tasty Yummies

Maple Mustard from Jay Bird Blog

Creamy Poppyseed from Living Loving Paleo

Italian from Paleo Cupboard

Sesame Ginger from Primal Palate

Orange Vinaigrette from Primal Palate

Chimichurri from Primal Palate

Pineapple Balsamic from Barefeet In The Kitchen


So am I missing a DIY version of your favourite dressing on this list? Let me know in the comments below and I’ll be sure to find a great homemade alternative for you!!

Lemon Vinegar Cleaning Solution

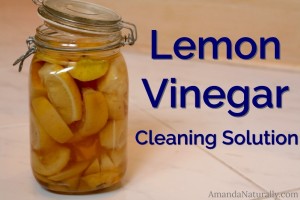
Lemon Vinegar Cleaning Solution | AmandaNaturally.comI can’t remember where I first saw this idea, probably somewhere on pinterest, but I can’t take credit for coming up with it! Others have done it before me, but I love this little project so much that I had to share it with you!
Do you squeeze lemon into your water? What do you do with the lemon after the fact? I keep a lemon in my water all day, and then it goes in the compost. Which is preferable to going into the garbage, but wouldn’t it be even better if you could use it once more before composting it? Well look no further as I have the perfect project for you!

Lemon is a powerful de-greaser and anti-bacterial, so it’s a great ingredient for cleaning products. Combine lemon with vinegar, the most useful of all cleaning ingredients, and you create a potent cleaner that not only degreases and shines, but also kills unwanted microbes without any nasty chemicals! Here’s how:

Lemon Vinegar Cleaning Solution

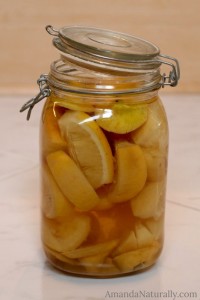
Lemon Vinegar Cleaning Solution | AmandaNaturally.comGrab a large jar or bowl and fill it up about half way with plain old white vinegar. Store it somewhere that is an easy reach from your prep area in the kitchen. Every time you use a lemon – either for cooking or in your water – when you’re done, simply throw it into the vinegar. Once you fill up the jar to the top (the lemons should be completely submerged in water), let it sit for 2 weeks. Remove the lemons from the vinegar (now you can compost them!) and voila – you have yourself an amazing cleaning product that is effective and also smells lovely!

You can use it on its own for the kitchen and bathroom, or combine with additional ingredients such as those found in my Bathroom Cleaner!

There you have it! A simple way to reuse leftover lemon peels to keep your house clean and smelling great!


Do you have any tricks for squeezing in one more use out of something before recycling/composting? Share below!


Copyright 2014 Amanda Naturally | Design by The Nectar Collective