Category Archives: Beatty Protocols

Compliant with most dietary protocols recommended at Beatty Naturopathic

Orange Jello

Orange Jello | DIY, dye-free, sugar-free | real food, paleo, AIP | AmandaNaturally.comIt was 35 degrees here on the weekend (for my friends south of the border, that’s 95F) and while that’s just gorgeous for most people, being 6 months pregnant made it a little tough to handle! So I spent the weekend enjoying lots of cold food like salads, hard boiled eggs, smoothies and JELLO!! 

Why jello? Two main reasons.

  1. I’m obsessed with cold fruit, and jello is a fun way to add variety. But more importantly…
  2. Gelatin. I’ve gone on and on about the health benefits of gelatin – you can find them in my blog posts on bone broth, healing leaky gut, watermelon jello and chocolate smoothies. Pretty much it’s amazing for gut and joint health, but also anywhere that there’s connective tissue – including skin, nails and hair (bonus!). I’m especially obsessed with it right now, cause I’m building brand new connective tissue for my kiddo, so making sure I get in lots of building blocks during my pregnancy. Extra awesome about this recipe is the vitamin C content from the oranges – connective tissue also requires vitamin C to be created, so this is a double whammy!

Orange Jello

Tips

  1. Use real fruit, not juice. If you don’t want to juice oranges like I did, choose a different fruit and throw in your blender. I have a recipe for watermelon jello that does exactly that! Juice is barely better than pop, even the organic stuff found at health food stores. Keep it real folks.
  2.  As always, I prefer grassfed animal products. My go-to brand of gelatin is Vital Proteins Beef Gelatin (we actually important it from the US), and it is often available on Amazon.ca, but right now it is on serious back order. Great Lakes Brand is a solid alternative. Your standard grocery store gelatin would work just fine as well.
  3. Don’t use grocery store jello. The food dyes and corn syrup (or worse, artificial sweeteners) are pure toxins. It takes a few seconds to blend/juice some fruit and then it’s actually good for you!
Orange Jello
A healthy alternative to the store-bought junk! Dye-free, sugar-free, gut-healing and filled with vitamin C!
Write a review
Print
Prep Time
10 min
Cook Time
2 hr
Prep Time
10 min
Cook Time
2 hr
Ingredients
  1. 4 cups orange juice (I used 3lbs of oranges, which I juiced the old fashioned way. It resulted in 2.5 cups of juice, which I topped up with water to achieve 4 cups total liquid.)
  2. 4 tbsp gelatin (Vital Proteins is my favourite product, followed by Great Lakes Brand)
  3. maple syrup, to taste (optional, I didn't use any)
Instructions
  1. Juice your oranges and add water to achieve 4 cups. Taste and add maple syrup if necessary.
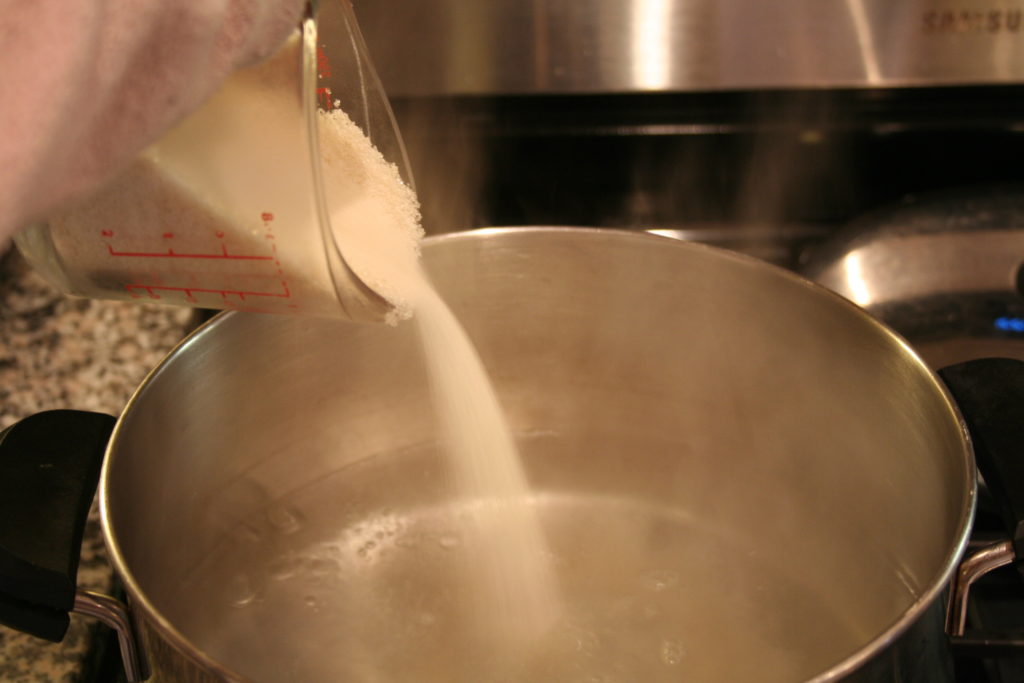
  2. Pour half (2 cups) into a small saucepan and heat over medium. Do not boil!
  3. Meanwhile, add 4 tbsp of gelatin to the remaining 2 cups of liquid in a bowl or measuring cup. Let bloom for about 5 minutes.
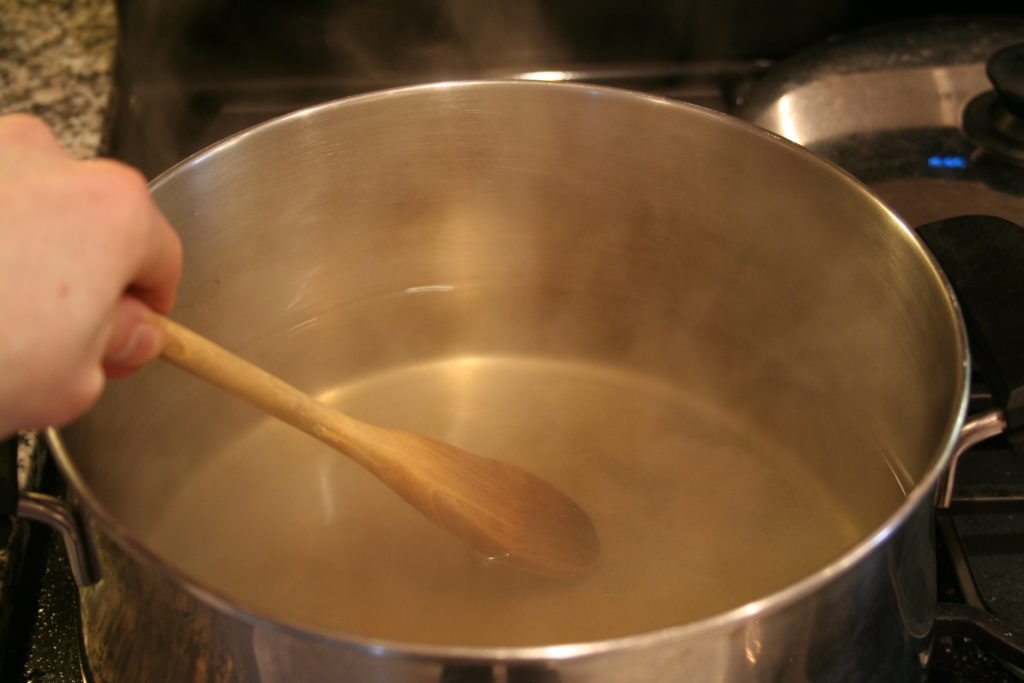
  4. Once the liquid in the saucepan is very warm (but not boiling), stir in the gelatin/liquid combo and remove from heat.
  5. Whisk to combine well. If necessary, use an immersion blender to blend completely.
  6. Pour into an 8x8 glass pan, silicon chocolate moulds or silicon ice cube trays.
  7. Refrigerate for 2+ hours.
Notes
  1. If you only end up with 3.5 cups of liquid, use 3.5 tbsp gelatin - just keep the ratio the same!
  2. Add other flavours like lemon, lime, or grapefruit
  3. If you like stuff in your jello, add some orange wedges or berries after pouring into moulds/pan
Amanda Naturally http://www.amandanaturally.com/

Salmon en Papillote

Salmon en Papillote | 15 minute healthy meal | AmandaNaturally.com
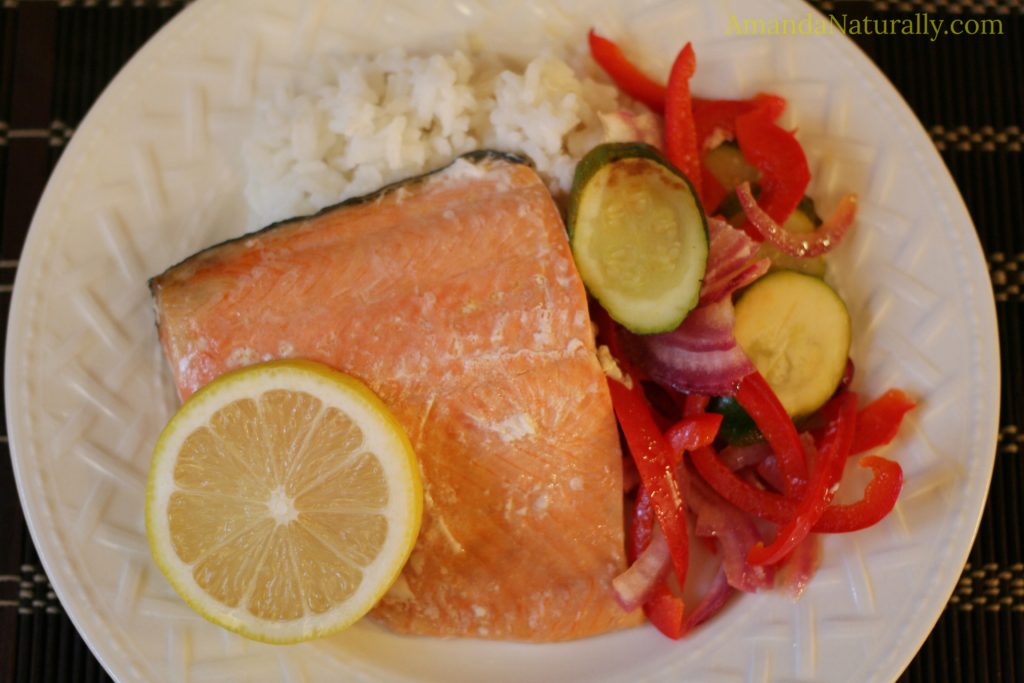
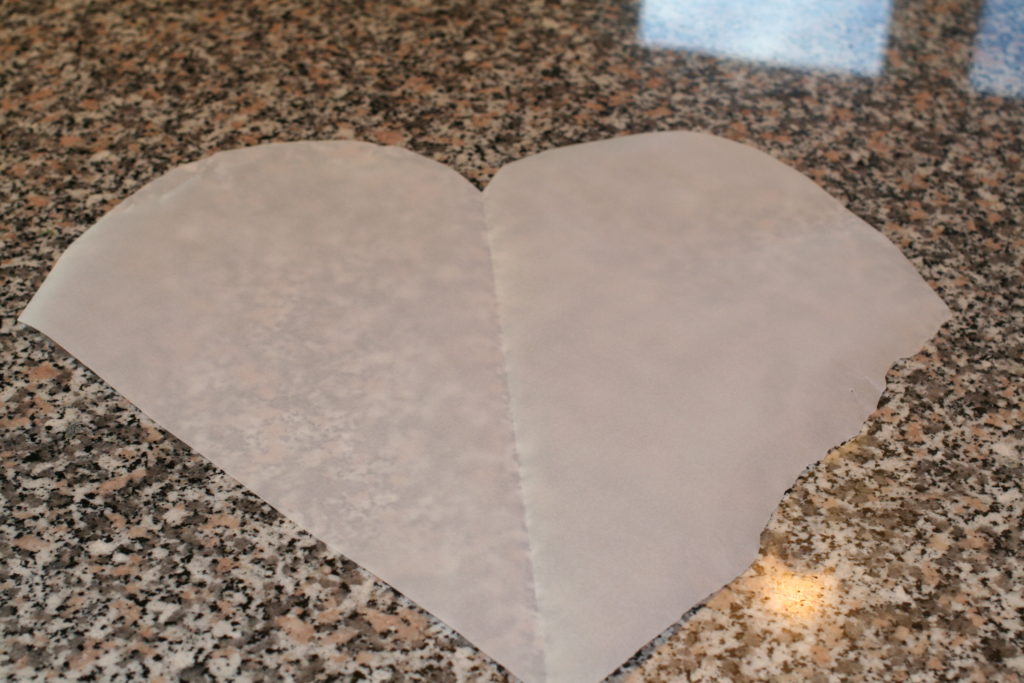
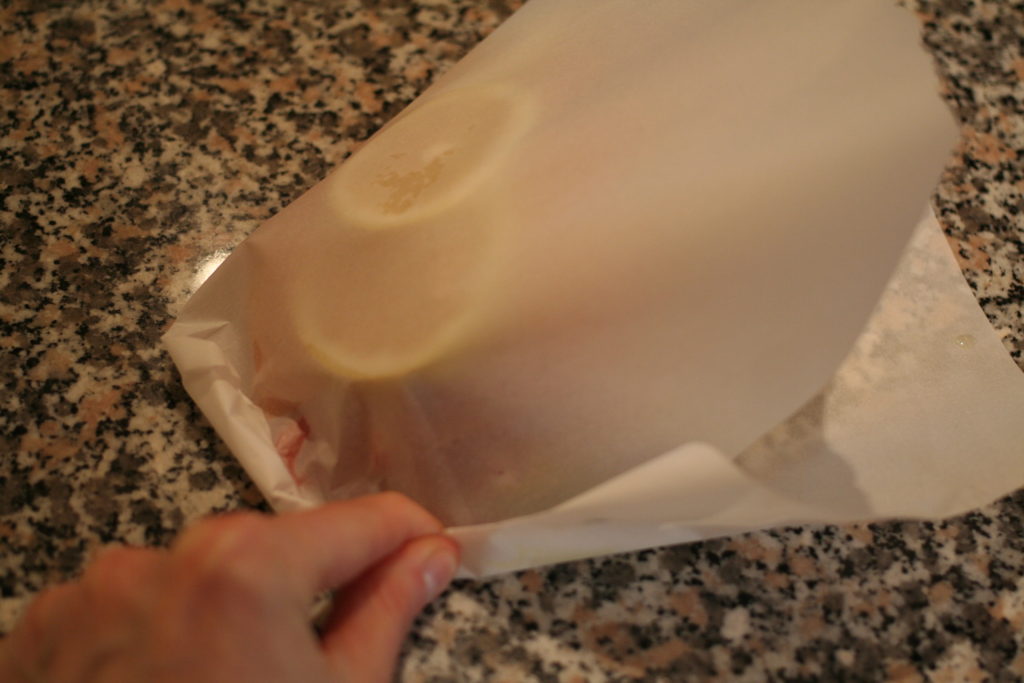
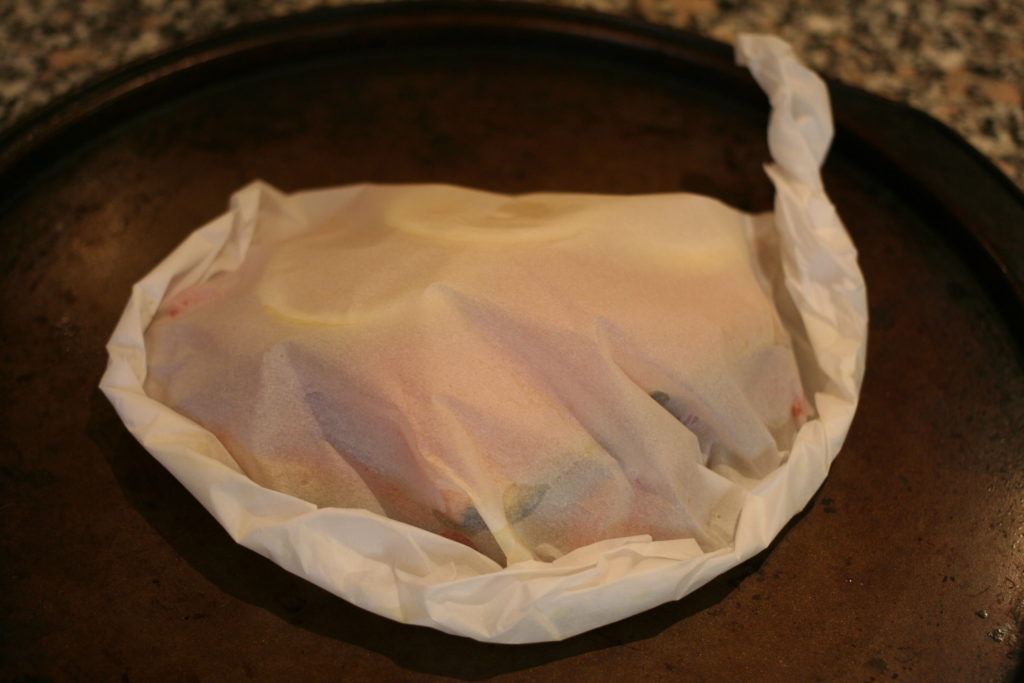
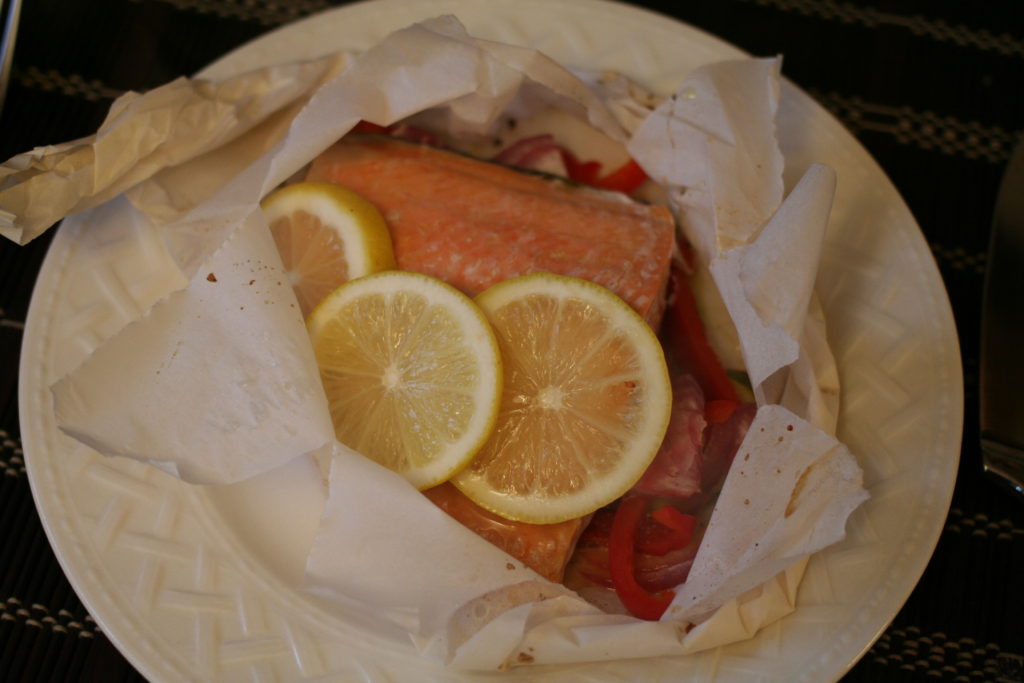
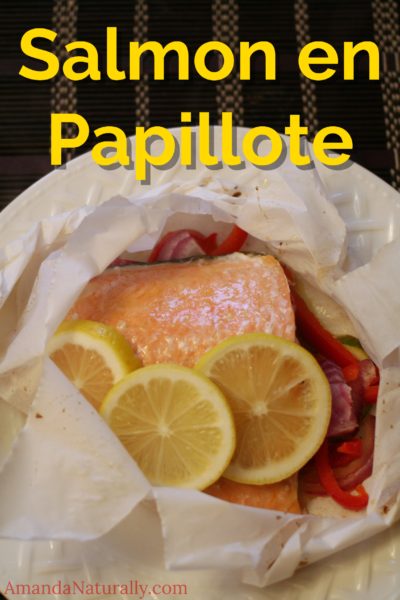
This recipe sounds fancy. It looks fancy. It tastes fancy. But it’s so darn easy. Which is amazing, since over or under cooking fish is the worst!!

If you follow me on Instagram, you might be familiar with our #TacoTuesday tradition. Since we work late on Tuesdays, we need to make something quick for dinner. Lettuce Wrap Taco‘s have been our go-to for years, however with the recent changes in my life (a.k.a. pregnancy) I’ve been doing everything possible to get as much seafood in my diet as I can.

“Why fish?”, you might ask… well the omega-3 fat found in fish, especially cold-water fish like salmon, is one of the most important (and least consumed) nutrients in our diet. The particular omega-3’s found in fish are EPA and DHA and are absolutely essential for proper development, not to mention all around heath. Here’s why:

  1. EPA & DHA make our cell membranes function better. Since our cell membranes are the brain of the cell (yep, that’s a major dogma shift from what most of us were taught back in highschool/university. The nucleus is in fact, NOT the brain of the cell, it is simply the gonads) if our cell membranes work better, cells work better, which means the tissues that they are a part of work better. All of our organs and systems in our entire bodies work better when our individual cell membranes work better. (note: this is also why we want to avoid vegetable oils because they do the exact opposite)
  2. EPA & DHA have a critical role in the development of the nervous system (brain, spinal cord, nerves, eyes).
  3. EPA & DHA are powerfully anti-inflammatory. They provide the building blocks for our endogenous anti-inflammatory molecules known as cytokines. (note: vegetable oils do the opposite, they feed into our pro-inflammatory pathways)

There are 2 very important things to note about omega-3 oils:

  1. The omega-3’s found in plants (flax, walnuts, chia etc.) are not the same. They are a different kind of omega-3 known as ALA. And while we can convert some to the usable form, the amount we can convert is in the range of 1-3% – and that’s with an optimally functioning body, which most people do not have. Which means it would take a cup of flax oil to provide the same health benefits as a few bites of salmon. 
  2. Fish oil supplements only work in the short term. Once you pass 6 weeks, the benefits peter out. So a supplement will not suffice. 

So what does that mean? Well, it’s time to start eating fish my friends. Not a fan? At risk of sounding like a total jerk, that’s kind of not an option if you want to make sure you’re hitting your required nutrients. Now I appreciate that some people have fish/seafood allergies, so that definitely is a roadblock, but unless that’s your case, start learning and wanting to develop a taste for it (trust me – I get it. I did not like liver. But I knew how important it was, so I set my mind to it and learned to like it.) If you are in the transition of learning to like fish, or you are allergic, the only other places you can find usable omega-3 fats in are grassfed beef and pastured egg yolks.

As with all food, the better the quality, the better the nutrition. For fish you want to try and purchase wild, sustainably caught species whenever possible. That can be challenging to find (and crazy expensive) in the middle of the continent, but luckily demand is going up, so places like Costco (where I get my frozen, wild salmon) are carrying more of this type of product! Though it definitely comes at a price, so you want to make sure you cook it up nicely!

Enter: Salmon en Papillote

This meal can be pulled together in 15 minutes flat – as long as the fish is thawed. It pairs beautifully with rice (cooked in bone broth of course!), cauli-rice, steamed potatoes or a simple salad.

Aside from being incredibly heathy and the minimal prep/cook time, one of the best features of this meal is it is super scalable. Last night I made it for just me (not too shabby for a solo dinner eh?) and I’ve also made it for a large dinner party.

The ingredients are very flexible as well, although I am partial to the ones I use! However if you need to avoid nightshades, simply omit the red peppers and if desired, sub another vegetable like yellow squash or bok choy.

Finally, while I made this particular one in the oven, you have the option of using the BBQ as well. We often do that in the summer to keep the house cool!

Salmon en Papillote
Serves 1
Sounds, looks and tastes fancy - actually super simple! Not to mention delicious and nutritious!
Write a review
Print
Prep Time
5 min
Cook Time
10 min
Total Time
15 min
Prep Time
5 min
Cook Time
10 min
Total Time
15 min
Ingredients
  1. 1 piece salmon (or other fish)
  2. 4 slices of zucchini
  3. ¼ cup sliced red onion
  4. ¼ - ½ red pepper, sliced thin
  5. olive oil
  6. sea salt
  7. 2-3 lemon slices
  8. squeeze of lemon juice
Instructions
  1. Preheat oven to 400F.
  2. Cut a piece of parchment paper into a heart shape, folded in half.
  3. Drizzle a little olive oil under where the salmon will go. Top with zucchini, then onions & peppers.
  4. Place salmon on top of veggies.
  5. Drizzle with olive oil, squeeze a bit of lemon on top and season with sea salt.
  6. Starting at the furthest point away from the point/bottom of the heart, start rolling the edges together, moving all the way to the point.
  7. Bake for 10 minutes.
  8. Cut open parchment paper (don't get burned by the steam!) and serve!
Notes
  1. You can also do the same thing the BBQ. Simply use tin foil (don't worry about the heart/rolling method - just make sure to secure the tin foil tightly) and BBQ at medium high heat for 10 minutes.
  2. Scale up for the number of meals you need!
  3. For AIP friendly, omit the red peppers. Sub in yellow squash or bok choy.
Amanda Naturally http://www.amandanaturally.com/

  Directions in Pictures!

1. Preheat oven to 400F. Cut a piece of parchment paper into a heart shape, folded in half.     

2. Drizzle a little olive oil under where the salmon will go. Top with zucchini, then onions & peppers.

3. Place salmon on top of veggies. Drizzle with olive oil, squeeze a bit of lemon on top and season with sea salt.

4. Starting at the furthest point away from the point/bottom of the heart, start rolling the edges together, moving all the way to the point. Bake for 10 minutes.   

5. Cut open parchment paper (don’t get burned by the steam!) and serve!

Kombucha

It’s pretty hard to look at any health-related article these days, without seeing the microbiome mentioned at least once! And for good reason. The microbiome (or flora) is the sum total of all the critters that live in your gut (and skin, vaginal tract etc.). By critters I mean bacteria, viruses, yeast, fungi, parasites. There are about 100 trillion microorganism cells in/on our body – which is about 10 times the amount of human cells we have. So what that means is we are more bacteria than we are human!

So far we know that the make up of your gut flora is absolutely critical to determining your health. We also seem to understand that what we know is only the tip of the iceberg. Some of the functions we know they are responsible for are:

  • create food for your intestinal cells
  • prime your immune system and support lymph tissue surrounding the intestinal tract (known as the GALT)
  • digest your food
  • release vitamins that are bound up in fibres
  • maintain the integrity of your intestinal tract
  • synthesize vitamins (like vitamin K and some B vitamins)
  • suppress pathogenic and opportunistic microbial growth
  • regulate metabolism
  • compose about 75% of our immune system

Dysregulated Microbiome (a.k.a. Dysbiosis)

When the opportunistic or pathogenic microbes overgrow and take over the good guys, you get a state of dysbiosis. Dysbiosis, or an imbalance in gut flora, has been associated with:

  • autism spectrum disorder
  • depression
  • autoimmune conditions
  • obesity
  • type 1 diabetes
  • inflammatory bowel disease
  • and many more diseases (pretty much any area of health which we don’t understand, and actually lots of those that we do, have cutting edge research being done on how the gut flora impact/contribute to that disease)

This imbalance is caused by 3 things:

  1. consuming foods that promote overgrowth (sugar, refined carbs, vegetable oils, too much fat, gluten, whole grains, legumes) or foods that you are sensitive to
  2. not consuming enough vegetables (both non-starchy and starchy), the food for beneficial flora
  3. not consuming beneficial bacteria regularly as part of your diet

Why Fermented Foods?

Fermented foods are the original probiotic. In an effort to preserve vegetables and have them last through the winter, humans started to ferment them. With the advent of refrigeration, we stopped needing to ferment veggies to preserve them. Unfortunately we didn’t realize how much we actually needed the byproduct of fermentation – probiotics. 

Food > Supplement

So why consume fermented foods if you can take a probiotic? Well, the top of the line, highest quality probiotic supplements usually contain between 4-10 strains of bacteria. Homemade sauerkraut can contain between 50 and 500 different strains. And what’s most important for creating a healthy gut microbiome, is variety and frequency.

So choosing a variety of different types of foods – fermented vegetables like sauerkraut, homemade yogurt (either grassfed dairy or coconut) and kombucha – on a daily basis is a fabulous way to constantly be reinoculating your gut with a wide variety of beneficial critters.

Kombucha

Kombucha is one of my favourite fermented foods – mostly because it tastes way more like a treat, than a ferment like sauerkraut. Full disclosure, it’s not nearly as rich in numbers or variety of bacteria, but it does have one good thing going for it. It’s filled with beneficial yeast, who do an awesome job at keeping opportunistic yeast (like Candida) from overgrowing. So while I love the ‘booch, I don’t recommend relying on it as your main source of probiotics.

NOTE: during my first trimester my sour taste buds were like on steroids. Salad dressings, grapefruit, even romaine lettuce were painfully sour. So you can imagine what fermented veggies were like. The only fermented food I could tolerate was kombucha!


Making Your Own Kombucha

As much as I love kombucha, it can get real expensive. A bottle of GT’s (a popular brand) ranges from $3.70-$4.99 – which adds up quick! So when I started consuming ‘booch regularly (instead of just as a treat), I knew I had to make my own otherwise I’d drink us out of house and home! It took me a while to get a routine going, and there are lot of variations out there, but this is how I do it and I’ve been very successful for months now!

Ingredients

  • 1L purified water (divided into 2x 2 cups)
  • 1 organic tea bag, plain black
  • ¼ cup organic sugar cane
  • ¼ cup kombucha from a previous batch
  • 1 small SCOBY (symbiotic culture of bacteria and yeast – this little mushroom like thing that floats around in your liquid, eats up the sugar and infuses your beverage with gut-healing magic. Note – the SCOBY seen in the pictures below is HUGE because I’ve been using it with high volume continue kombucha brewing for about a year now. Most are just a few inches in diameter.)

Directions – Part 1

  1. Boil 2 cups of the water in a small pot.

  2. Once boiled, stir in the sugar until fully dissolved.

  3. Add the tea bag. You’re now making sweet tea! (note, I’m making a quadruple batch here)

  4. Add remaining 2 cups of water (to help speed up the cooling down process).

  5. Cover the pot with a lid and let cool to room temperature. You can put it in the fridge for a few hours to help speed up the process, but don’t let it get too cold.

  6. Once it’s at room temperature, pour the sweet tea into a clean jar, add the SCOBY and kombucha from a previous batch.
  7. Cover with a coffee filter or dish towel and let sit in a cool, dark place for 2 weeks. Homemade Kombucha | AmandaNaturally.com

Part 2

  1. Once the 2 weeks are up, pour off almost all of the kombucha into a separate jar or juice jug, retaining enough to make another batch.Homemade Kombucha | AmandaNaturally.com

  2. You have the option to do a 2nd fermentation at this point, but I didn’t like the hassle so I don’t do it. Feel free to google it if you’re interested in a more fizzy beverage!
  3. Add flavour to your kombucha. My favourites are:
    1. lemon / ginger
    2. organic cherries
    3. mango

  4. Store kombucha, with the flavouring in it, in the fridge!Homemade Kombucha | AmandaNaturally.com

  5. Meanwhile, repeat Part 1, with the leftover kombucha you retained.Homemade Kombucha | AmandaNaturally.com

Continual Kombucha

Every other Friday I make a new batch of kombucha. I start with Part 1, but since I have an old batch going, as soon as the new sweet tea is cooled to room temperature, I begin Part 2. I empty out most of the 2 week fermented kombucha into juice jugs with flavouring, leaving the SCOBY and enough kombucha in the bottom for the next batch. Then I pour the cooled sweet tea in and recover. Takes me about 20 minutes (plus a few hours wait time) every 2 weeks.

NOTES:

  • Start tasting the kombucha after 1 week to make sure you achieve your desired flavour. The goal is to have most of the sugar gone, so it shouldn’t be super sweet. But it also shouldn’t be vinegary.
  • Don’t increase the size of your batch too quickly. I did and it resulted in a mouldy mess because the SCOBY wasn’t big enough to handle the sugar and keep the opportunistic microbes at bay. Start increasing slowly. Start with 1L, then do 1.5L, 2L, 3L etc. I now follow the exact ratio above, but for 4L at a time. It lasts 2 of us 2 weeks – and we each drink abut 4oz a day.
  • The SCOBY is a slimy mushroomy looking thing. But it’s not mould. Mould is very different. Here’s a good visual:

    http://www.kombuchabrooklyn.com/blog/kombucha-mold-need-know/
  • Your best bet is to get a piece of SCOBY from someone who has one going. Alternatively you can rehydrate one from a company like Cultures for Health. Apparently you can create a SCOBY by following the above process with a bottle of plain, store-bought kombucha too. But I’ve never done it, so you’ll want to google that!
  • You need to use sugar cane, not honey. Honey can introduce undesirable bacteria. Most of the sugar gets eaten up by the SCOBY.
  • If you let your ‘booch go too long, don’t throw it out. Instead turn it into jello jigglers – just make sure to add honey to combat the vinegary taste!
Copyright 2014 Amanda Naturally | Design by The Nectar Collective