 One of the processed foods I really caution my clients against is pre-made salad dressings. The reason for this is multi-factorial:
- The oil is always a vegetable oil. Even if it says “made with olive oil”. Check the ingredients list, olive oil will be listed after an industrial seed oil such as canola or soybean. This is true even for the “healthy” or “organic” salad dressings. I don’t care of canola oil is organic, it is still not suitable for human consumption, since it is an unstable, damaged oil that causes high levels of inflammation and free radicals in the body.
- It always contains at least one form of sugar, and often as many as 4 or 5. Sugar, brown rice syrup, brown rice syrup solids, corn syrup, honey, fruit concentrates, barley malt syrup or just malt syrup (note: also gluten), dextrose, maltodextrin… why so many types? Because ingredients are listed in order of highest amount to lowest. Better to list 5 low amounts of sugar, which show up at the end the list, than use just one type and have it be the first ingredient.
- It is thickened and stabilized with fake foods. Things like xantham gum and maltodextrin (derived from GMO corn).
- Weird ingredients are added for flavour and texture. Things like autolyzed yeast extract, corn syrup and caramel colour pop up regularly.
- Natural flavour (which is just chemically synthesized from real food, often GMO foods) and artificial flavours are common ingredients.
- They are notorious for containing major allergens – specifically dairy, corn, gluten, soy and egg.
I hate to break it to you, but store-bought salad dressings are simply sugary, chemical-filled, inflammatory flavour boosters. So you can see why I take all of my clients off it right? Interestingly, it’s something that I get a lot of resistance to. For some reason people are scared to make their own salad dressings, or they have no idea where to start. Little do they know that it’s super easy and way less expensive too!
Real salad dressing, made with real ingredients, are not only more delicious than these junky store-bought ones, but can have major health benefits as well! By using quality, nourishing oils and natural ingredients such as vinegars, herbs and spices, you can enjoy your salad for both the flavour and the nutrition it’s providing you. And you don’t have to do that silly old “diet trick” of dipping your fork into the salad dressing first before spearing some salad, so you get the taste without all the calories. With real salad dressing you’re going to want those calories because they contain all sorts of awesome nutrition and/or they help deliver the nutrition found in vegetables to your body.
So, how do you make your own salad dressing? It’s a lot easier than you think it is, I promise. Here’s how.
Homemade Salad Dressings
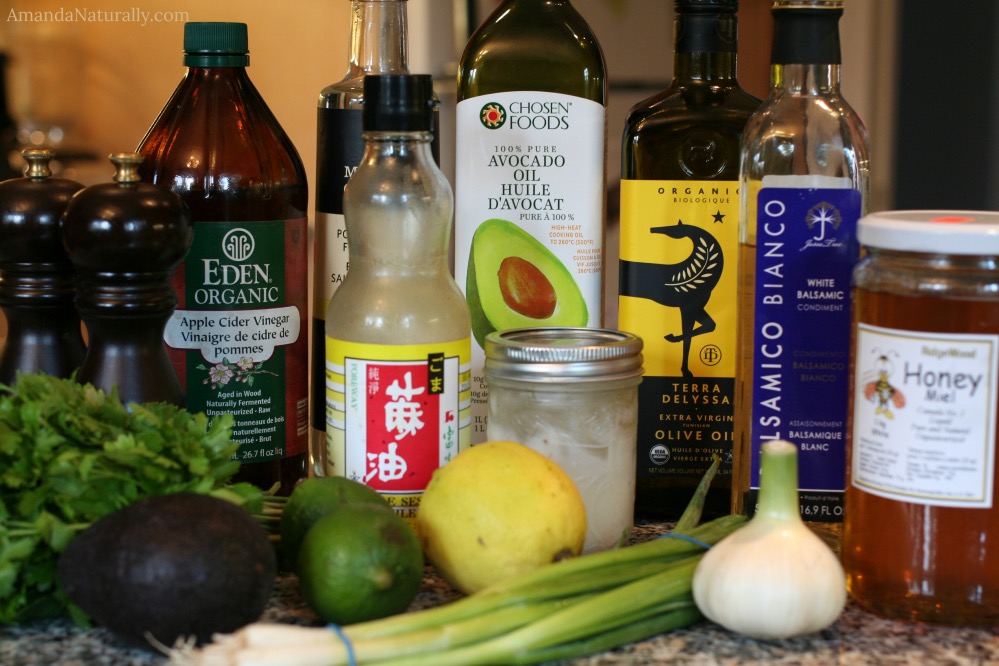
Choose 1 or 2 from each list:
Nourishing Oils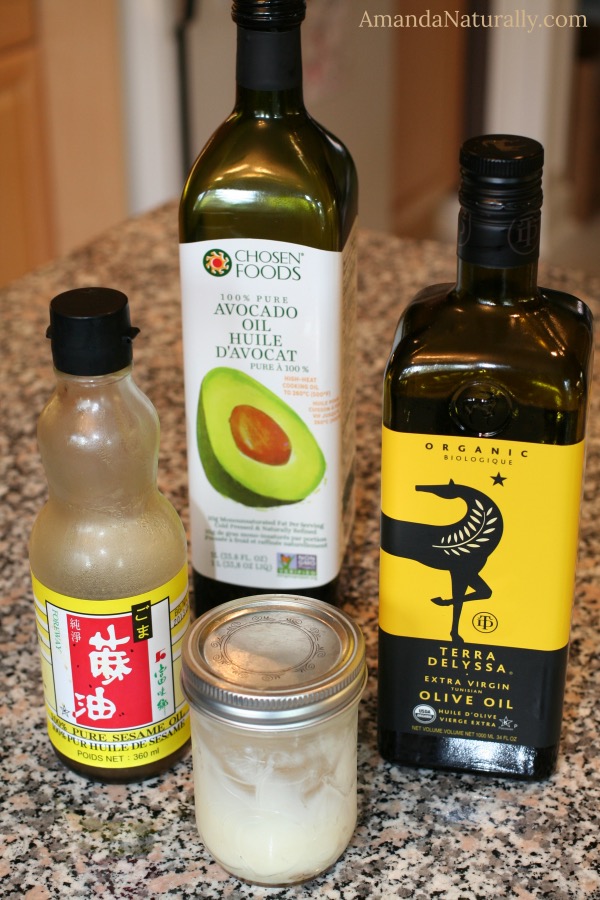
- olive oil
- avocado oil
- MCT oil
- bacon fat
- sesame oil
Acid
- vinegar (apple cider, balsamic, white wine, red wine, raspberry wine, champagne etc.)
- citrus (lemon, lime, orange, grapefruit)
- pineapple juice
Flavour
- sea salt (always include this!)
- herbs such as cilantro, parsley, dill, oregano, basil, thyme, mint, tarragon (herbs can be fresh or dry)
- spices such as cumin, chili, garlic powder, onion powder, turmeric, black pepper, paprika, coriander, mustard powder, ginger (omit nightshades and seed-based spices if AIP)
- aromatic vegetables such as minced garlic, diced onion/shallot/chives
- other flavours like anchovies (caesar), nutritional yeast (vegan/paleo cheesy flavour), tamari sauce or soy-free coconut seasoning (aka coconut aminos in the USA), citrus zest
Optional Add-Ins
- mustard or egg yolk, for flavour and as an emulsifier
- homemade mayonnaise or ripe avocado for a creamy consistency
- mashed raspberries or strawberries (fresh, or thawed from frozen) or a bit of organic jam
- raw honey, real maple syrup or pomegranate molasses to add a bit of sweetness
Directions for Making Salad Dressing
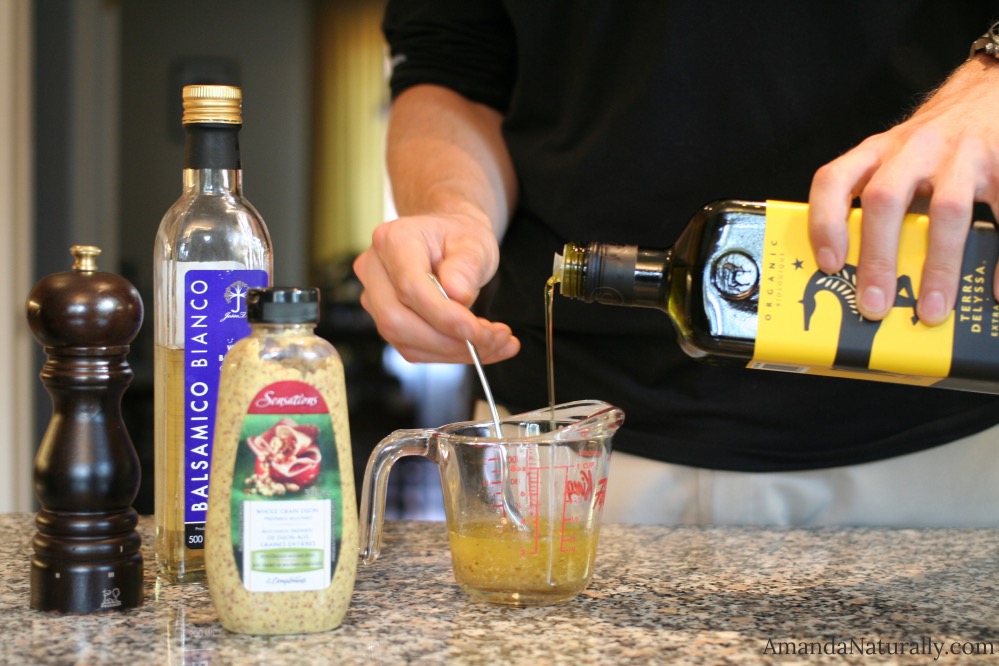
- In a measuring cup, glass or small bowl, whisk together all of your ingredients except the oil. This might just be your acid and spices, or it might include mayo, egg yolk, mustard, honey etc.
- Whisk until thoroughly combined.
- Slowly drizzle in oil of choice, until the desired flavour and consistency is achieved.
- Tweak ingredients as needed – add more salt, vinegar, spices etc. until your dressing tastes
Additional Tips
- When it comes to the ratio of acid to vinegar, it really is a personal choice. I recommend starting at a 1:1 ratio, and tweaking it based on your palate.
- If you want it creamy, but don’t want to use avocado/mayo, use a small food processor or immersion blender instead. Combine all ingredients and blend well. Drizzle in oil while blending to achieve a creamier consistency.
- Keep it simple! Start with one oil, one vinegar/citrus, sea salt and one or two herbs. Make the dressing and taste it. Do you like it? Why or why not? Too simple, add more spices. Too vinegary but you can already taste the oil? Maybe add some mustard, honey or fruit. Play around!
- Keep the volume of each ingredient small when you first start out so you can toss creations that go awry. You will be more likely to be creative and adventurous, if you aren’t stressed about wasting 2 cups of oil!
My Favourite Salad Dressings
Balsamic Vinaigrette
- ¼ cup balsamic vinegar
- 1 tsp dijon mustard
- sea salt
- black pepper
- ¼ cup olive oil, whisked in at the end
Raspberry Vinaigrette
- 2 tbsp mashed raspberries
- ¼ cup white wine vinegar
- pinch of sea salt
- 1 tsp raw honey
- ¼ cup olive oil, whisked in at the end
Chili Lime Vinaigrette
- 3 tbsp lime juice
- ½ tsp chili powder
- ½ tsp cumin
- pinch of sea salt
- ¼ cup avocado oil, whisked in at the end
Salad Dressing Round Up
Sweet Kale Salad (copycat of the beloved Costco salad!) from Paleo Parents
Ranch from The Clothes Make the Girl
Ranch, nightshade free from Planks, Love and Guacamole
Ranch, AIP friendly from He Won’t Know It’s Paleo
Caesar from Primal Palate
Bacon Caesar from The Healthy Foodie
Honey Mustard The Ancestral Chef
French Tarragon Shallot from Cali Zona
Classic Greek from Detoxinista
Creamy Avocado from Tasty Yummies
Maple Mustard from Jay Bird Blog
Creamy Poppyseed from Living Loving Paleo
Italian from Paleo Cupboard
Sesame Ginger from Primal Palate
Orange Vinaigrette from Primal Palate
Chimichurri from Primal Palate
Pineapple Balsamic from Barefeet In The Kitchen
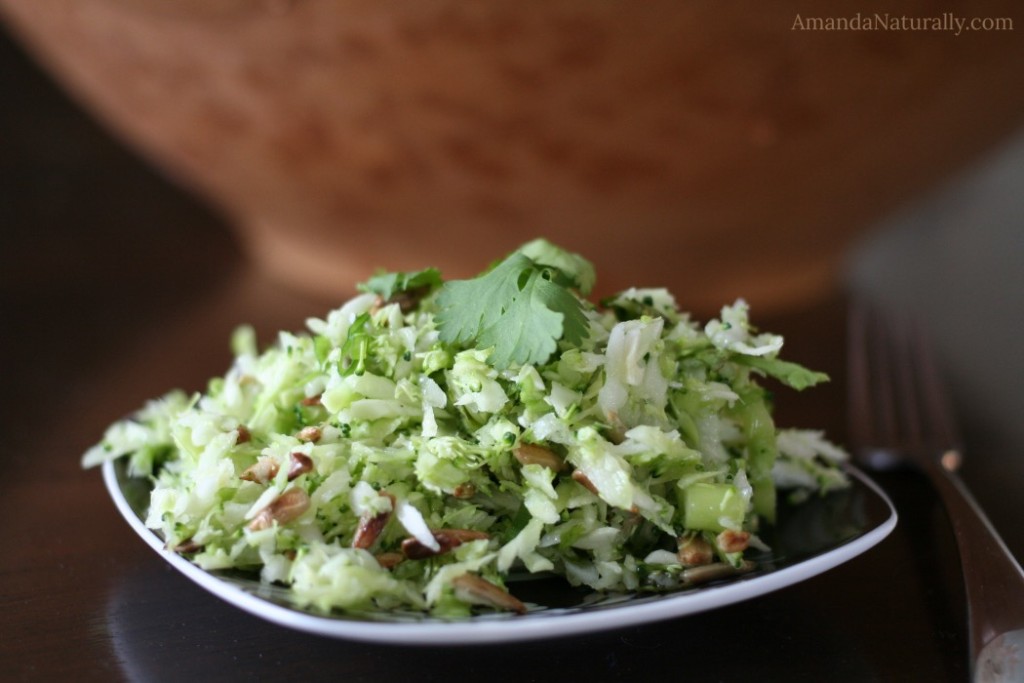
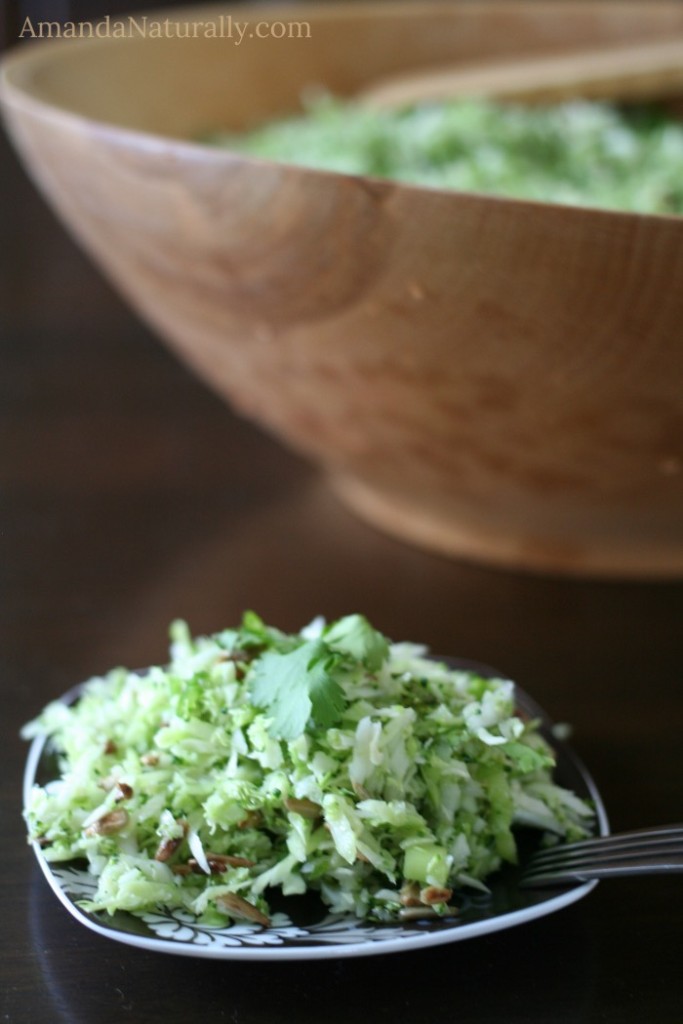
 As someone who never liked mayonnaise growing up, coleslaw was something that I avoided pretty passionately. I was even that weird kid who loved salads and veggies – but the mayo killed coleslaw for me. Then one day, a few years ago, I received a cabbage in our weekly veggie bin. So I hopped on the google, searched for “healthy coleslaw” and lo and behold, a vinaigrette version popped up! I made it and it was delicious. I was super jazzed to have a way of eating cabbage that I actually enjoyed.
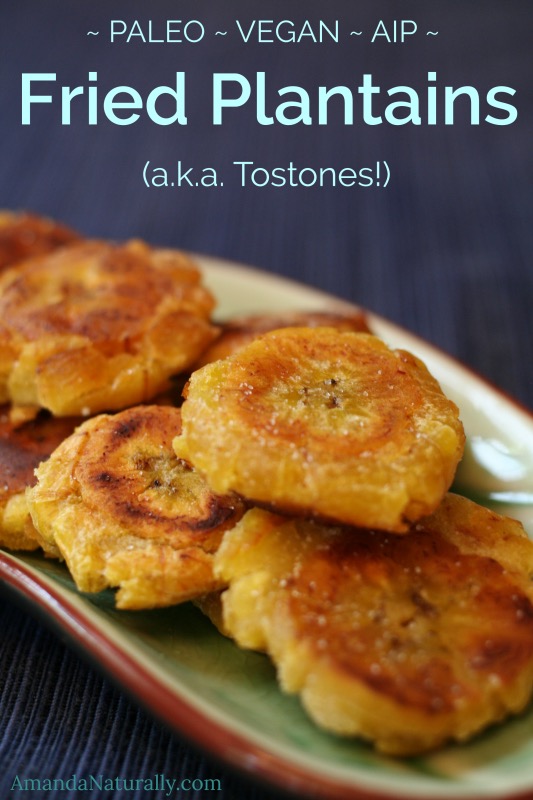
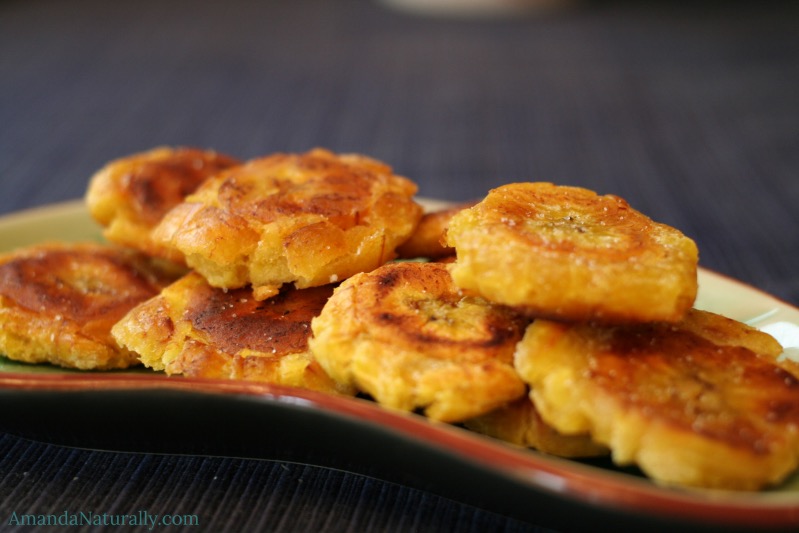


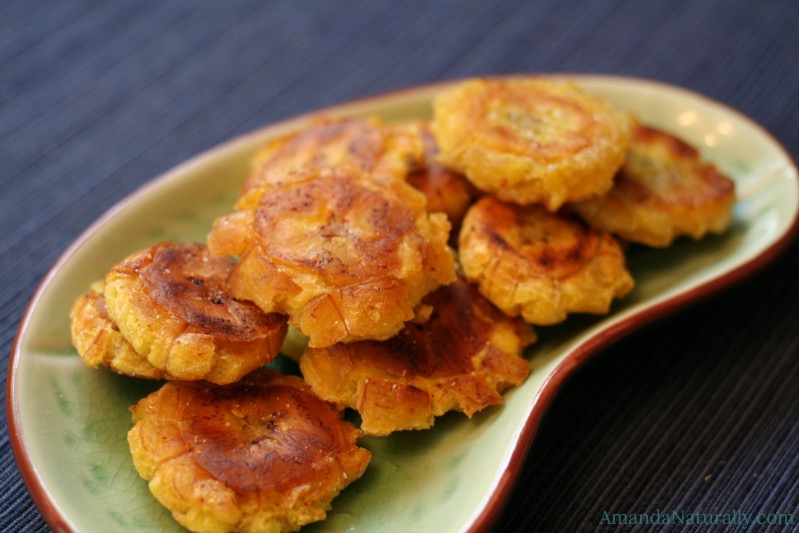
 6. Flip the plantains and cook another 3-4 minutes on the other side.